Are you a Special Education teacher who feels like your classroom is constantly in chaos? Do you struggle to manage behavior and create a calm learning environment for your students? If so, you’re not alone! Behavior management is a never ending challenge for special education teachers, but there are strategies and practical tips that can help you transform chaos into calm.
Throughout this post, I’ll help you with practical strategies and steps for you to start implementing them in your class today. From creating a structured and supportive environment to implementing effective interventions, I will guide you through the process of helping you master behavior management.
Creating a Structured and Supportive Environment
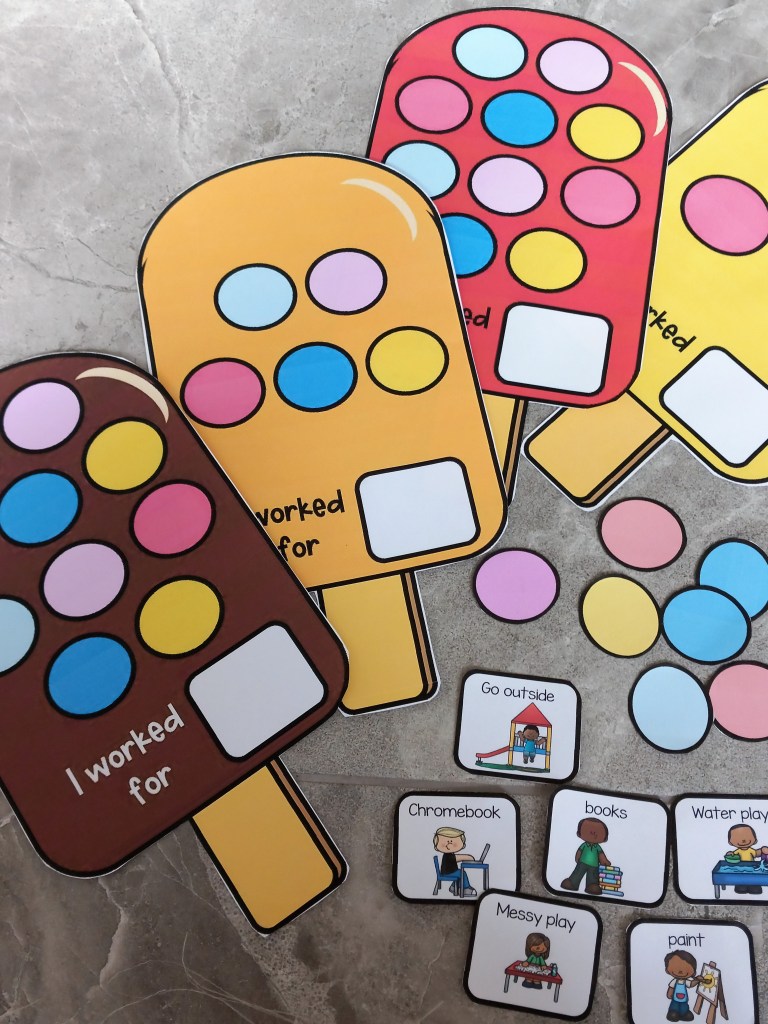
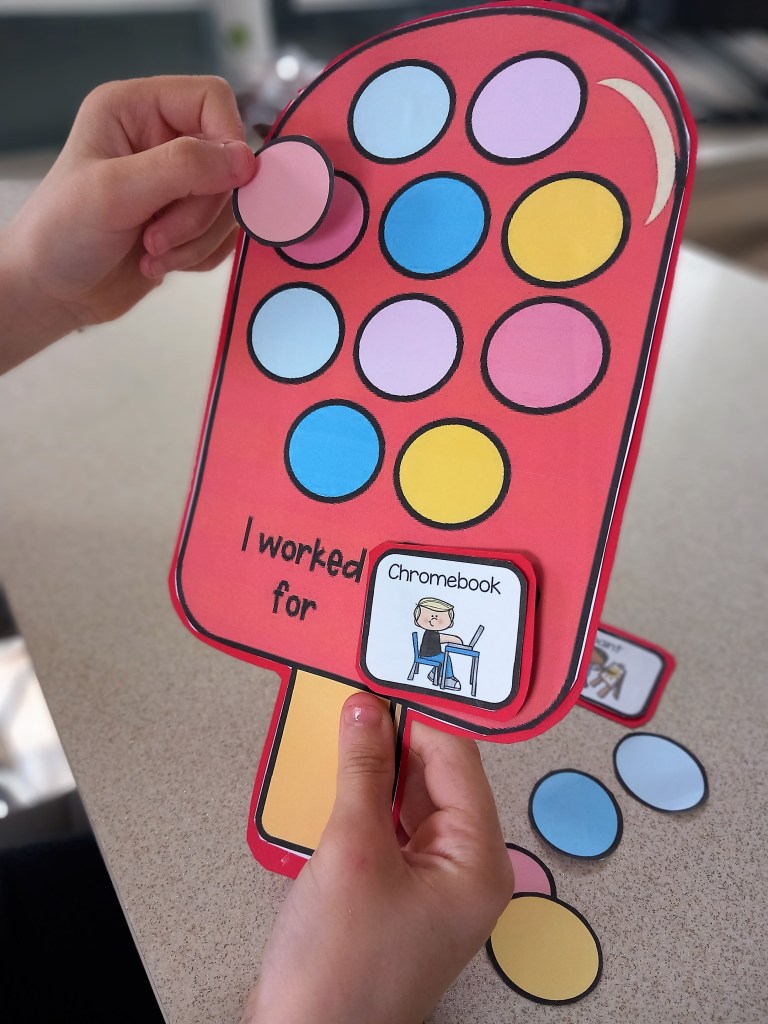
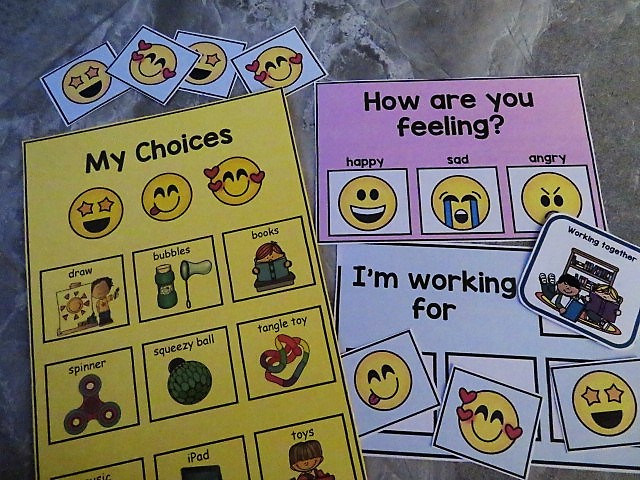
. Set time to build a structured environment by establishing clear expectations and routines. . . Provide your students with a sense of structure and predictability by clearly communicating the rules and procedures to your students you provide them with a sense of structure and predictability. This helps to minimize confusion and allows students to focus on their learning. . Consider creating visual supports, such as posters or charts, to display these expectations and refer to them regularly.

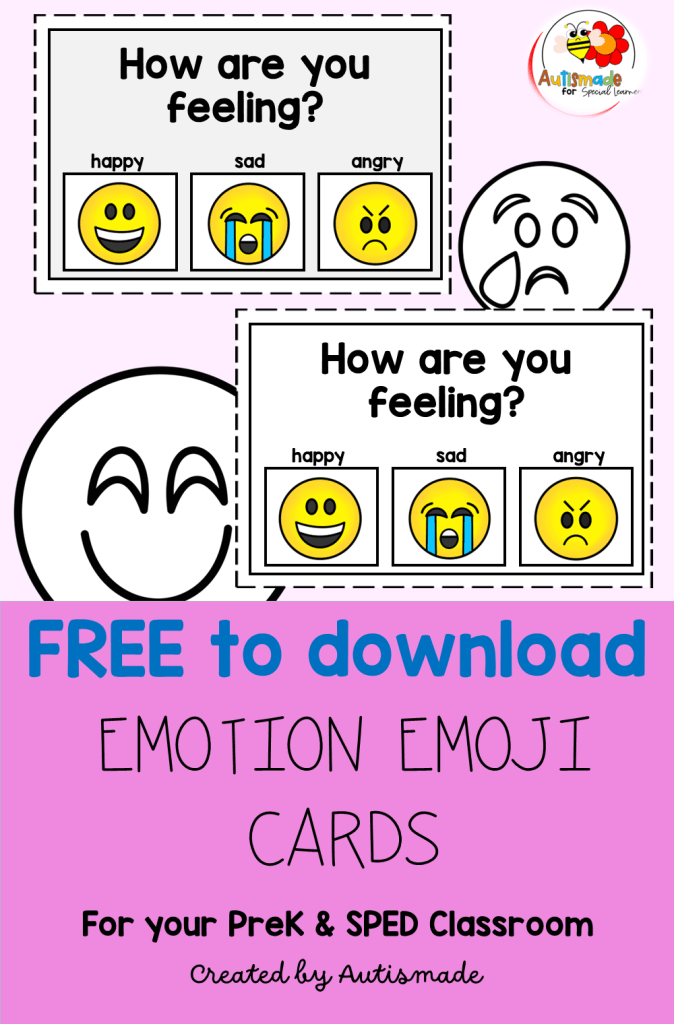
Click here to pick up these FREEBIE Posters
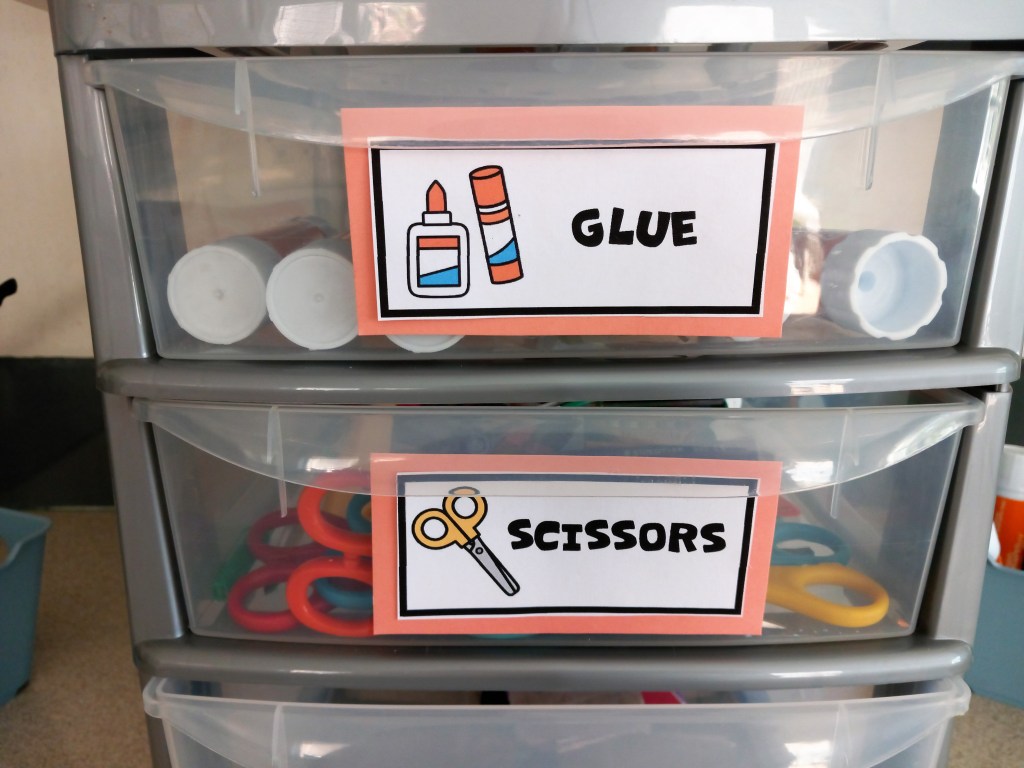
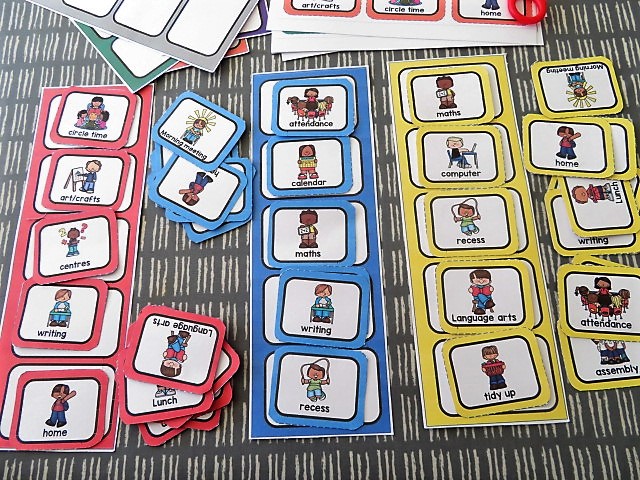
. To further promote structure and support, consider implementing classroom organization strategies. Ensure that your classroom is arranged in a way that allows for easy movement and minimizes distractions. . Provide designated spaces for different activities, such as quiet reading areas or group workstations with centre signs. This helps students understand where and how they should engage in different tasks, promoting a more focused and productive learning environment.


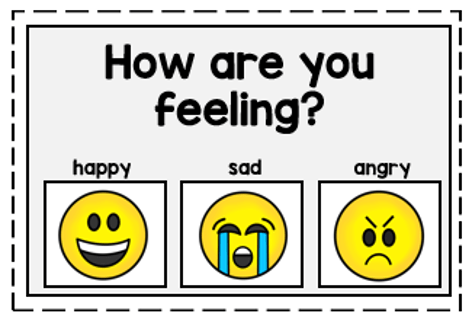
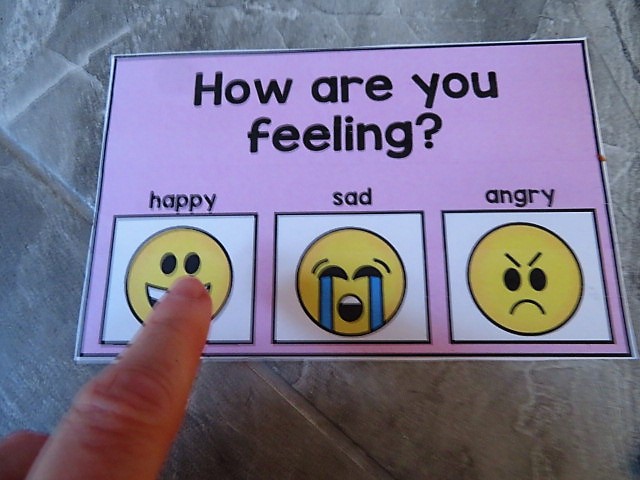
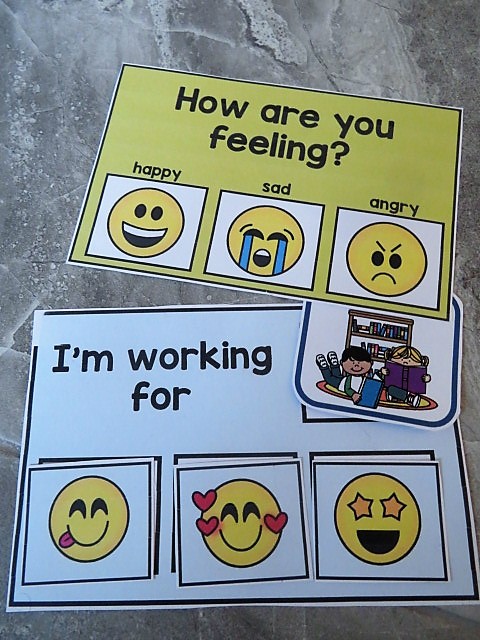
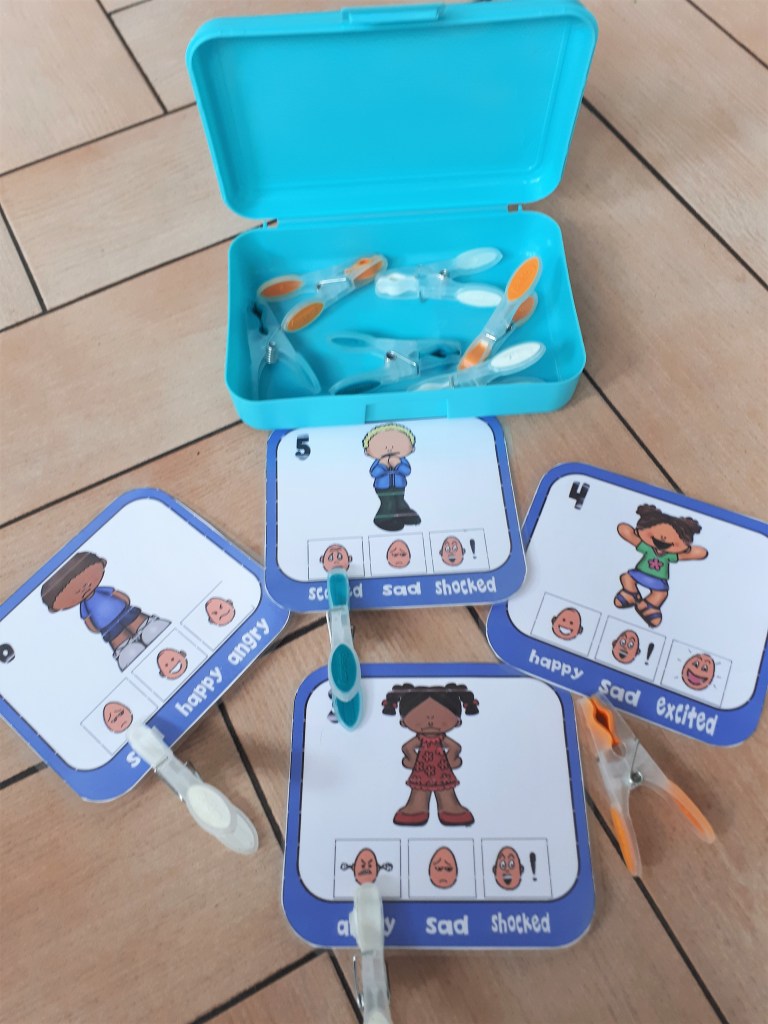
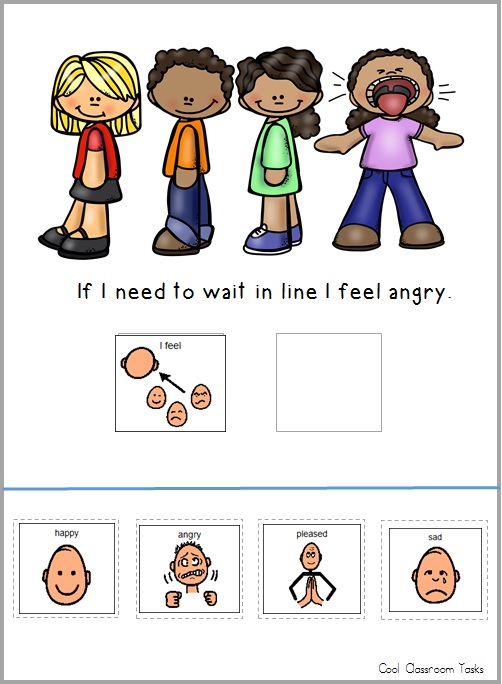
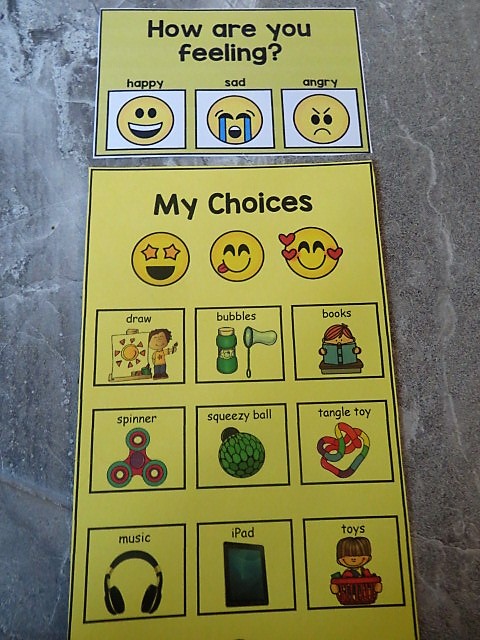
. Additionally, incorporating visual supports can be highly beneficial in creating a structured and supportive classroom. Visual aids, such as schedules, rules, and task boards, can assist students in understanding expectations and managing their time effectively. Furthermore, visual prompts can be particularly helpful for students with communication difficulties or those who struggle with transitions.

. Another valuable intervention is the implementation of social skills training. Many students in special education classrooms struggle with social interactions, making it difficult for them to navigate social situations and establish positive relationships with their peers. . By incorporating social skills training into the curriculum, students can learn important skills such as active listening, turn-taking, and conflict resolution. . Role-playing exercises and real-life scenarios can also help students practice applying these skills in a safe and supportive environment.

By implementing these effective interventions, Teachers can enhance behavior management in special education classrooms. These interventions address the specific needs of students, providing them with the support, strategies, and tools necessary to help them succeed academically and socially. When students are equipped with the skills and resources they need, they are more empowered to make positive choices and engage in behaviors that promote a calm and productive learning environment.