Mornings can be tough for little ones and grown-ups alike! For preschoolers in special education, having a predictable, engaging morning routine can make a *big* difference in how the day goes. Whether you’re a parent, caregiver, or teacher, here are some simple, supportive resources to help start the day with confidence, joy, and calm.
Why Morning Routines Matter
- Builds predictability.
- Supports transitions
- Encourages communication
- Creates a sense of accomplishment
Here are some ideas to make mornings easier and more fun:
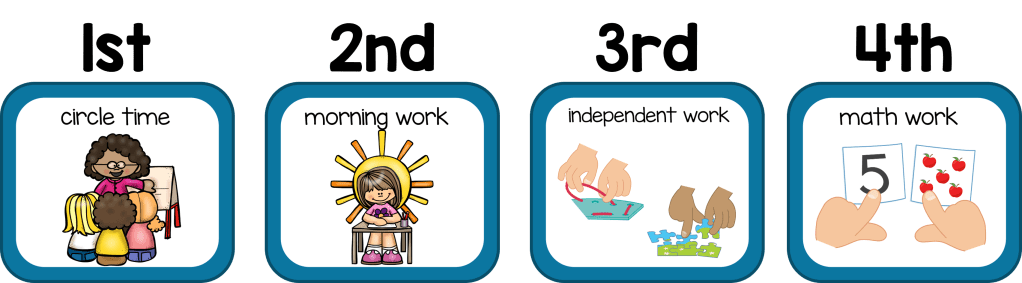
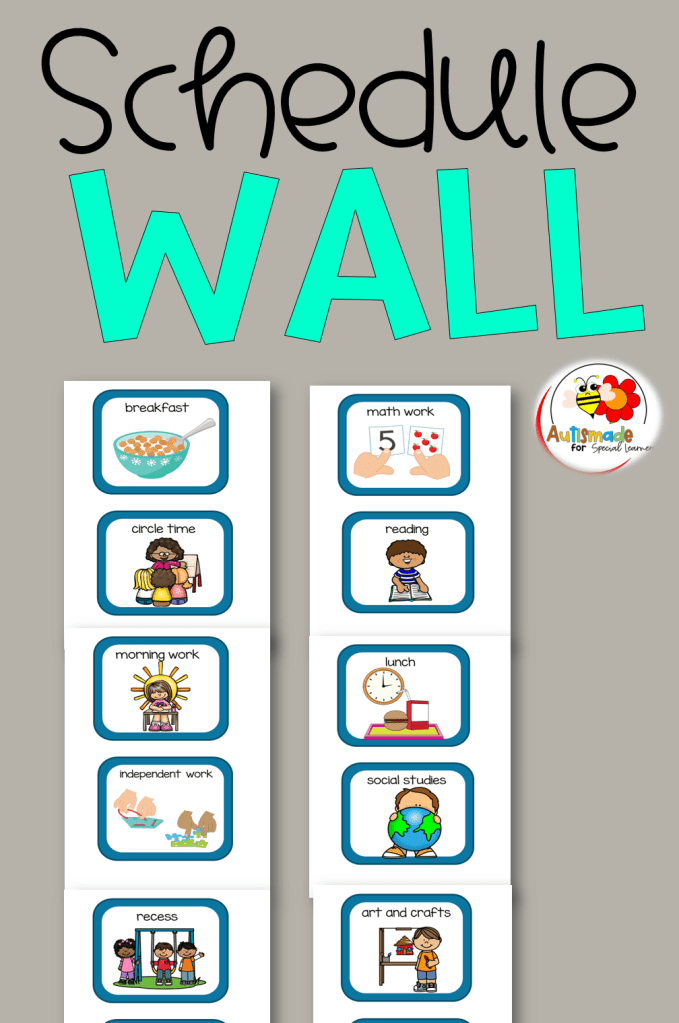
1. VISUAL SCHEDULES
- Use pictures to show each step of the morning—wake up, brush teeth, get dressed, eat breakfast, etc.
- Daily Classroom SCHEDULE
2. MORNING SONGS AND MOVEMENT
Start the day with music and motion to wake up the body and brain!
Songs to Try
“Hello Song” by Super Simple Songs
“Good Morning” by The Learning Station
“Wake Up Shake Up” by Kiboomu
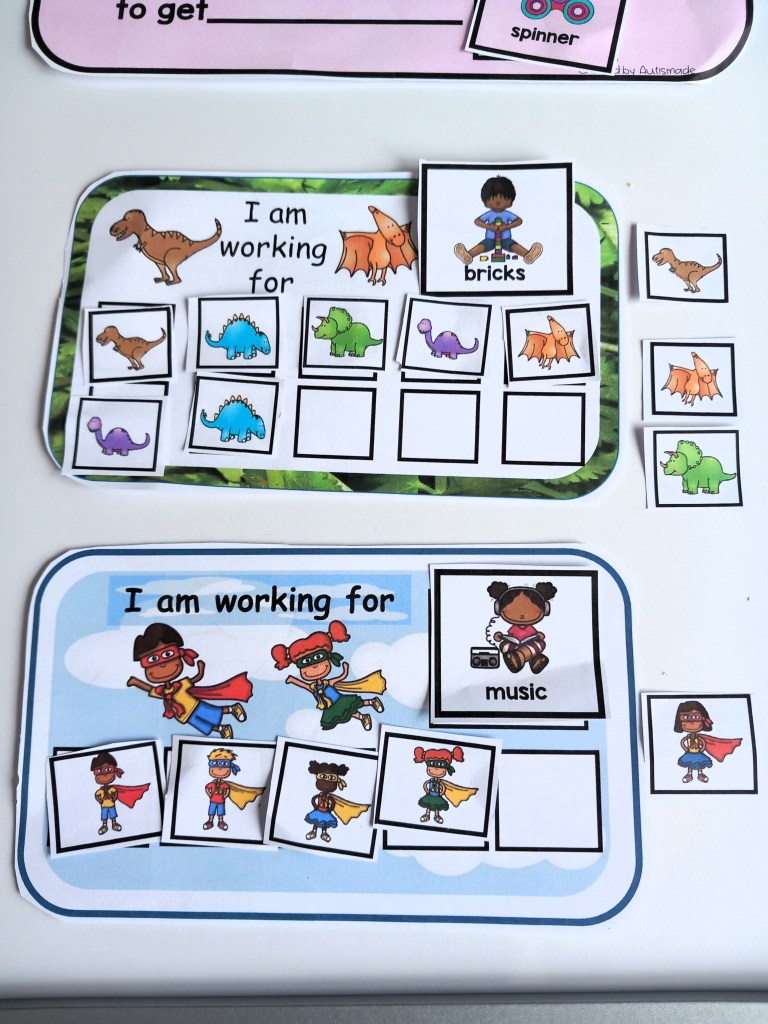
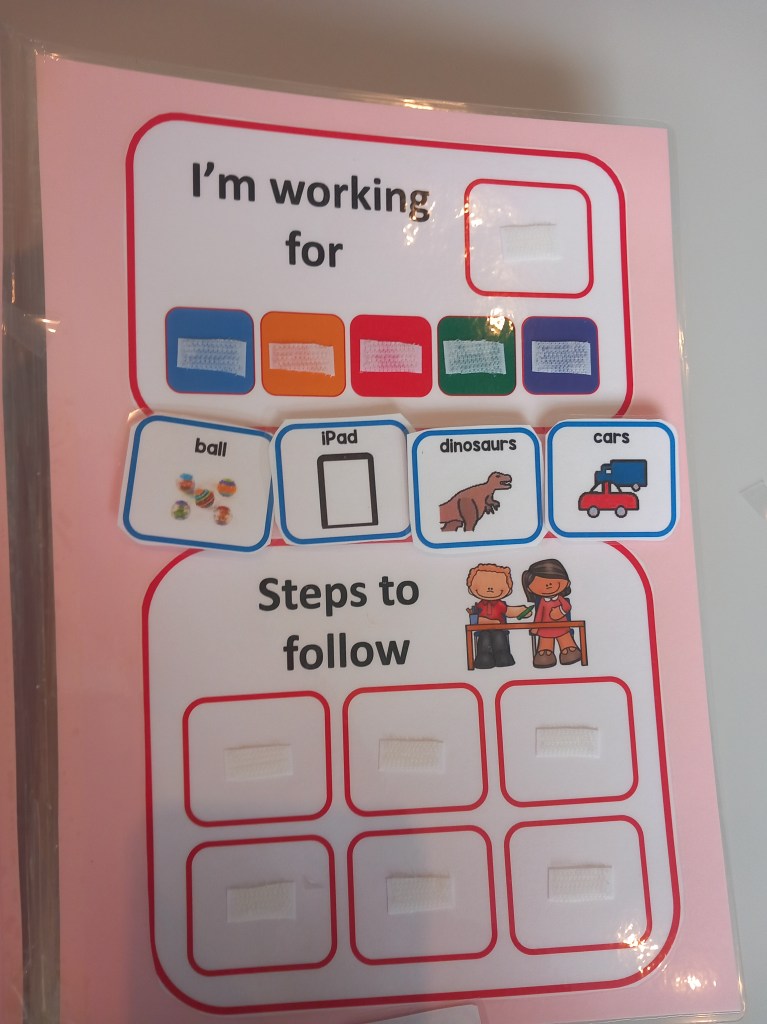
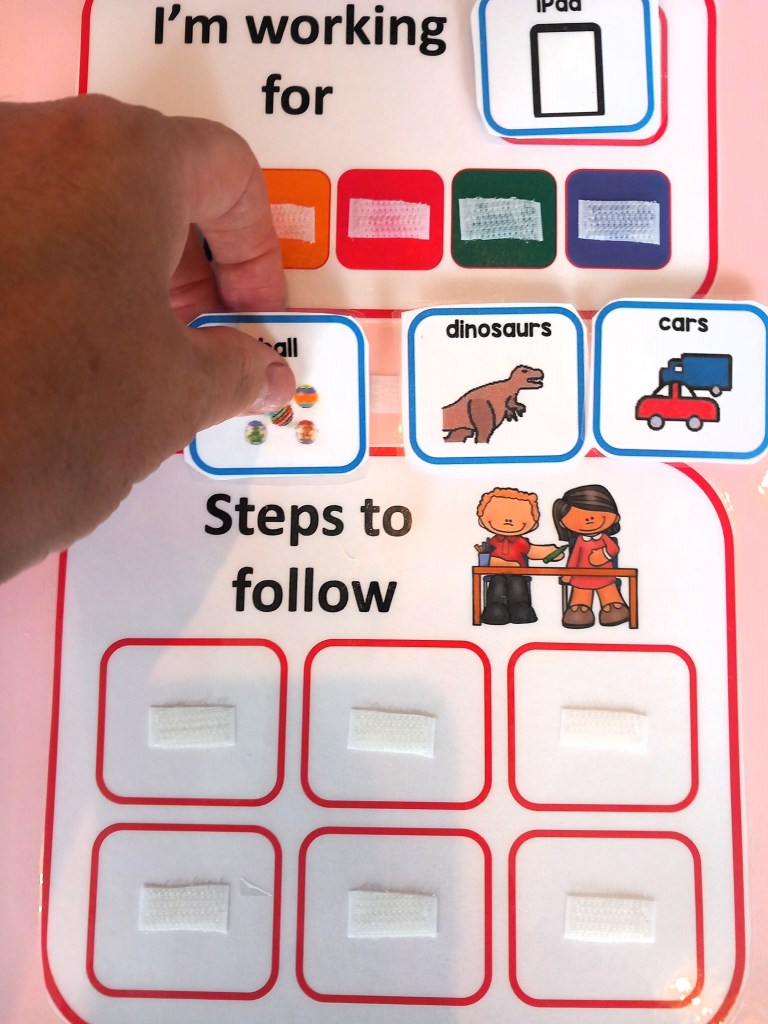
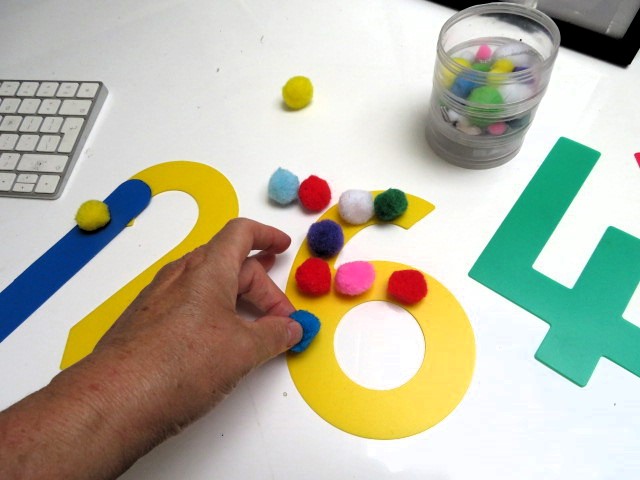
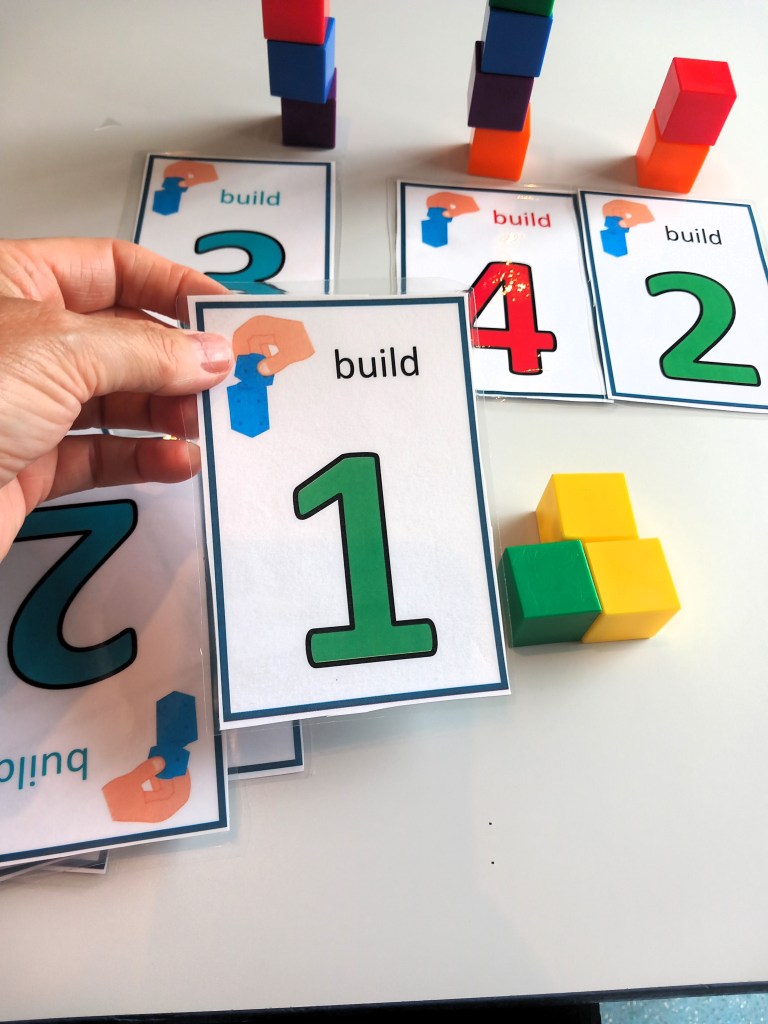
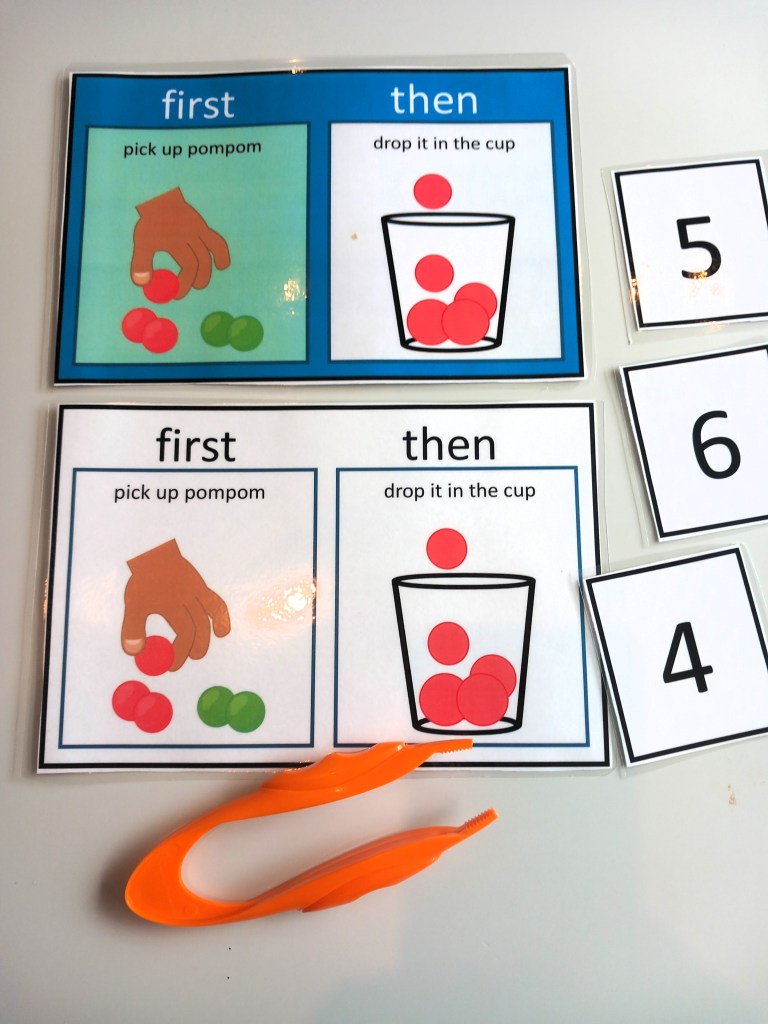
3. MORNING WORK BINS
Simple, hands-on bins that children can explore after arriving at school or getting ready at home.

IDEAS FOR BINS AND TASK BOXES:
* Simple puzzles or stacking
* Velcro letter boards
* Sensory bins (rice, beans, water beads)
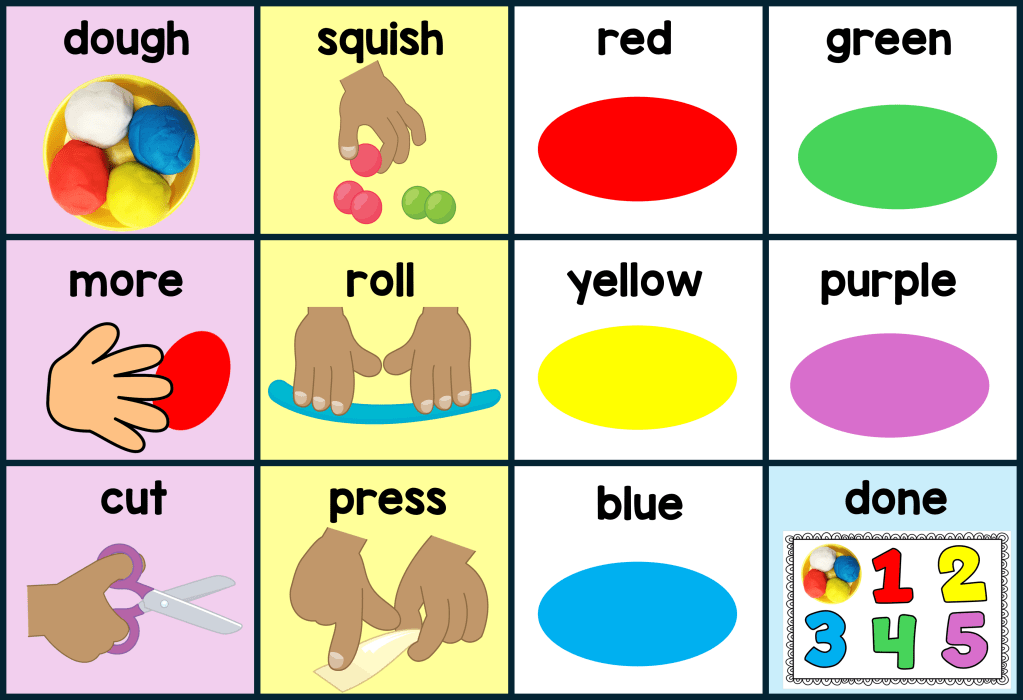
* Printable Worksheets & Activities

While WORKSHEETS need to be short and engaging for preschoolers, there are great modified versions available for all learners.

Try This Morning tracing (lines, shapes, names), matching, simple counting or weather charts.
A simple, consistent home routine helps bridge the gap between home and school.
1. Wake Up
2. Use the Bathroom
3. Brush Teeth
4. Get Dressed
5. Eat Breakfast
6. Put on Shoes
7. Pack Bag
You can create your own chart or grab a FREE TEMPLATE from my TPT Store

Every child is different—what works for one may not work for another. But with a little creativity, structure, and patience, mornings can become a positive and empowering part of the day.