How to Teach Nonverbal Students
For many nonverbal students, challenging moments don’t come out of nowhere. They build quietly. Sensory overload, frustration, or just needing a pause. The challenge is not the feeling itself, it is not having a clear way to say, “I need a break.”
The good news? This is a skill you can teach, and once it clicks, it can completely shift the tone of your classroom.

Start with a Simple Way to Communicate
Think of this as giving your student a “pause button.”
Choose one clear, consistent method:
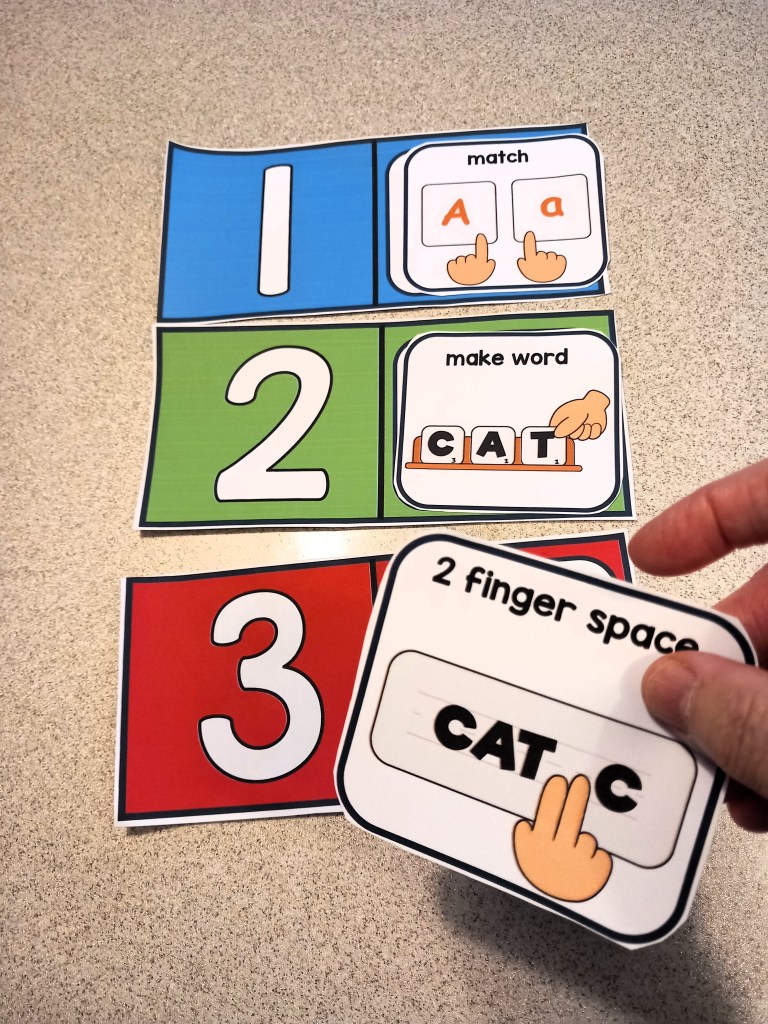
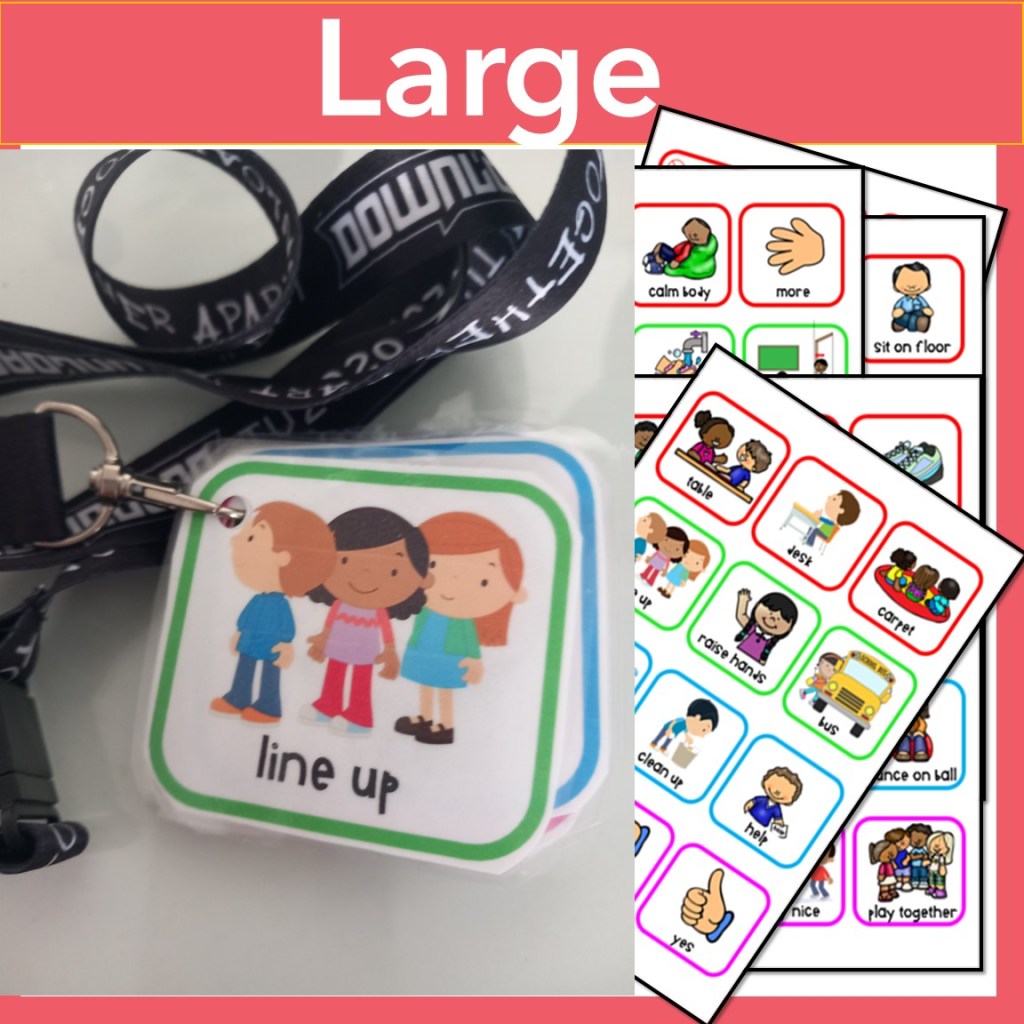
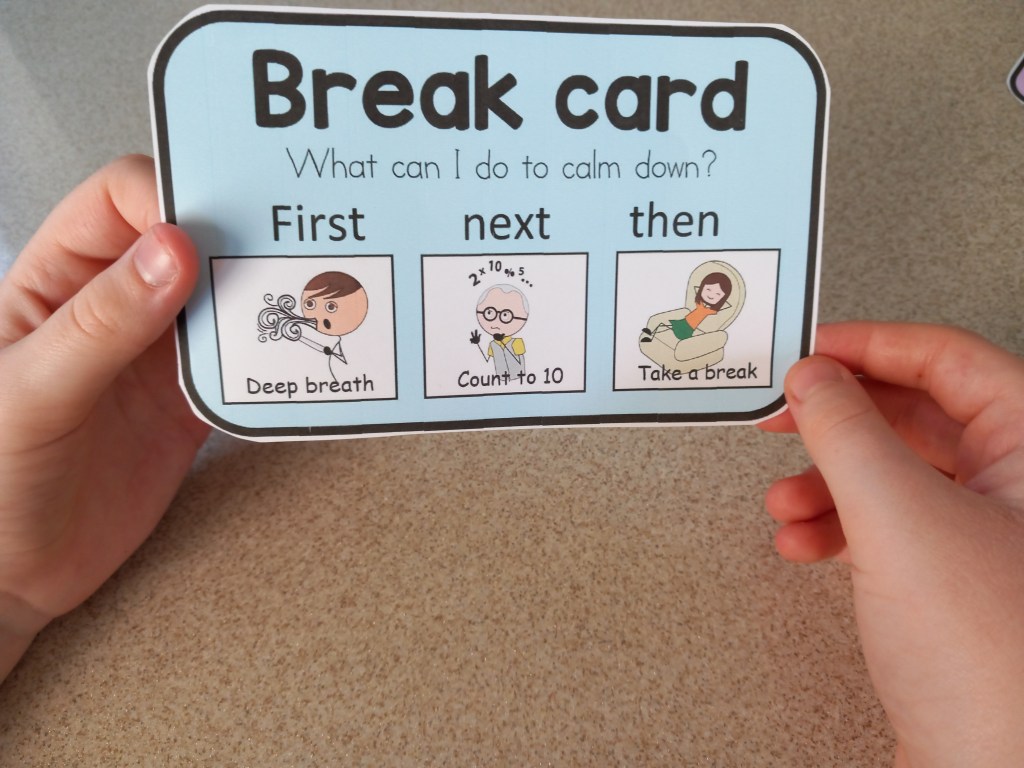
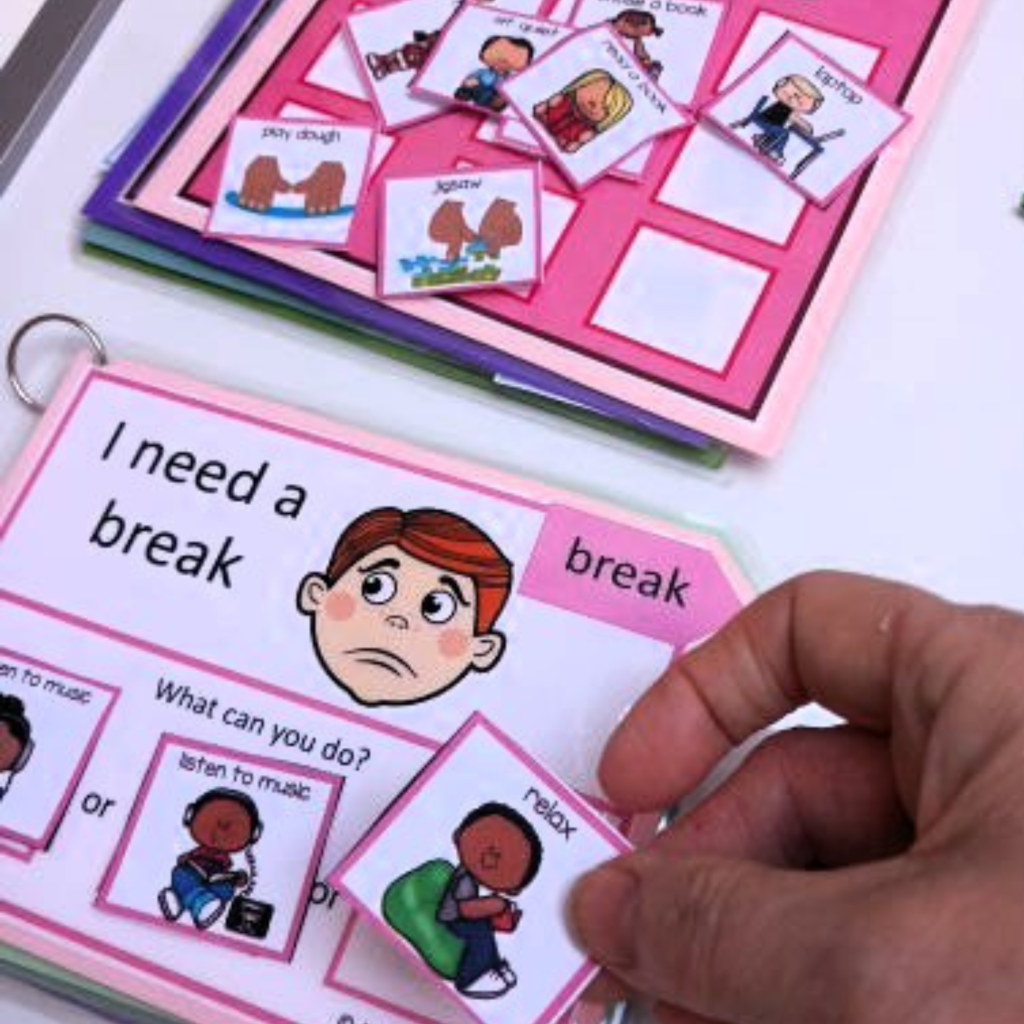
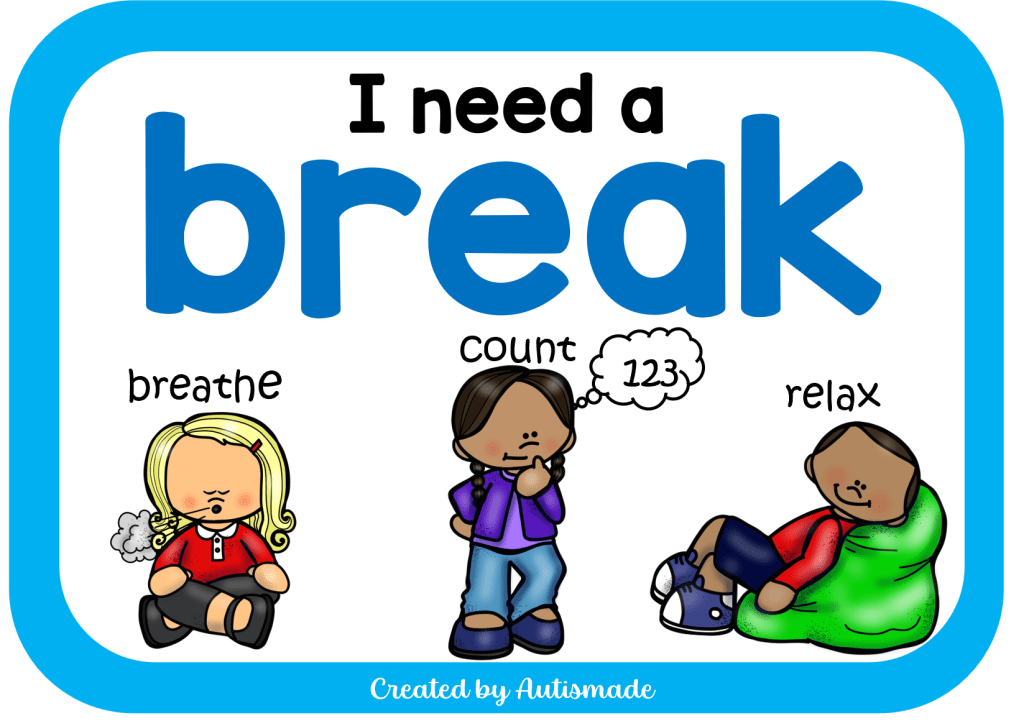
- A break card with a simple symbol
- A button on an AAC device
- A sign or gesture
Keep it easy, accessible, and always within reach. If it takes effort to find, it will not get used when it matters most.
Model It Like It Matters (Because It Does)
Students will not magically know what the break card means. You need to show them.
Use it yourself. Yes, really.
Pick a calm moment and say, “I need a break,” while using the card or device. Keep the language short and consistent. You are building a connection between the action and the meaning.
Over time, start to fade that support. The goal is independence, not perfection.
Honour the Break (This Part Is Everything)
When a student asks for a break, respond like it matters. Because it does.
- Give the break right away
- Keep it short and predictable (around 3–5 minutes)
- Use a consistent break space or activity
This teaches one powerful lesson: communication works.
Teach the “When,” Not Just the “How”
Once the skill is there, you can shape it.
Help students understand timing:
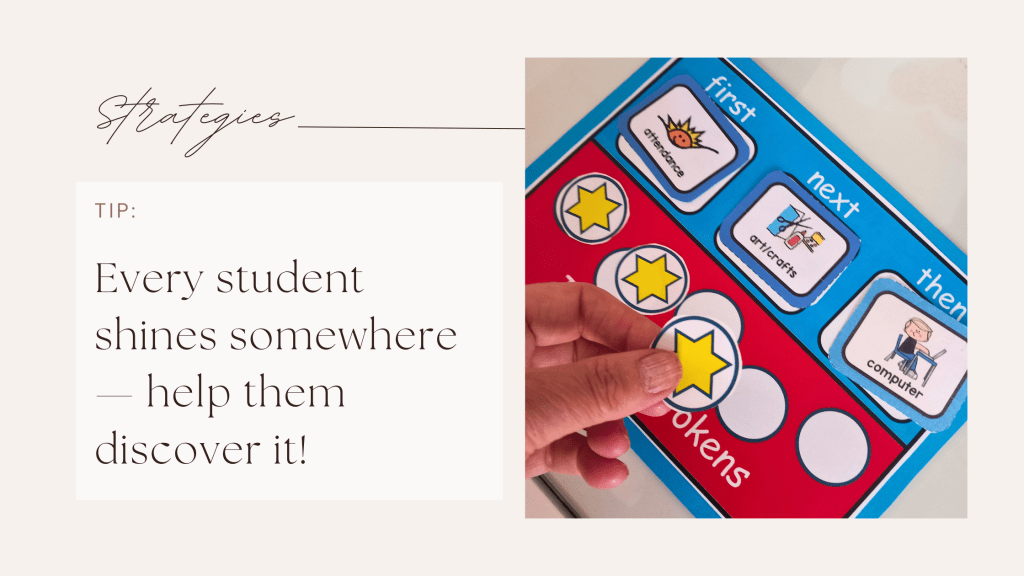
- Use visuals like “first work, then break”
- Start small (one task, then break)
- Slowly build up tolerance
This keeps the strategy practical for real classroom routines.
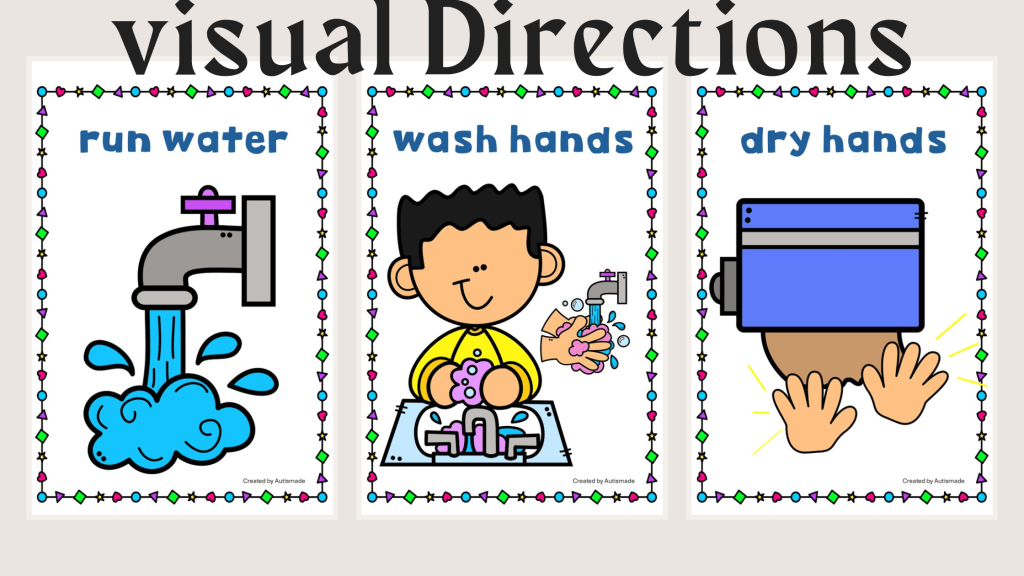
Use Visual Supports to Make It Click
Visuals reduce guesswork and lower stress.
Helpful tools include:
- Break cards
- Visual timers
- Simple schedules
These act like a roadmap, showing students what is happening now and what comes next.
A Few Pitfalls to Skip
Even great strategies can wobble if these sneak in:
- Waiting until the student is already overwhelmed
- Saying “not now” when they request a break
- Turning breaks into a reward or punishment
- Removing the communication tool
Consistency is what makes the skill stick
The Bigger Picture
Teaching a student to ask for a break is not just about avoiding meltdowns. It is about giving them a voice, a sense of control, and a safer way to navigate their day.
And once that “pause button” is in place, everything else becomes a little more manageable. For them, and for you.
Add your email to get Freebie links