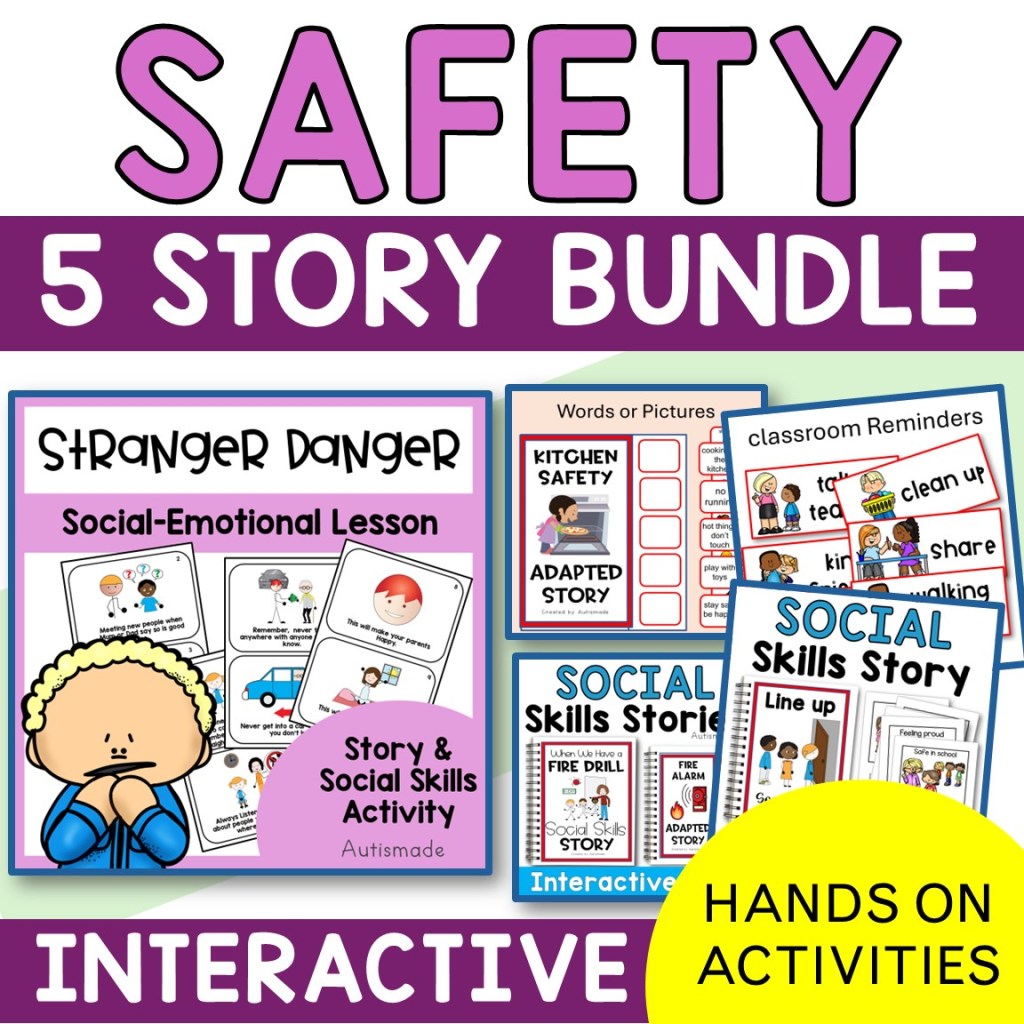
Teaching children about safety is an important part of everyday learning. For some students, particularly those in special education or autistic learners, safety rules and expectations may need to be taught in a clear, concrete, and predictable way.
This is where social stories can be a valuable teaching tool.
What Are Safety Social Stories?
Social stories are short, structured stories that explain a situation, what a child may experience, and what they can do to respond safely. They can help make unfamiliar or potentially challenging situations easier to understand.
Instead of simply saying, “Be safe,” a social story can break the idea of safety into small, meaningful steps.
For example, a story might explain:
How to stay safe in the classroom
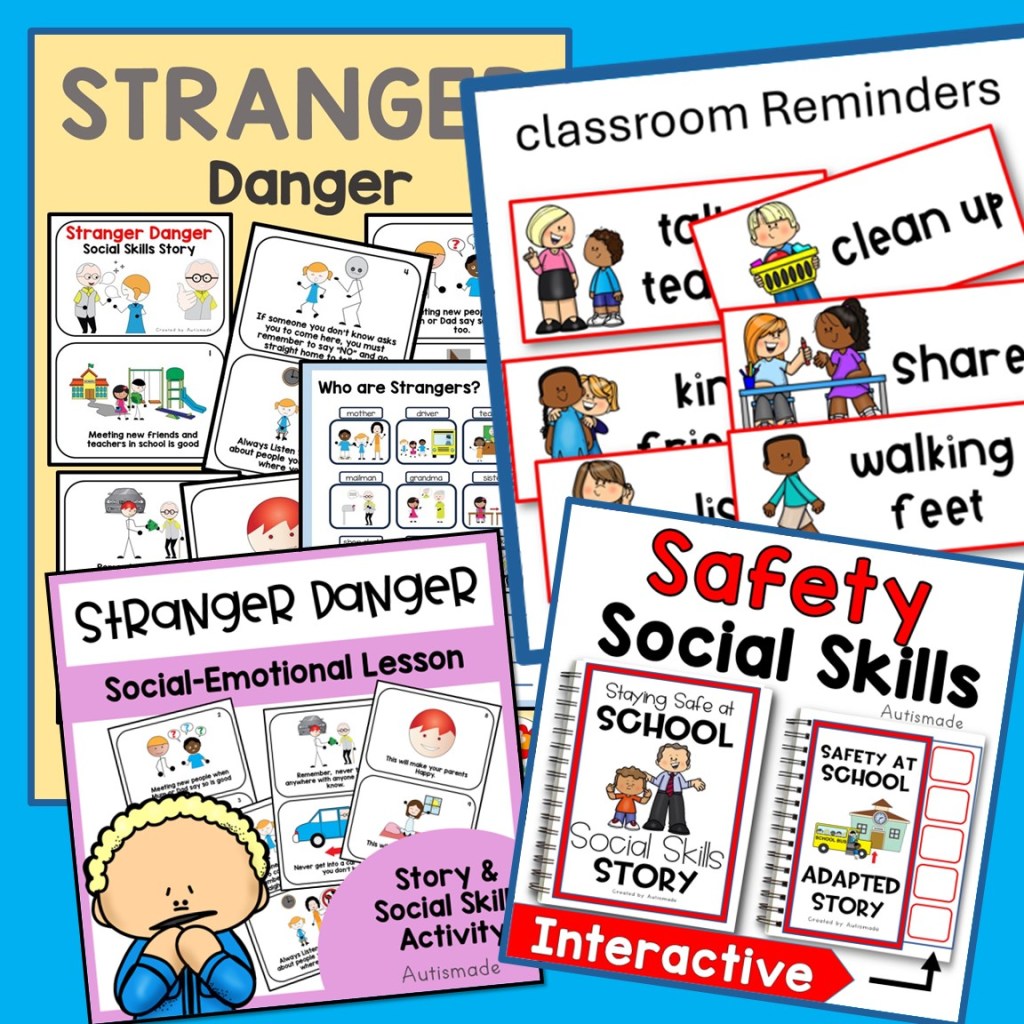
Stranger Danger safe vs unsafe
How to ask a trusted adult for help
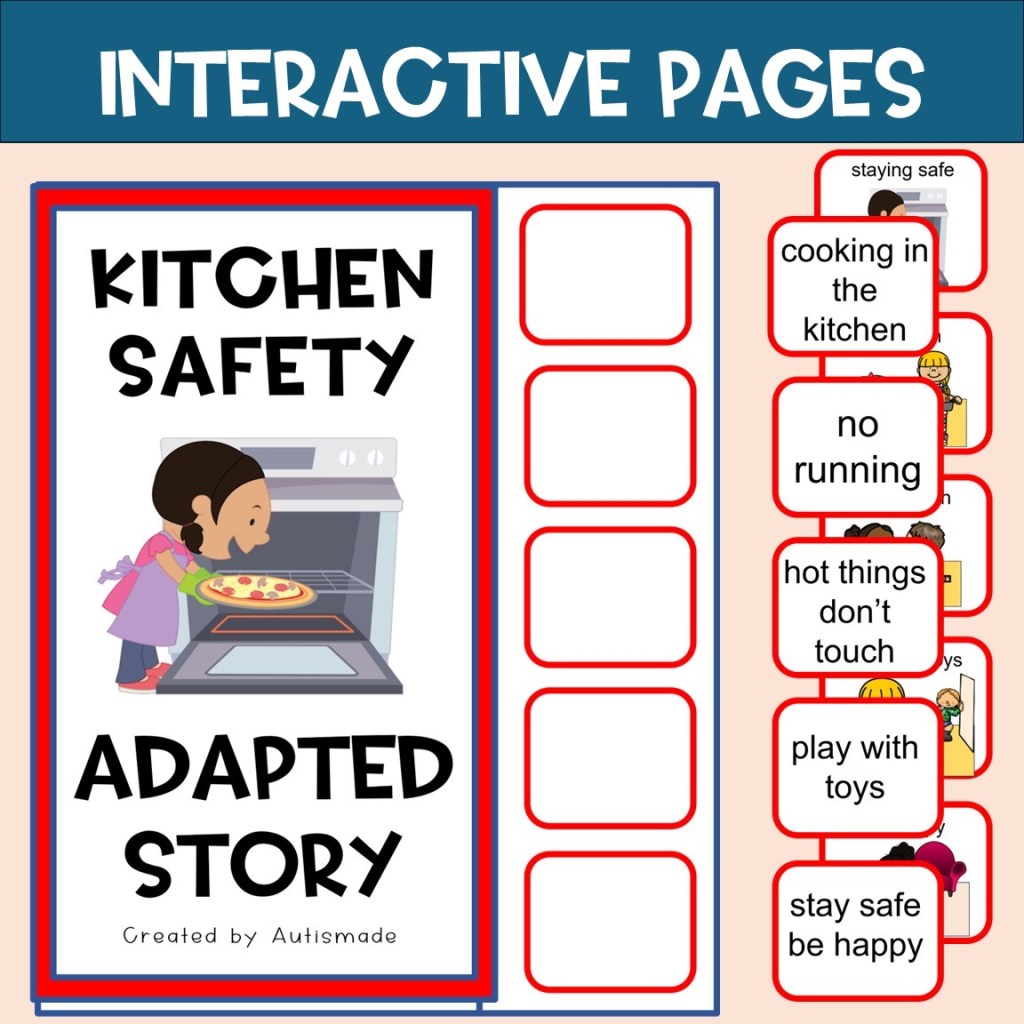
Understanding kitchen safety
What to do if separated from a caregiver
Safe choices at home
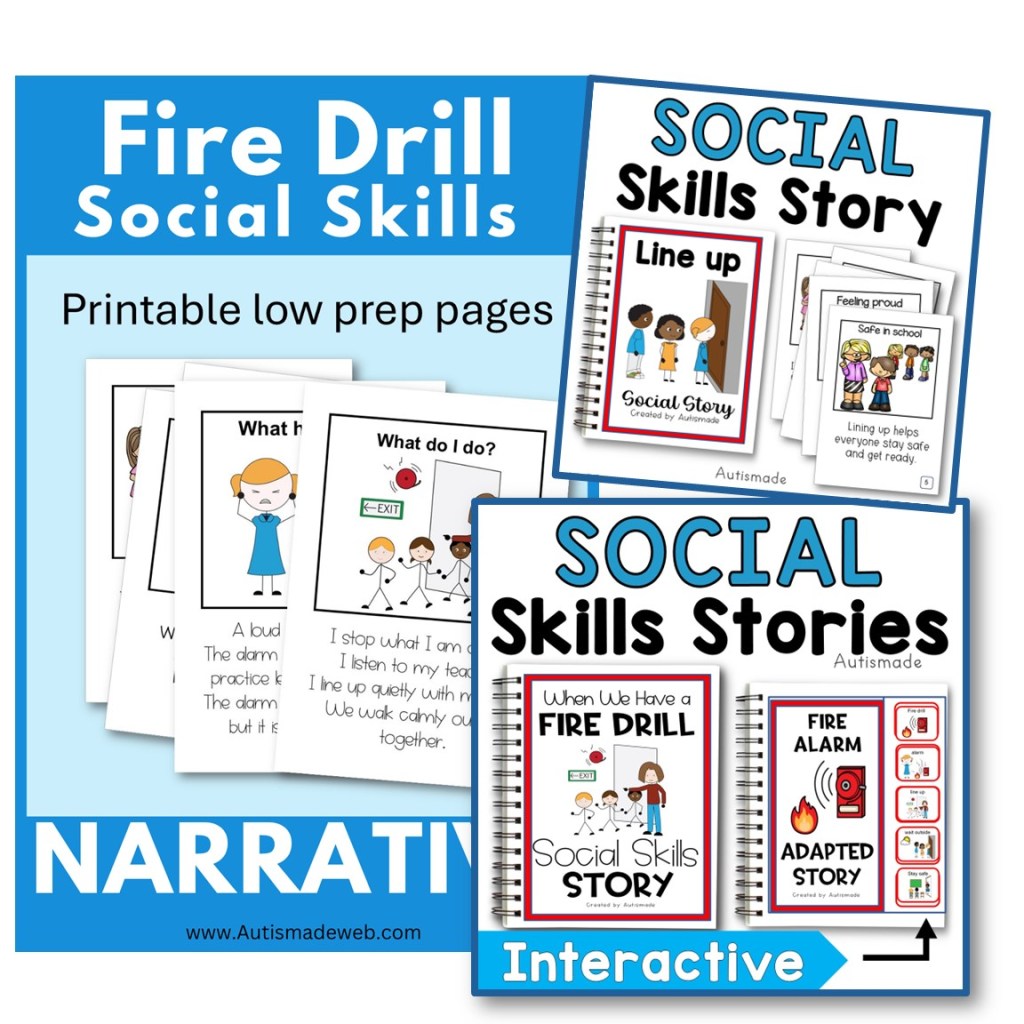
How to respond during an emergency
Why Use Social Stories to Teach Safety?
Every child learns differently. Some students benefit from having information presented visually, repeatedly, and in simple language.
Social stories can be read before a situation occurs, practiced regularly, or revisited when a child needs a reminder. They can also be used during individual instruction, small groups, life-skills lessons, or as part of a classroom routine.
For teachers and families, they provide a simple way to introduce important safety concepts without overwhelming the learner with too much information at once.
Making Safety Learning Meaningful
The goal isn’t simply for students to memorize a list of safety rules. It’s to help them understand what to do, who they can ask for help, and how to make safer choices in everyday situations.
Keep language clear and positive, use examples that are relevant to the child’s environment, and give students plenty of opportunities to practice the skills.
A Little Preparation Can Make a Big Difference
Whether you’re teaching School Safety, Kitchen safety, Fire Drill, or Stranger Danger, social stories can be incorporated into everyday teaching and routines.
With consistent practice and appropriate support, safety skills can become a meaningful part of a student’s journey toward greater independence and confidence.
For some students, asking for a break comes naturally. For others, it is a skill that needs to be taught, practiced, and supported.
In special education classrooms, a break can be an important tool for helping students communicate their needs before they become overwhelmed. But simply telling a student, “You can ask for a break,” doesn’t always mean they know how to do it.
They may not know what words to use. They may not recognize when they need one. They may know they need a break but struggle to communicate it when they’re already frustrated.
This is where visual supports can make such a difference.
Break cards give students a clear, consistent way to communicate, while also giving adults a simple routine to teach and reinforce.
Why Teach Students to Ask for a Break?
Asking for a break is more than just a classroom routine. It can be an important communication and self-advocacy skill.
A student might need a break because they are feeling overwhelmed, tired, frustrated, overstimulated, or simply need a short pause before returning to an activity.
When we teach students an appropriate way to communicate that need, we give them another option besides shutting down, refusing, becoming upset, or leaving the area.
The goal isn’t to avoid every difficult activity.
Instead, we’re teaching students:
“When I need a break, I have a way to let someone know.”
And just like any other skill, that takes practice.
The important thing is that the student knows what happens after they request a break.
Start by Teaching What “Break” Means
Before expecting a student to independently request a break, make sure the idea of a break is clear.
A break might mean:
Going to a calm-down corner
Sitting quietly
Doing a preferred activity
Taking a movement break
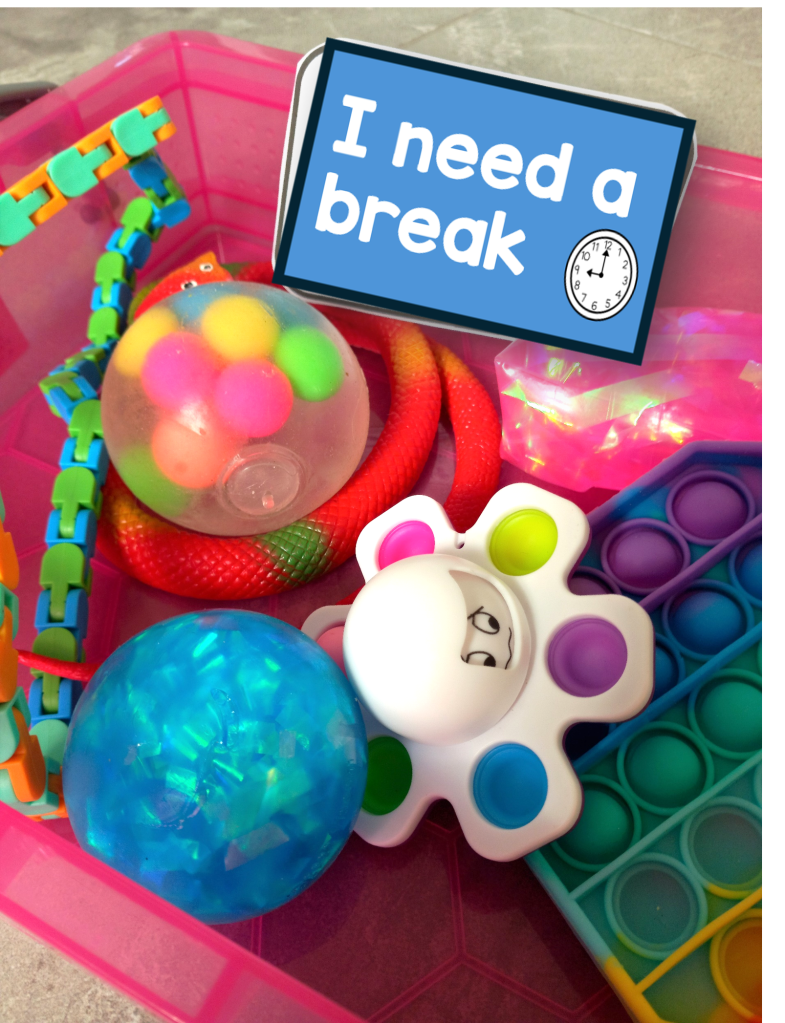
Using a sensory item
Looking at a book
Having some quiet time
A predictable routine can make the process much easier:
I need a break → I ask for a break → I choose my break → I take my break → I return to my activity.
You can teach each part of the routine separately and gradually work toward the student completing it more independently.
Use Visuals to Make the Routine Easier
Some students communicate much more successfully when they have something concrete to point to, hand over, or look at.
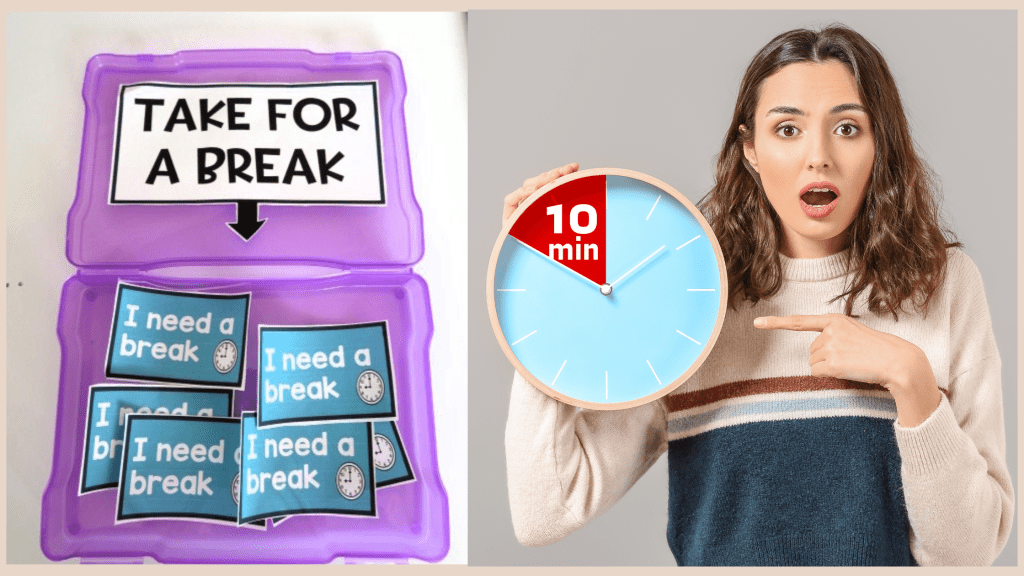
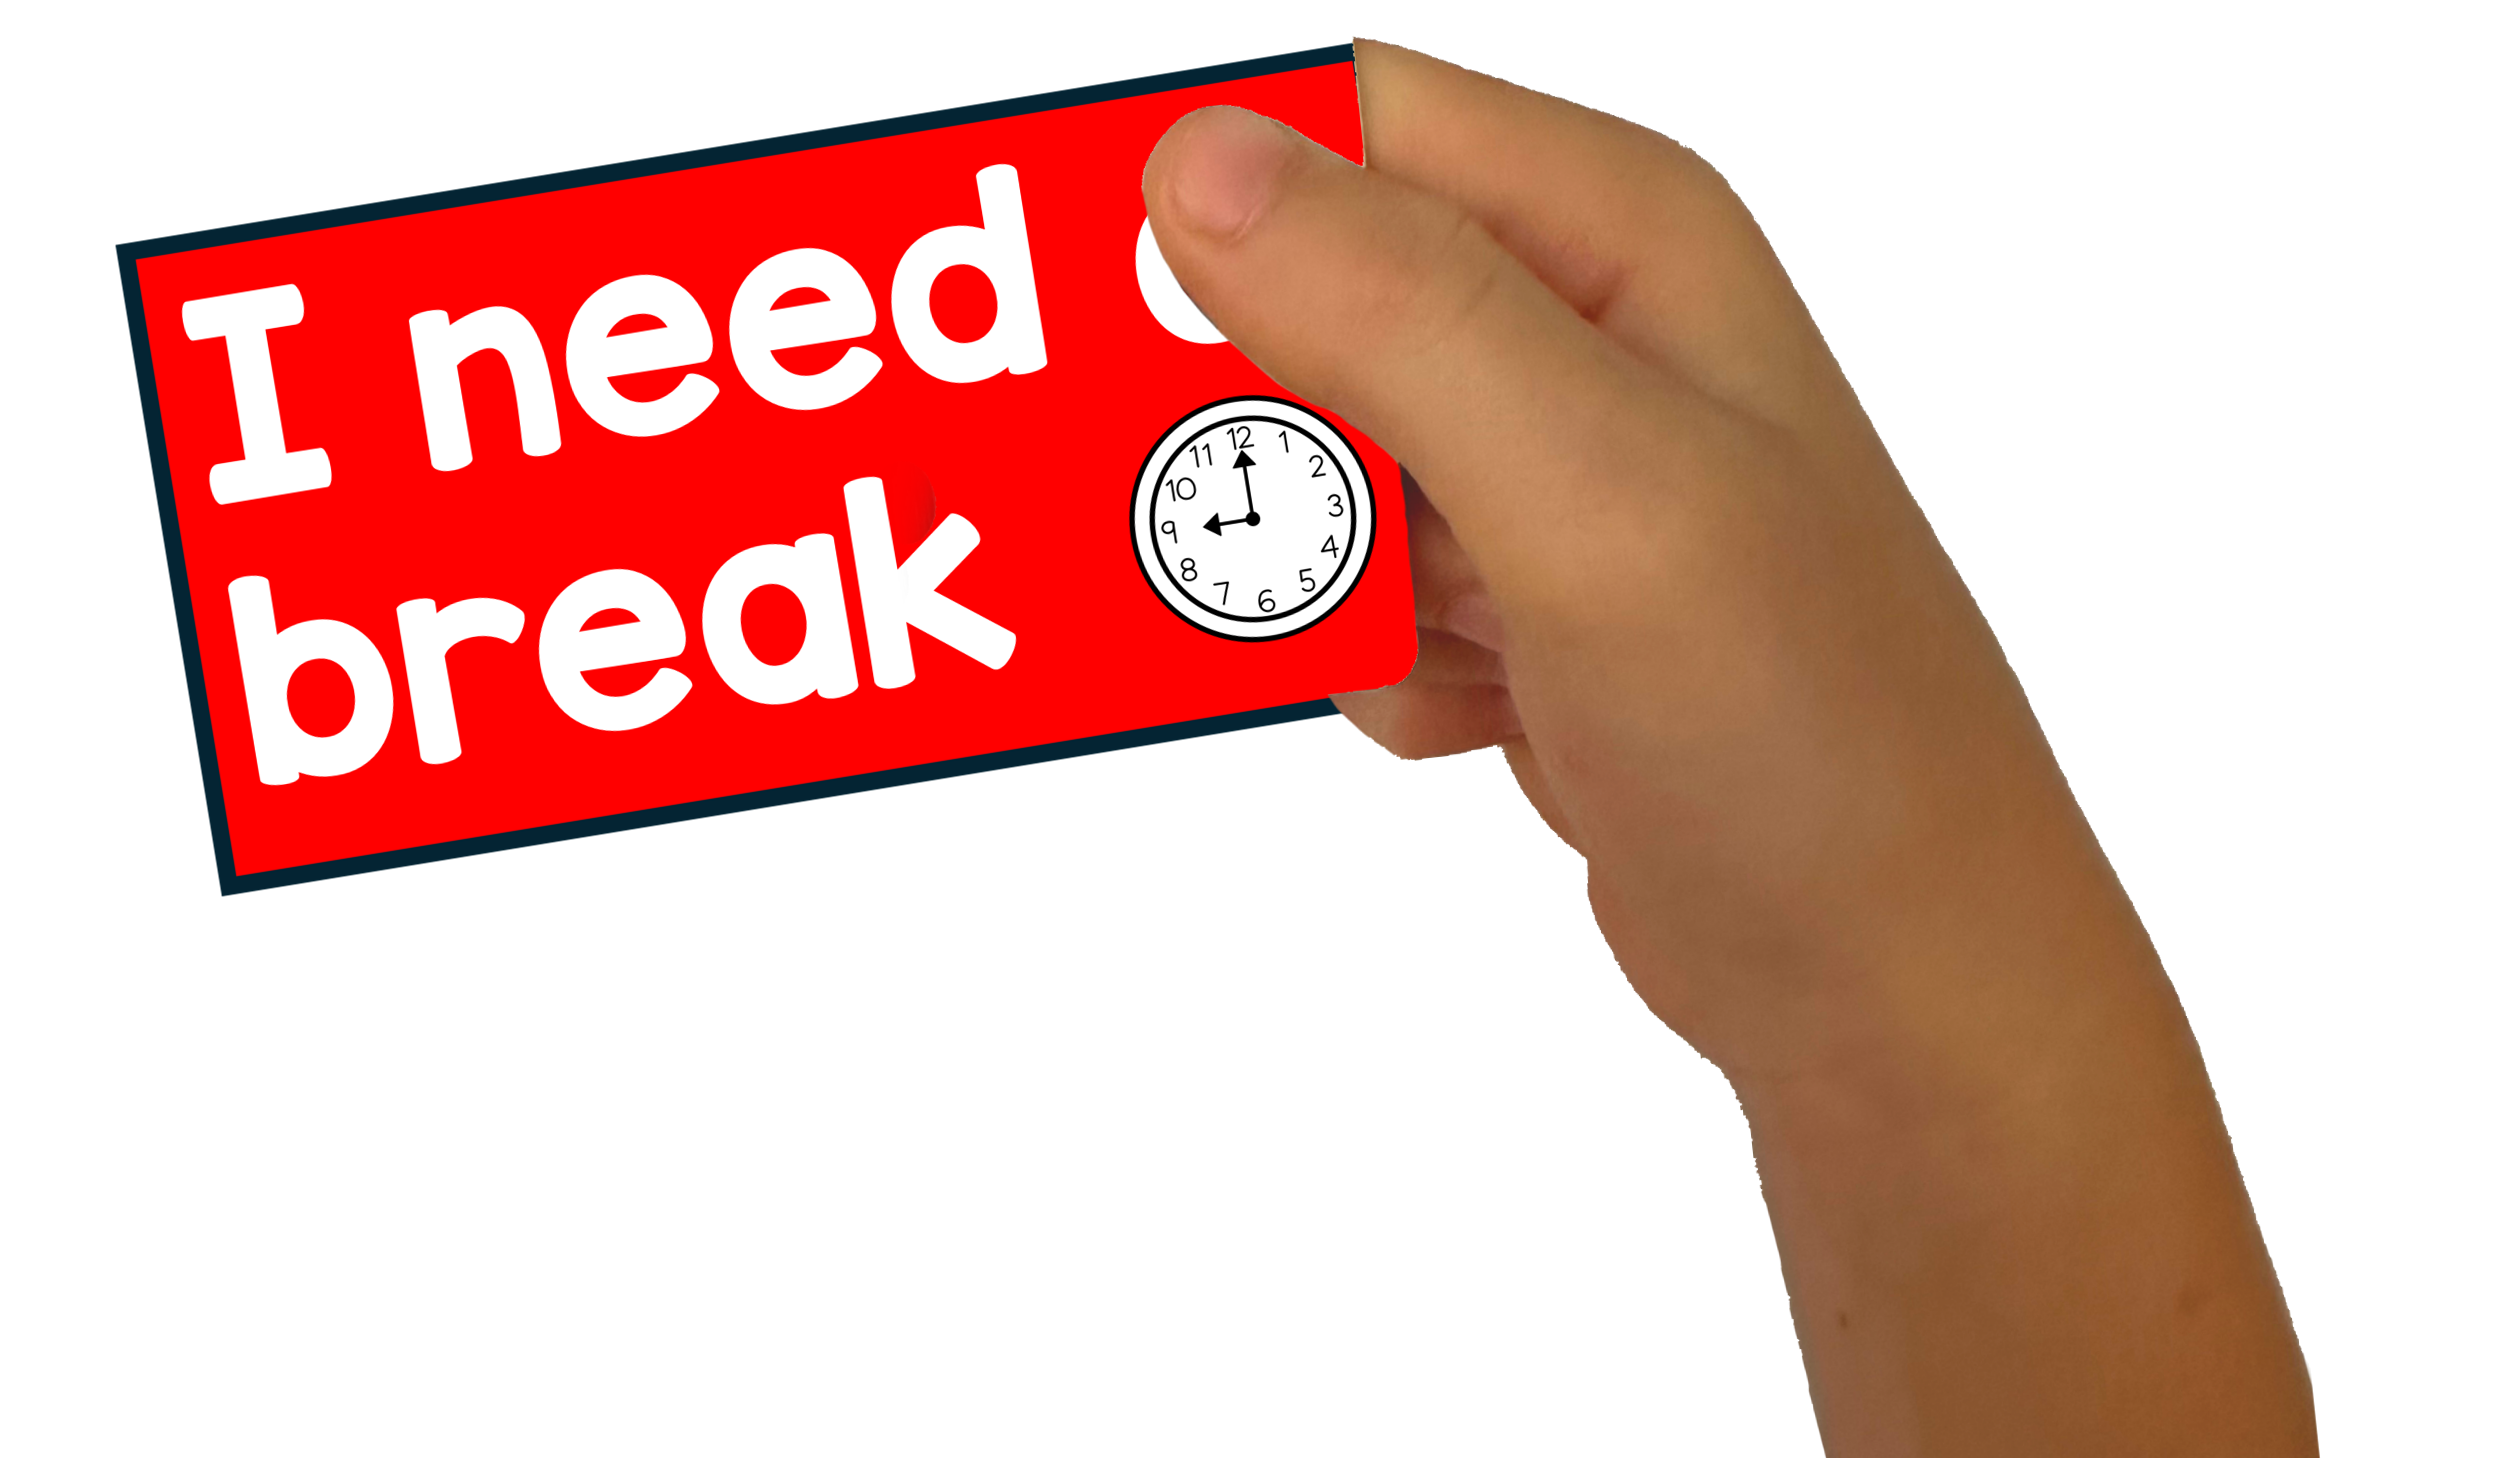
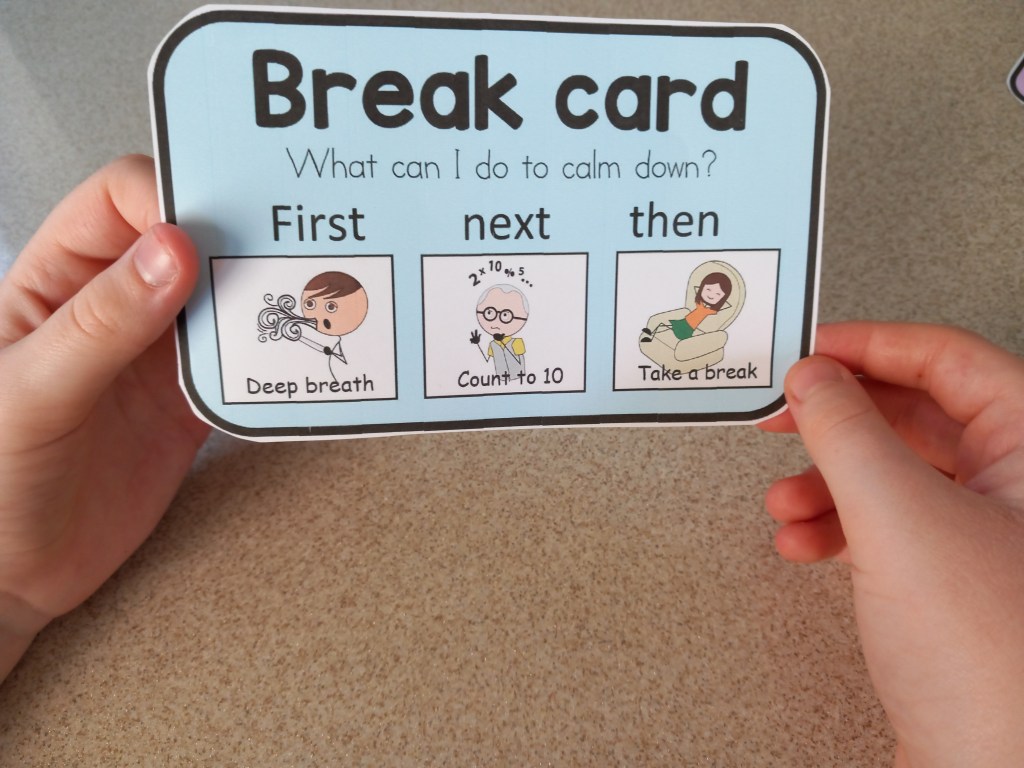
A break card can provide that visual reminder.
Instead of having to find the words in a stressful moment, a student can use a card to communicate:
“I need a break.”
For students who are still developing communication skills, this can remove one more barrier between needing a break and being able to ask for one.
And there isn’t just one right way to use break cards.
Here are three options that can work well in different classroom situations.
3 Ways to Use Break Cards in Special Education
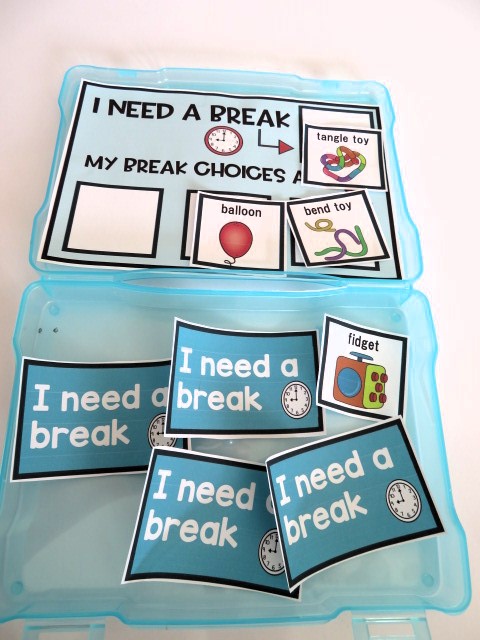
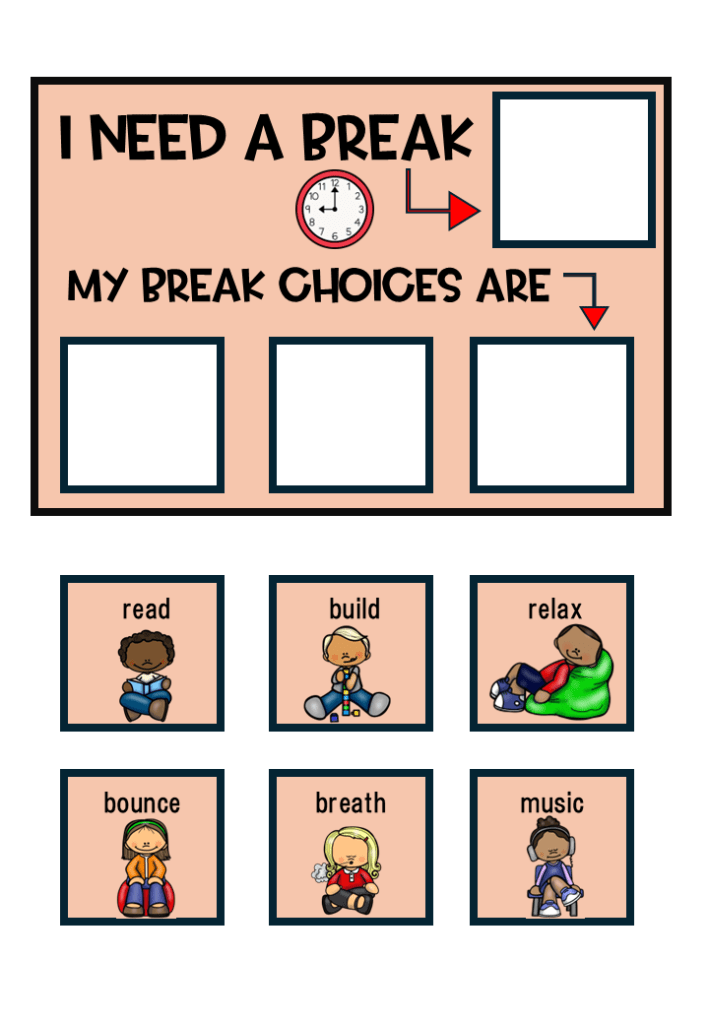
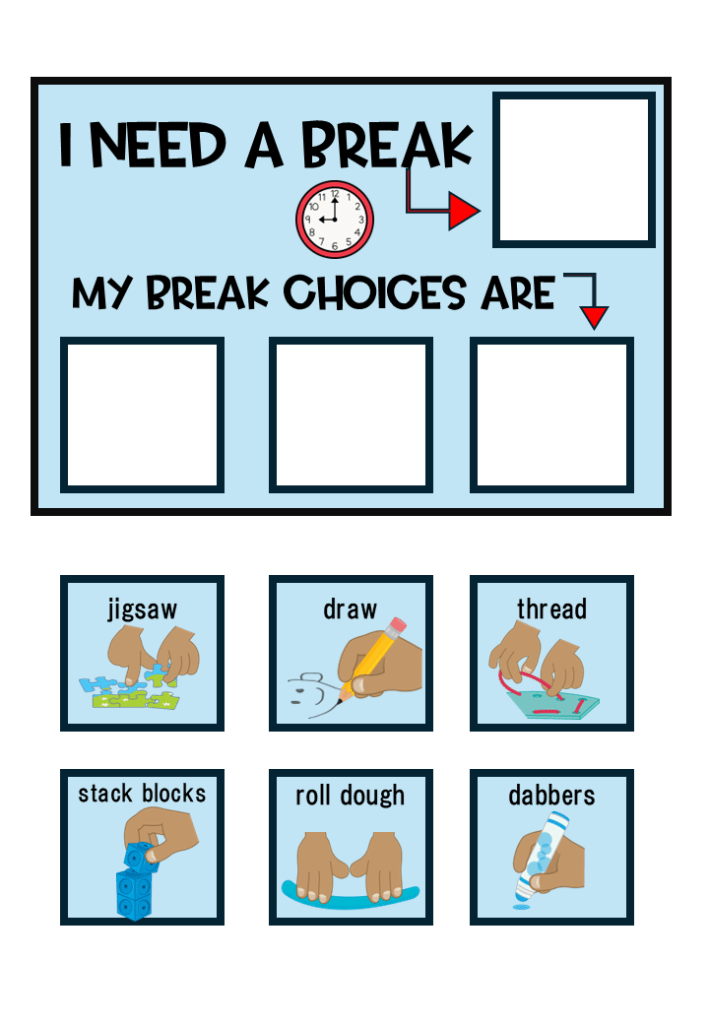
1. Break Cards With Visual Choices
For some students, asking for a break is only the first step.
They may also need help understanding what to do during the break.
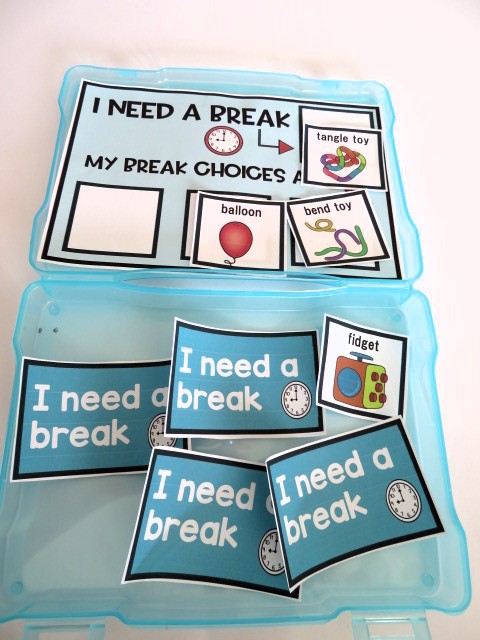
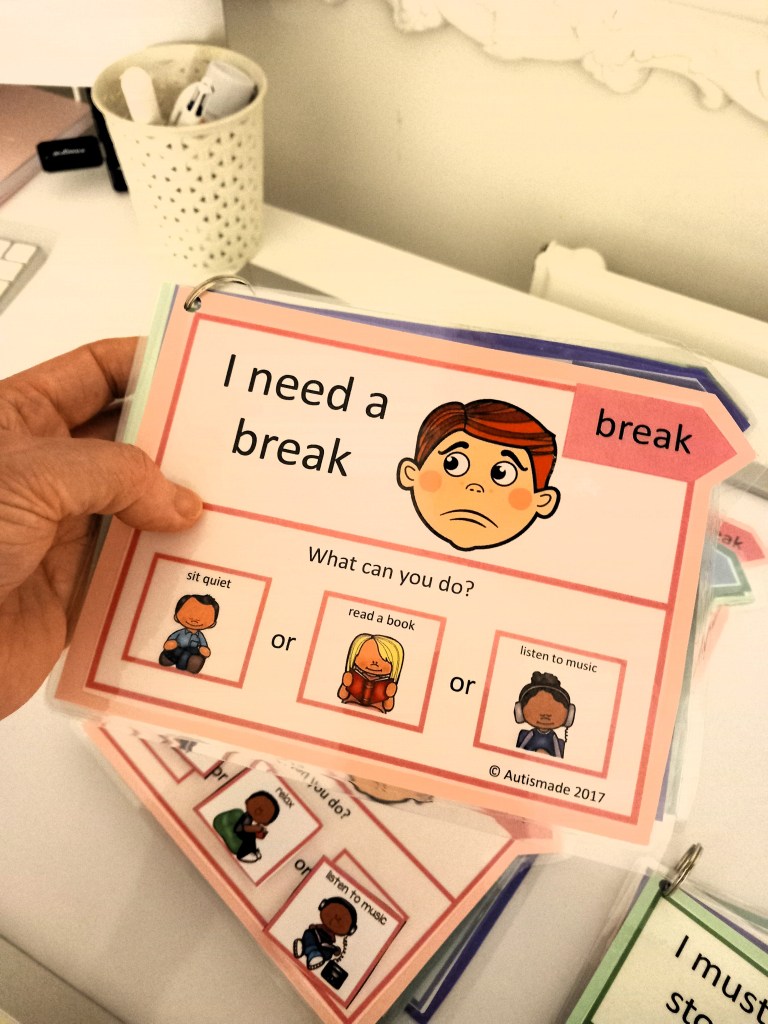
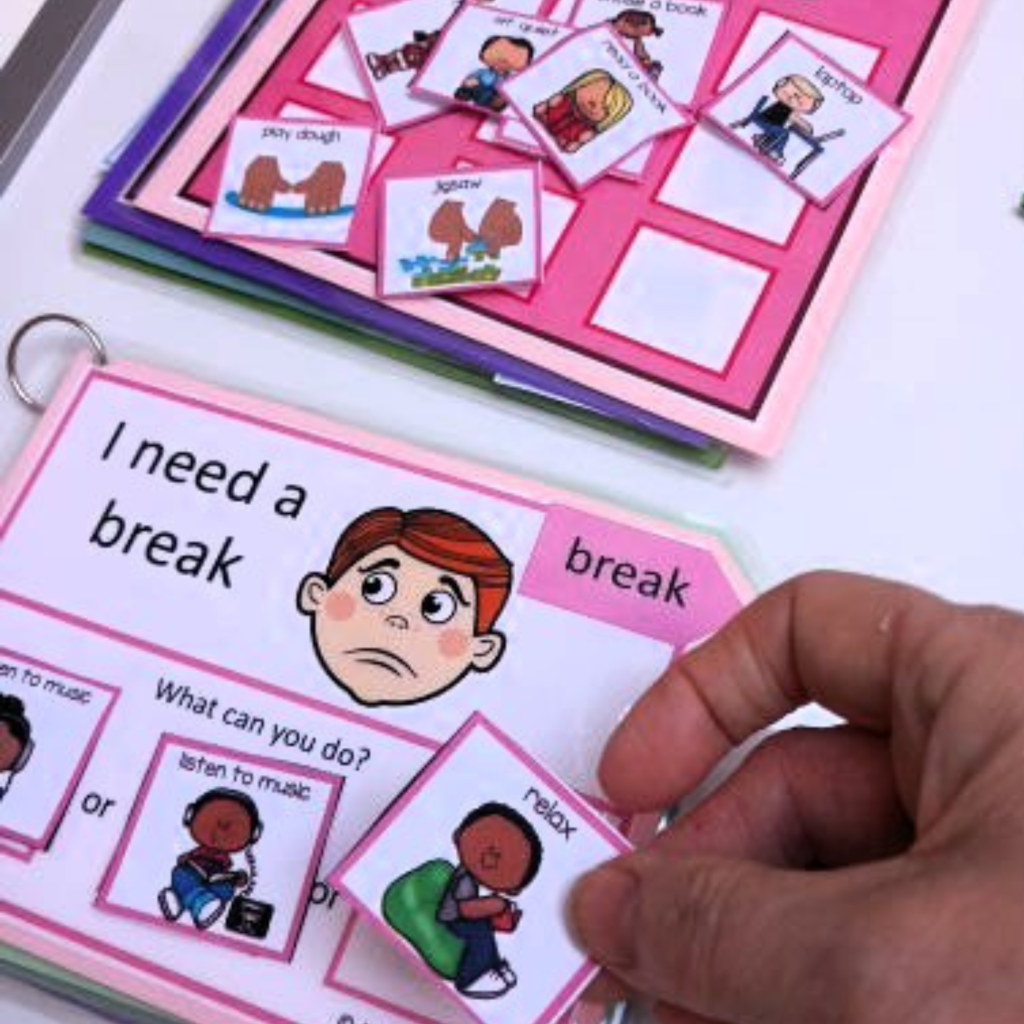
A break card with visual choices can give students a few clear options.
For example, after requesting a break, a student might choose from the available activities or supports.
This can make the break more meaningful and predictable while giving the student some control over what they need.
It also gives you an opportunity to teach appropriate choices rather than simply saying, “Go take a break.”
2. Large Tabletop Break Cards for a Calm-Down Corner
A larger break card can work especially well in a calm-down corner or designated break area.
Having the visual sitting on the table or displayed in the space means the student can see it when they need it.
This can be particularly helpful for students who benefit from consistent environmental supports.
You don’t necessarily need to make the process complicated.
The visual can simply remind the student:
This is where I can go when I need a break.
Over time, that familiar visual can become part of the student’s routine.
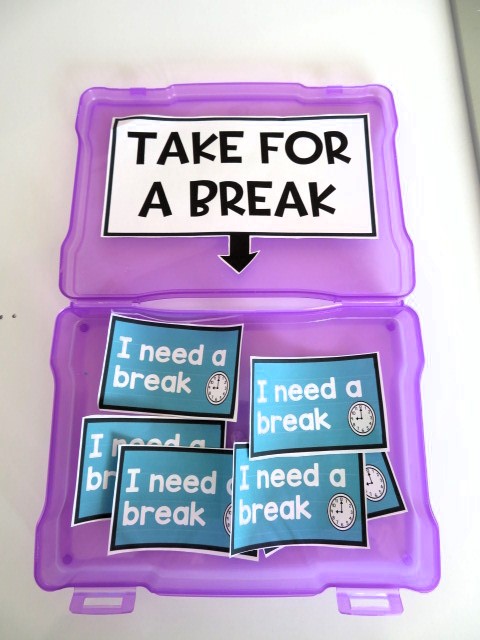
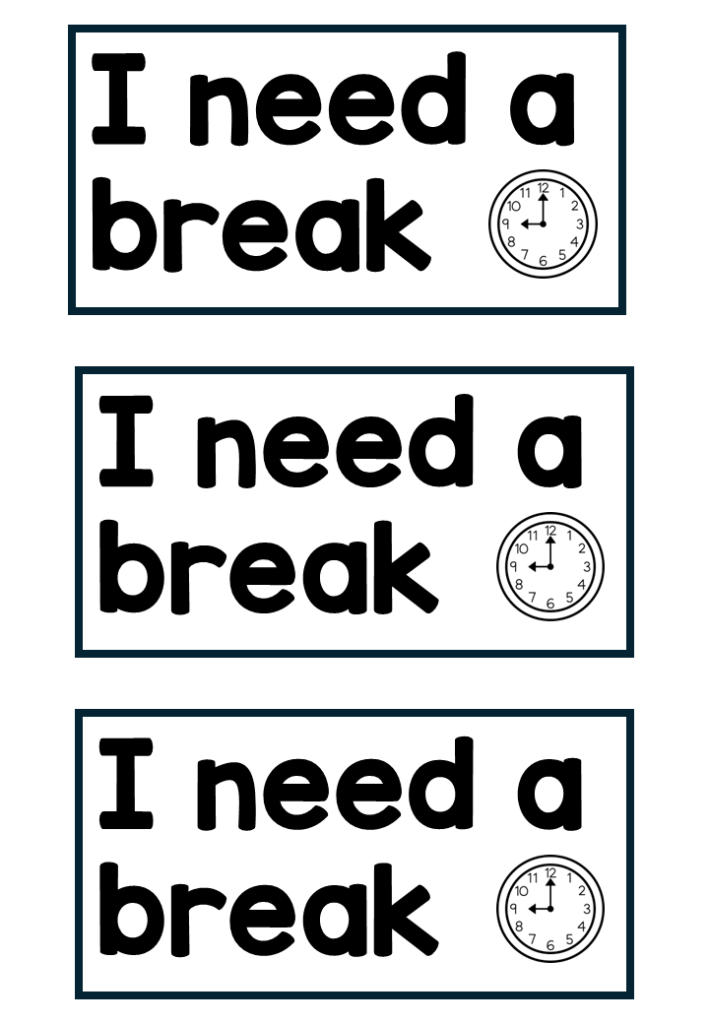
3. Individual Break Cards for the Day or Session
Another option is to give a student a set number of individual break cards to use during a lesson, session, or part of the school day.
This can make the idea of taking a break much more concrete.
The student can see how many break opportunities are available and practice using them appropriately. For some students, this can also be helpful when you’re working on increasing independence and reducing adult prompting.
As with any support, the number of cards and how they are used should be individualized to the student and their needs.
Don’t Forget the Data
One of the most helpful things we can do when teaching a new skill is pay attention to how much support the student needs.
It’s easy to look at a student using a break card and think, “Great! They’re doing it!”
But there is an important question underneath that:
How independently are they doing it?
Are they requesting a break independently?
Do they need a partial prompt?
Do they need a full prompt?
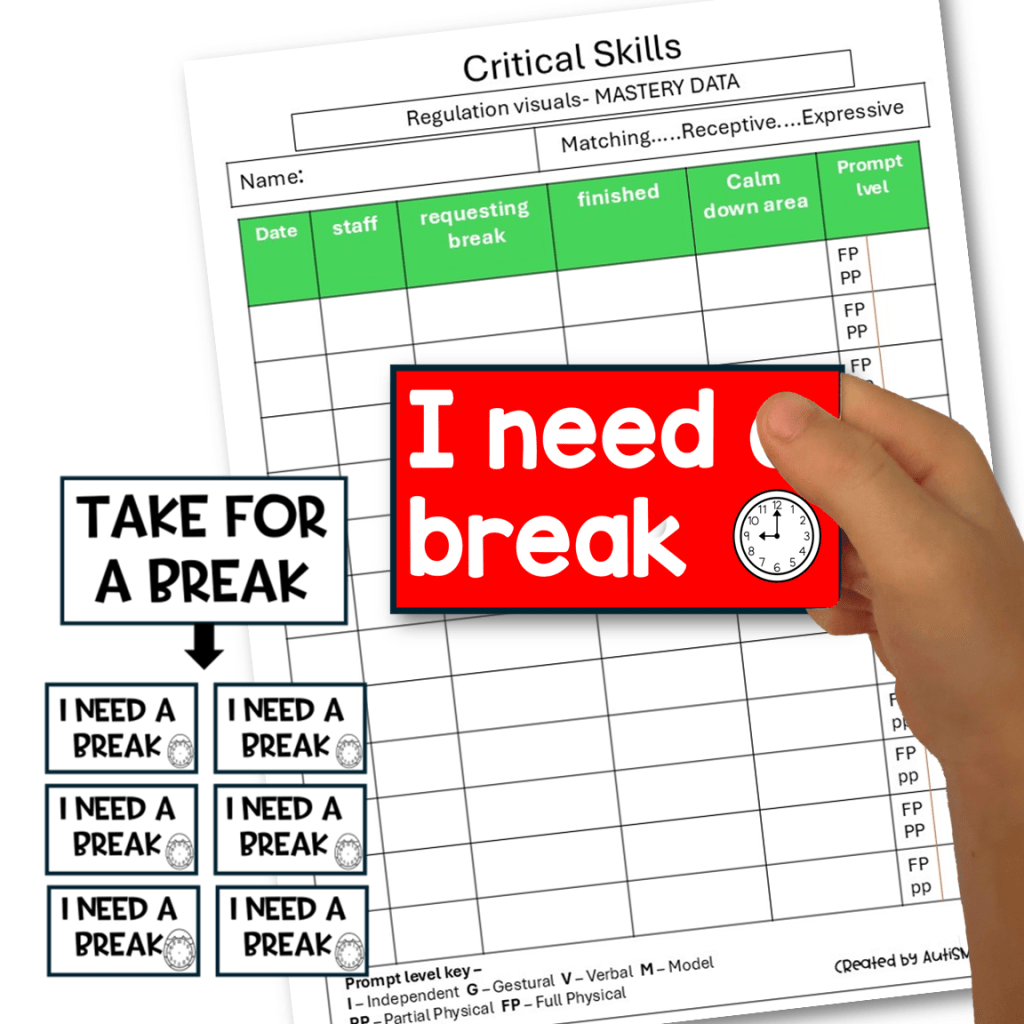
Tracking prompt levels can help you see progress that might otherwise be easy to miss.
For example, a student might begin by needing a full prompt to use their break card. With consistent practice, they may begin responding to a partial prompt and eventually request a break independently.
That progression is worth noticing.
The goal isn’t simply for a student to use a break card. The goal is to help them become increasingly independent in communicating their needs.
Keep the Routine Consistent
Students are more likely to understand a new skill when the adults around them use the same language and expectations.
Try to keep the routine simple and consistent.
For example:
Request → Choose → Break → Return
Use the same language when possible. Keep the visuals available. Practice when the student is calm rather than waiting until they are already overwhelmed.
You can even practice the routine during a neutral part of the day.
“Show me how you ask for a break.”
Then let the student practice.
That way, they’re not trying to learn a brand-new skill in the middle of a difficult moment.
Remember That Progress May Be Small
Some students may pick up the routine quickly.
Others may need lots of repetition and prompting.
That’s okay.
A student pointing to a break card instead of engaging in a difficult behavior may be a huge step forward.
A student who begins to recognize, “I need a break,” is developing an important piece of self-awareness.
A student who moves from a full prompt to a partial prompt is making progress toward independence.
Those small steps matter.
Looking for Ready-to-Use Break Card Visuals?
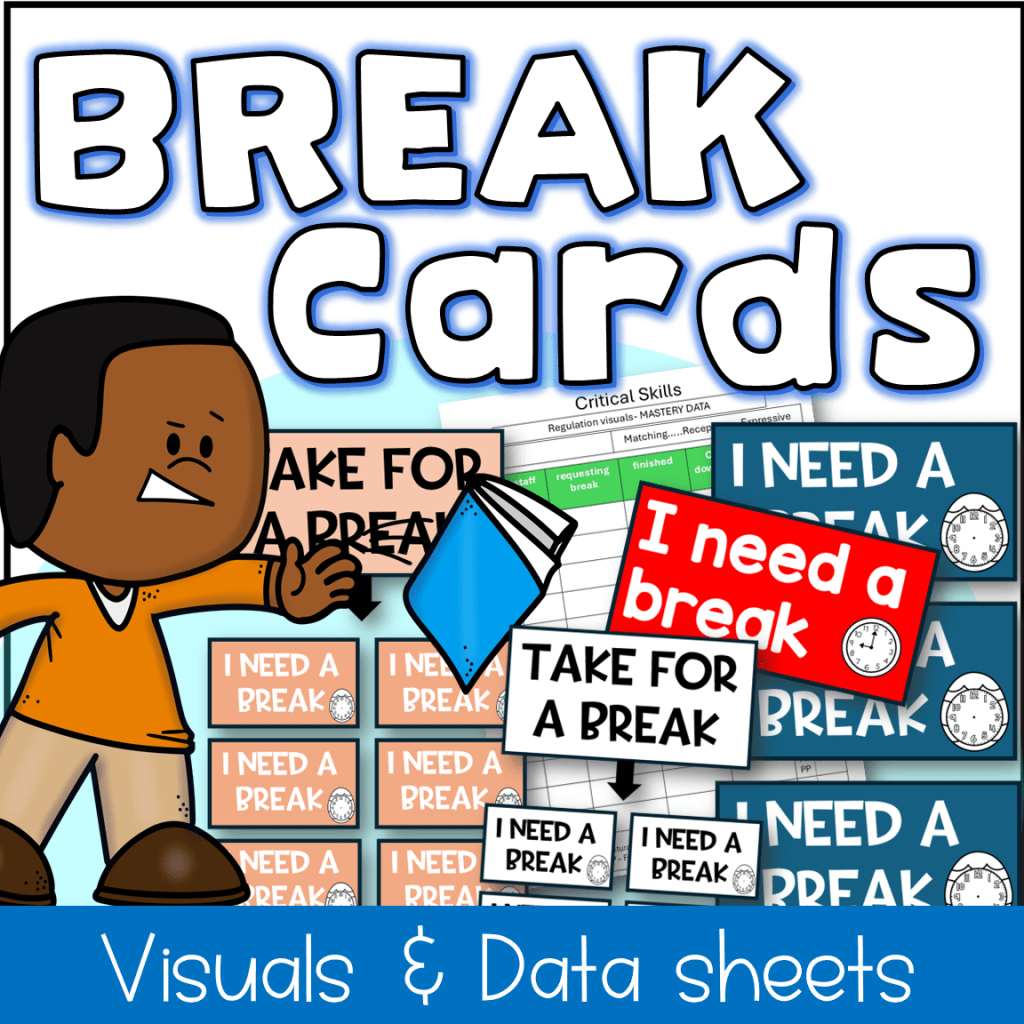
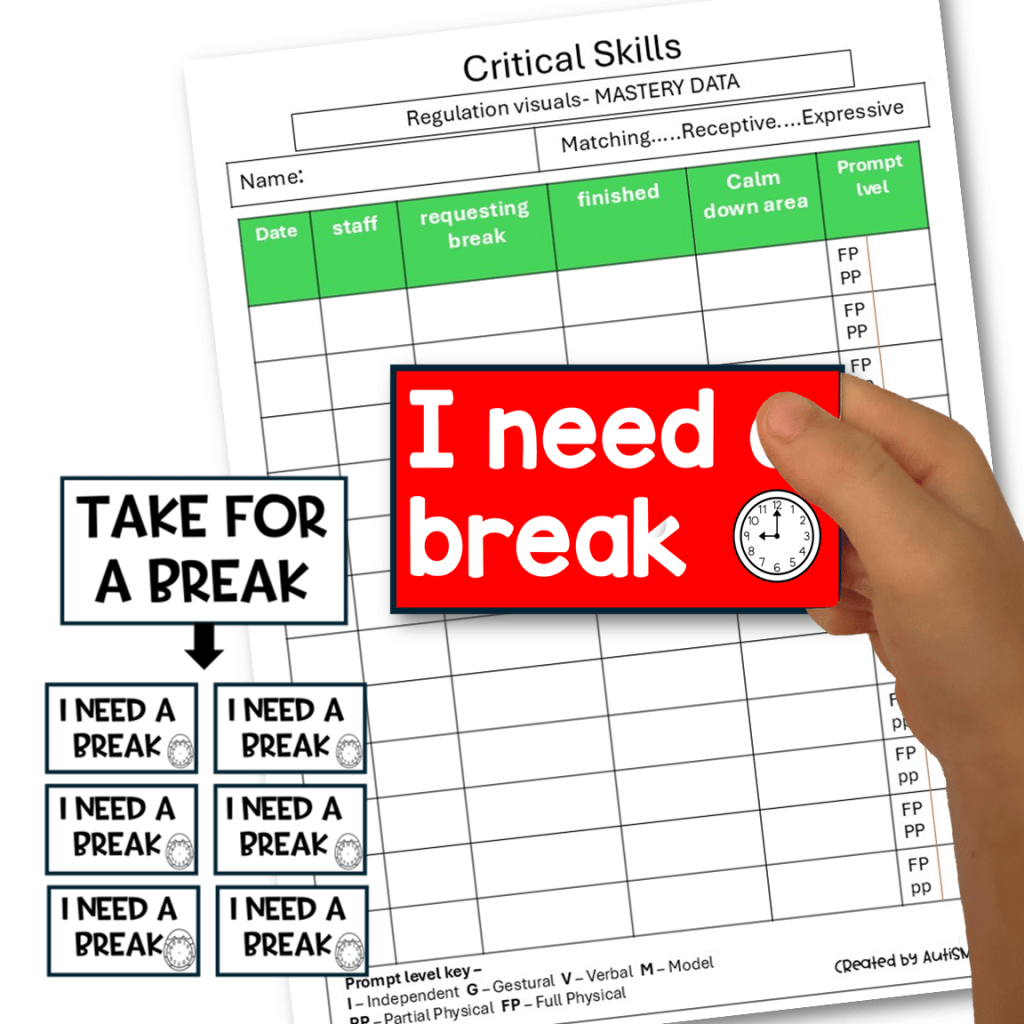
If you’re looking for an easy way to introduce break requests in your classroom, I’ve created a Break Card Visuals resource with several different options.
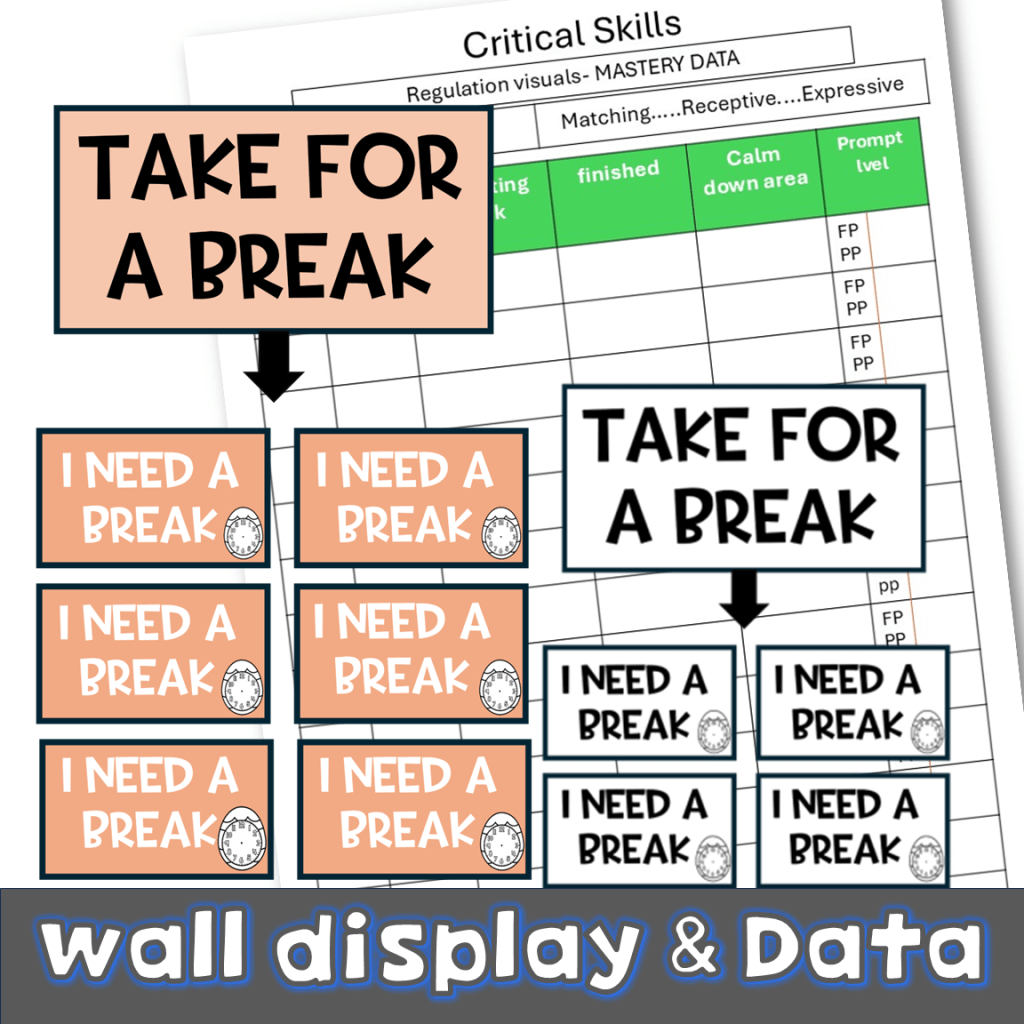
The resource includes:
Break cards with visual choices for what to do during a break
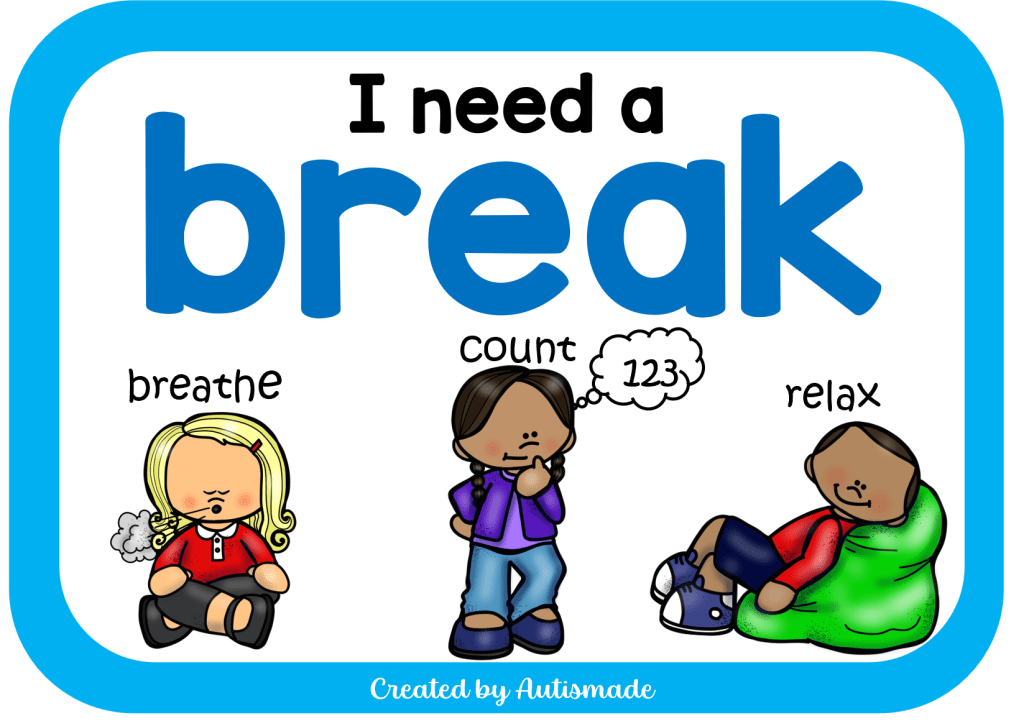
Large tabletop break cards for use in calm-down corners or designated break spaces
Individual break cards that can be provided as a set for a session or part of the school day
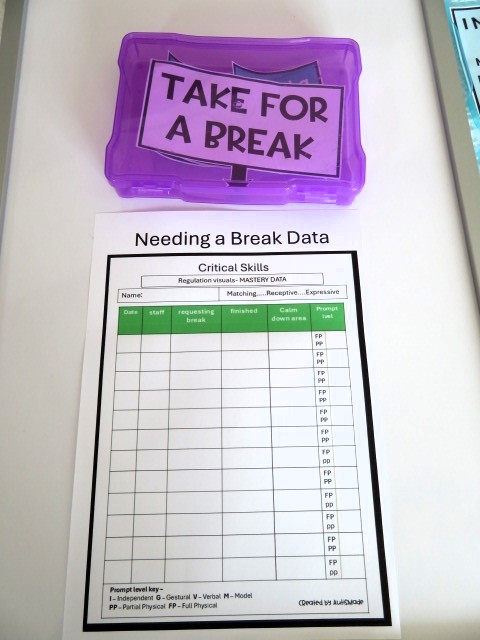
A data sheet for tracking prompt levels and student progress
Having different formats means you can choose the option that makes the most sense for the student you’re supporting.
Sometimes a student needs a large visual in their calm-down space. Sometimes individual cards work better. And sometimes having choices for what to do during the break is exactly the extra support they need.
Teaching students to ask for a break doesn’t have to be complicated.
Start small.
Teach the routine. Use visuals. Practice when the student is calm. Provide the level of prompting they need, and gradually look for opportunities to encourage more independence.
Most importantly, remember that asking for a break is a skill.
And skills take time to learn.
The goal isn’t perfection. It’s helping each student find a clear, appropriate way to communicate:
Sometimes a student doesn’t need another reminder to “try harder.”
Sometimes they need a way to say, “I need a break.”
For students in special education, having a simple and consistent way to communicate this need can make a big difference. Visual break cards can give students a concrete way to request a break before frustration becomes overwhelming.
Why Use a Visual Break Card?
Students may struggle to communicate when they are frustrated, overwhelmed, tired, or having difficulty with a task. In those moments, finding the right words can be especially challenging.
A visual card provides another communication option.
Instead of expecting a student to explain what they need, they can simply point to or hand over an “I Need a Break” card.
This can support:
Self-advocacy
Functional communication
Self-regulation
Coping skills
Positive behavior support
Classroom independence
Make Breaks Predictable
Self-regulation
Coping skills
Positive behavior support
Classroom independence
Make Breaks Predictable
One of the most helpful things about using a visual break system is that it creates a predictable routine.
Students can learn:
I am feeling overwhelmed → I communicate that I need a break → I take my break → I return to the activity.
The goal isn’t simply to give students a way to escape a difficult activity. Instead, you’re teaching them an appropriate replacement skill: communicating their needs.
Over time, this can become an important part of a student’s classroom routine.
Add Choices to the Break Routine
Some students may benefit from having visual choices for what they can do during their break.
For example:
🧘 Quiet time 🎧 Listen to music 📚 Look at a book 🖍️ Color or draw 🧸 Use a calming activity 🚶 Take a short movement break
Providing choices can help students become more independent and gives teachers an opportunity to teach appropriate coping strategies.
Don’t Forget the Data!
Visual supports can be wonderful for students, but teachers also need information
about what is happening in the classroom.
A simple break data sheet can help you track things such as:
When breaks are requested
How often breaks are requested
What activities happen before a break request
How long breaks last
Whether the student successfully returns to the activity
This information can help you look for patterns rather than simply guessing why a student is requesting frequent breaks.
A Simple Support That Can Make a Big Difference
You don’t need a complicated system to begin.
A clearly displayed “I Need a Break” visual, a few break choices, and a simple data sheet can create a consistent routine that students and staff can understand.
The most important part is teaching the routine when the student is calm, rather than waiting until they are already overwhelmed.
Practice it. Model it. Prompt it when appropriate. Celebrate successful communication.
And remember, requesting a break is not automatically a behavior that needs to be stopped. It can be a valuable communication skill that we can teach students to use appropriately.
Ready to Add Break Visuals to Your Classroom?
I created these Break Card Visuals for Special Education to make it easier for teachers to introduce an “I Need a Break” system in their classrooms.
The resource includes break card visuals, break choices, and a data sheet to help you teach communication and keep track of break requests.
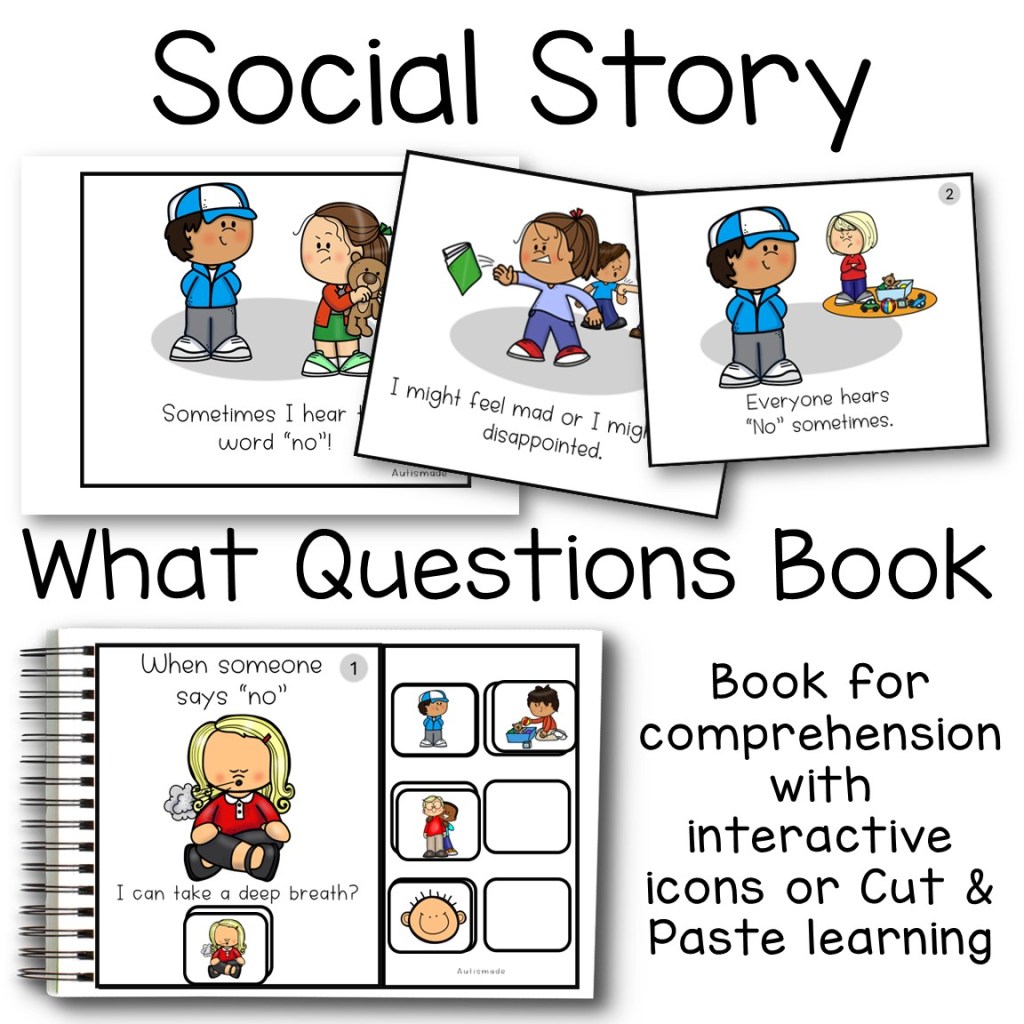
For many children, hearing the word “no” can be one of the biggest challenges they face each day. Whether it’s being told they can’t have another turn, can’t play with a preferred toy, or need to wait, these moments can lead to frustration, disappointment, or big emotions.
The good news is that accepting “no” is a skill that can be taught, practiced, and reinforced with consistent support.
Why Is Hearing “No” So Difficult?
Children are still developing the skills needed for emotional regulation, flexible thinking, and problem-solving. For many students, especially those with autism, ADHD, developmental delays, or other learning differences, unexpected changes or denied requests can feel overwhelming.
Instead of assuming children already know how to respond, we can explicitly teach:
How to stay calm.
Safe ways to express feelings.
Positive choices they can make next.
What expected behavior looks like in different situations.
The Power of Social Stories
Social stories provide a clear, predictable way to introduce social expectations. They help children understand not only what is expected but also why certain behaviors are helpful.
Reading a social story before challenging situations gives students a chance to practice appropriate responses in a calm, supportive environment rather than learning in the middle of a difficult moment.
Reinforcement Makes the Difference
Learning doesn’t stop after reading a story. Children benefit from seeing and practicing the skill in different ways.
Activities such as:
Interactive comprehension books
Behavior sorting games
Visual reminder cards
Choice boards
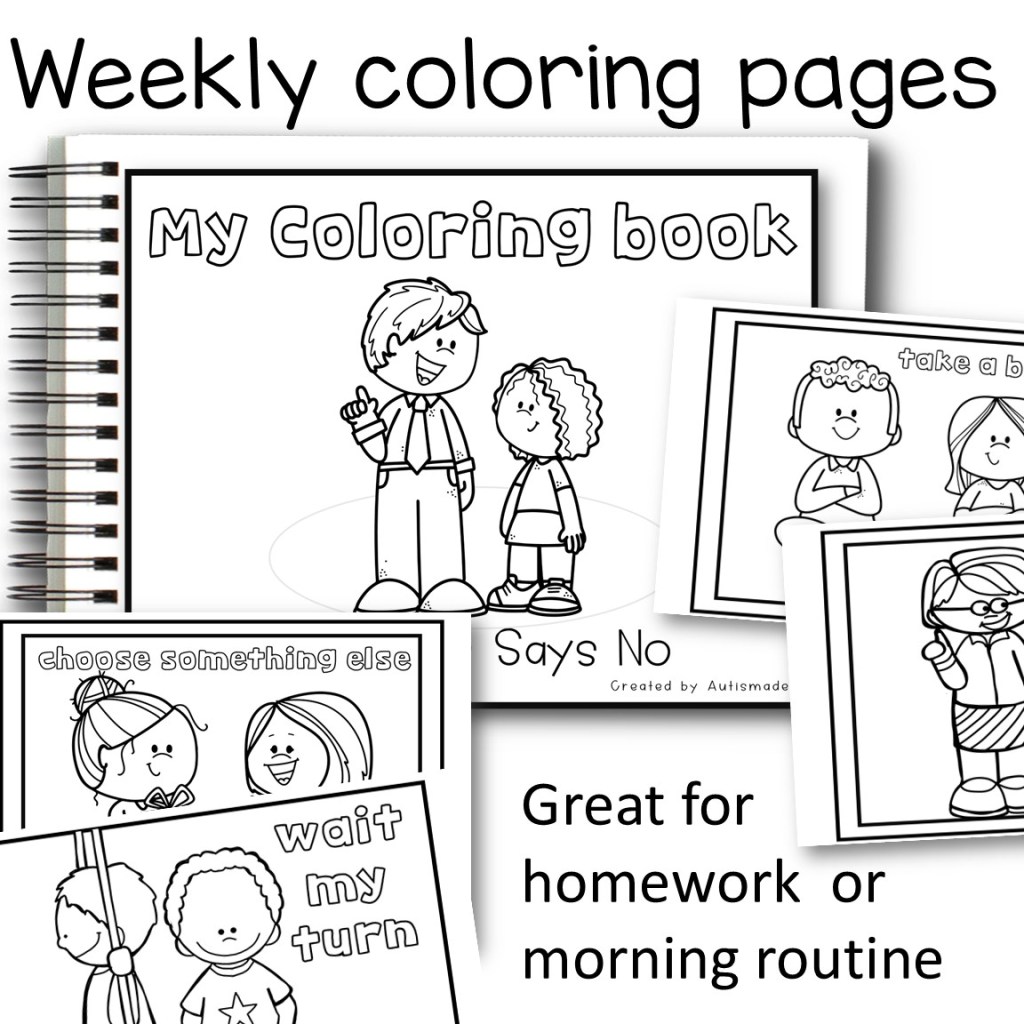
Coloring pages
help reinforce the same concept through repetition and hands-on learning. Using the same language and visuals across the classroom creates consistency, making it easier for students to remember what to do when they hear “no.”
Supporting Success Every Day
Teaching children to accept “no” isn’t about expecting perfect behavior. It’s about helping them build lifelong skills for handling disappointment, waiting patiently, solving problems, and communicating appropriately.
With consistent practice, encouragement, and visual supports, students gain confidence in managing their emotions and making positive choices, both in the classroom and beyond.
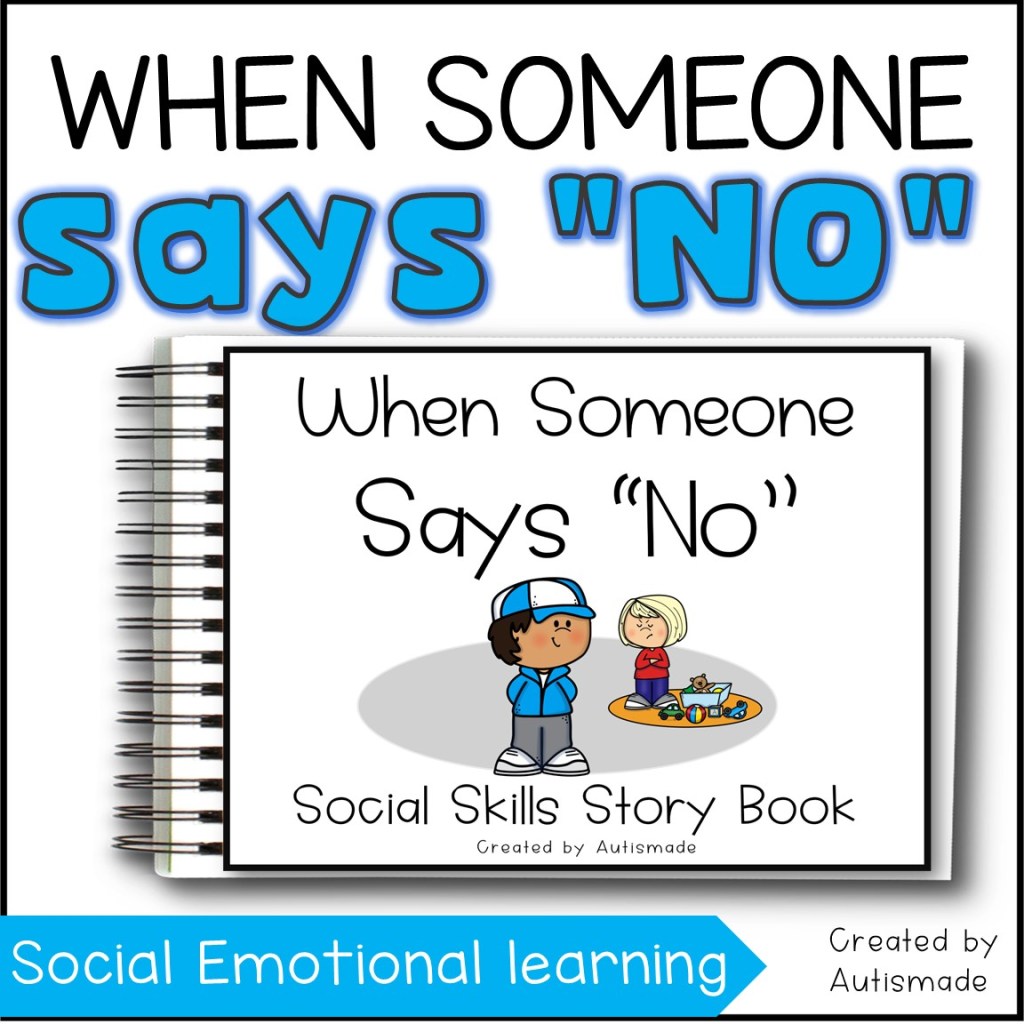
If you’re looking for ready-to-use resources, my “When Someone Says NO” Social Story and Activities includes an engaging social story, interactive comprehension book, behavior sorting game, lanyard visuals, choice boards, coloring pages, and printable visual supports designed to help students learn and practice this essential social skill in a meaningful way.
Click here For More Social Skills Stories and Activities
For many nonverbal students, challenging moments don’t come out of nowhere. They build quietly. Sensory overload, frustration, or just needing a pause. The challenge is not the feeling itself, it is not having a clear way to say, “I need a break.”
The good news? Asking for a break is a skill you can teach, and once it clicks, it can completely shift the tone of your classroom.
Start with a Simple Way to Communicate
Think of this as giving your student a “pause button.”
Choose one clear, consistent method:
A break card with a simple symbol
A button on an AAC device
A sign or gesture
Keep it easy, accessible, and always within reach. If it takes effort to find, it will not get used when it matters most.
Model It Like It Matters (Because It Does)
Students will not magically know what the break card means. You need to show them.
Use it yourself. Yes, really.
Pick a calm moment and say, “I need a break,” while using the card or device. Keep the language short and consistent. You are building a connection between the action and the meaning.
Over time, start to fade that support. The goal is independence, not perfection.
Honour the Break (This Part Is Everything)
When a student asks for a break, respond like it matters. Because it does.
Give the break right away
Keep it short and predictable (around 3–5 minutes)
Use a consistent break space or activity
This teaches one powerful lesson: communication works.
Teach the “When,” Not Just the “How”
Once the skill is there, you can shape it.
Help students understand timing:
Use visuals like “first work, then break”
Start small (one task, then break)
Slowly build up tolerance
This keeps the strategy practical for real classroom routines.
Use Visual Supports to Make It Click
Visuals reduce guesswork and lower stress.
Helpful tools include:
Break cards
Visual timers
Simple schedules
These act like a roadmap, showing students what is happening now and what comes next.
A Few Pitfalls to Skip
Even great strategies can wobble if these sneak in:
Waiting until the student is already overwhelmed
Saying “not now” when they request a break
Turning breaks into a reward or punishment
Removing the communication tool
Consistency is what makes the skill stick
The Bigger Picture
Teaching a student to ask for a break is not just about avoiding meltdowns. It is about giving them a voice, a sense of control, and a safer way to navigate their day.
And once that “pause button” is in place, everything else becomes a little more manageable. For them, and for you.