Its that time of year again – the panic of building back to school lessons, fresh new resources and a shiny clean classroom! But a new class list of children in Special Education can mean new challenges and worries, so be prepared with hands on resources, learn as much as you can about each student and relax into teaching!

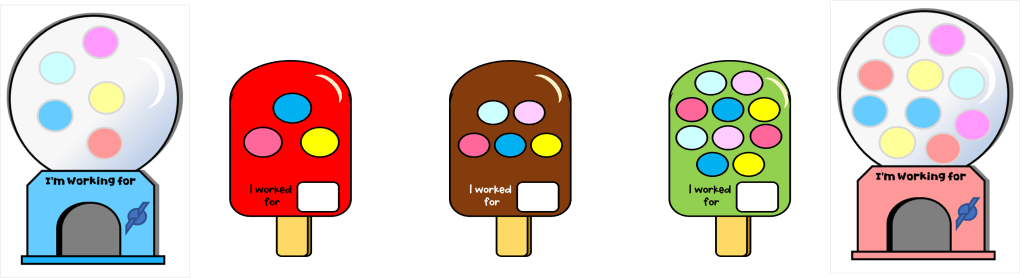
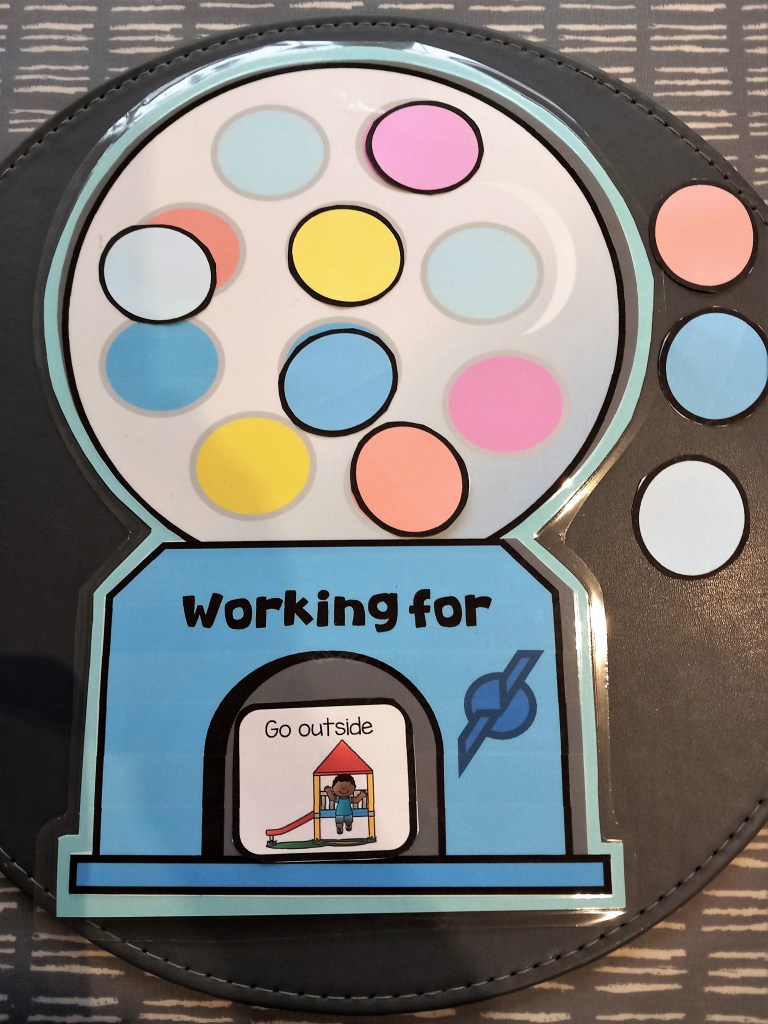
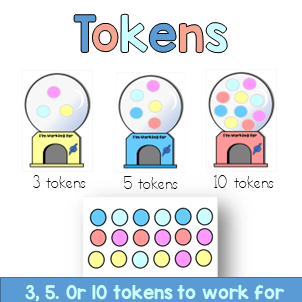
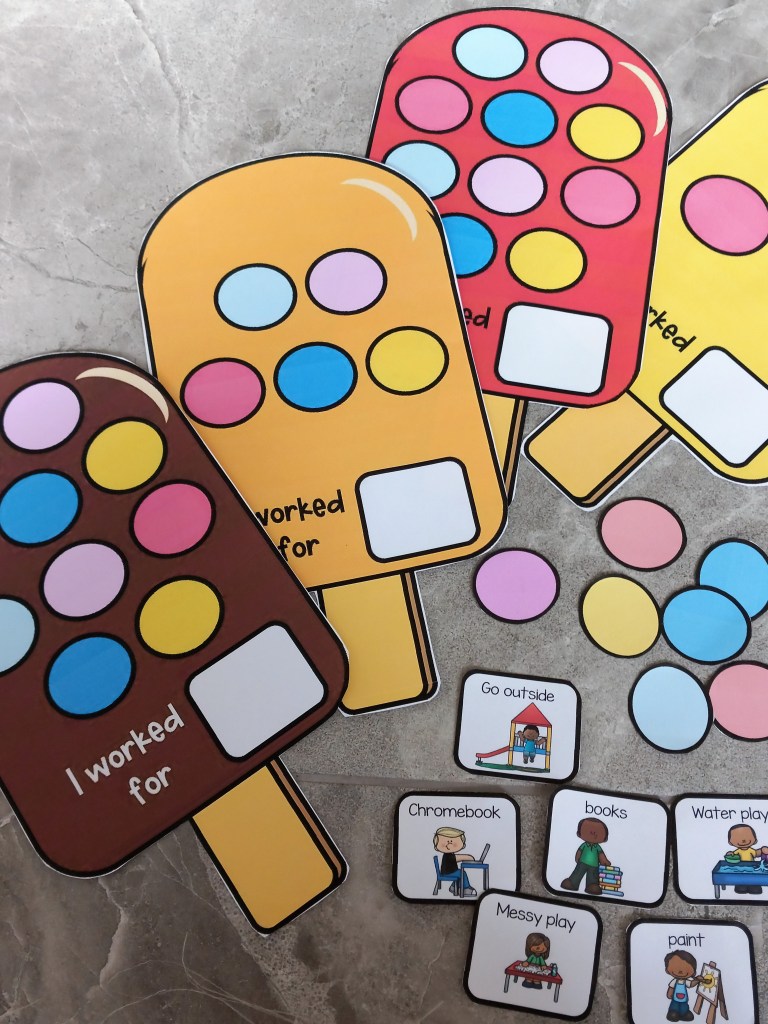
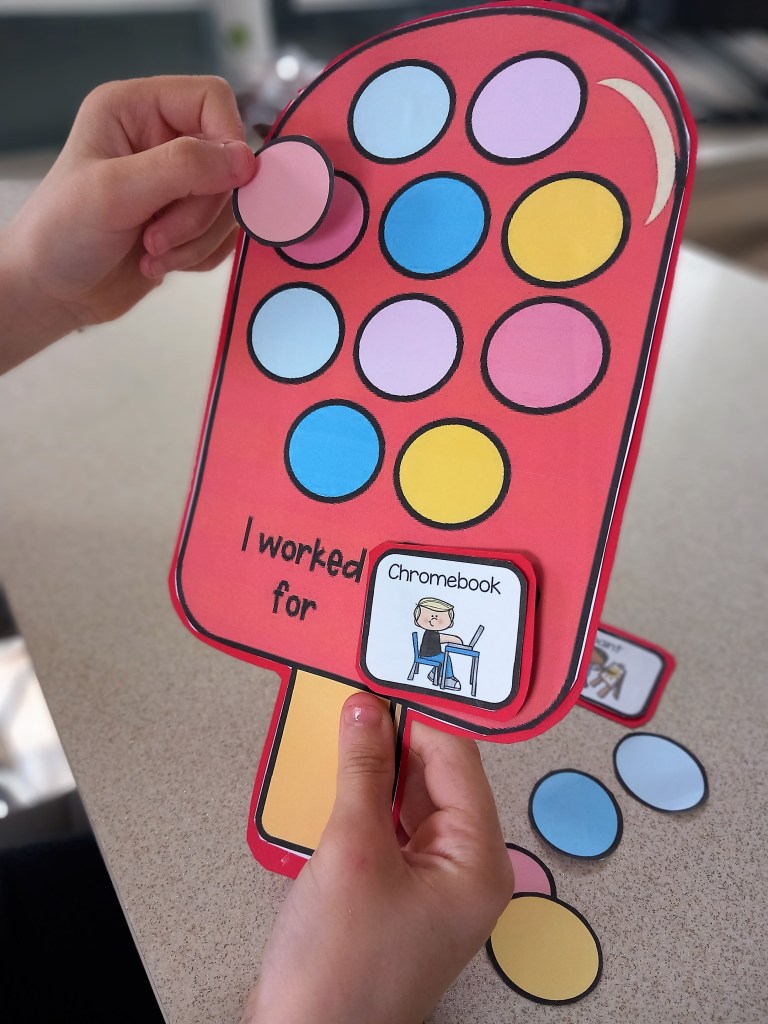
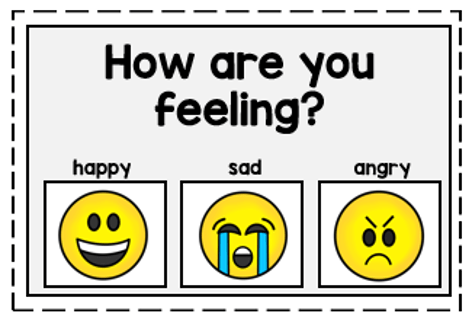
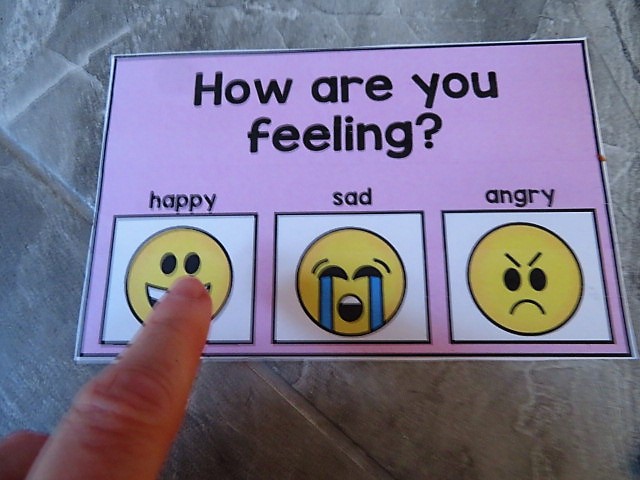
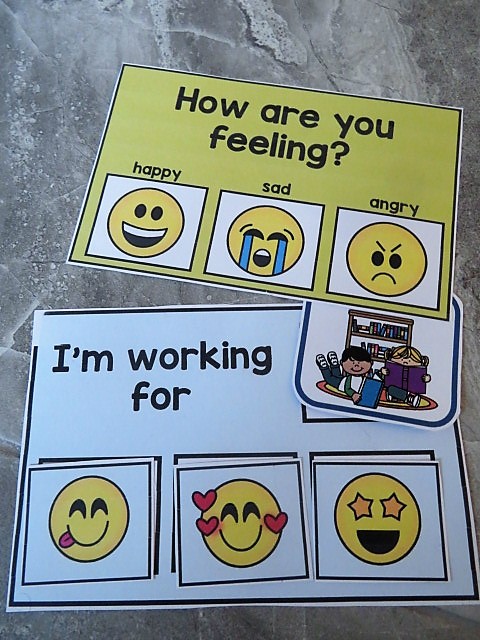
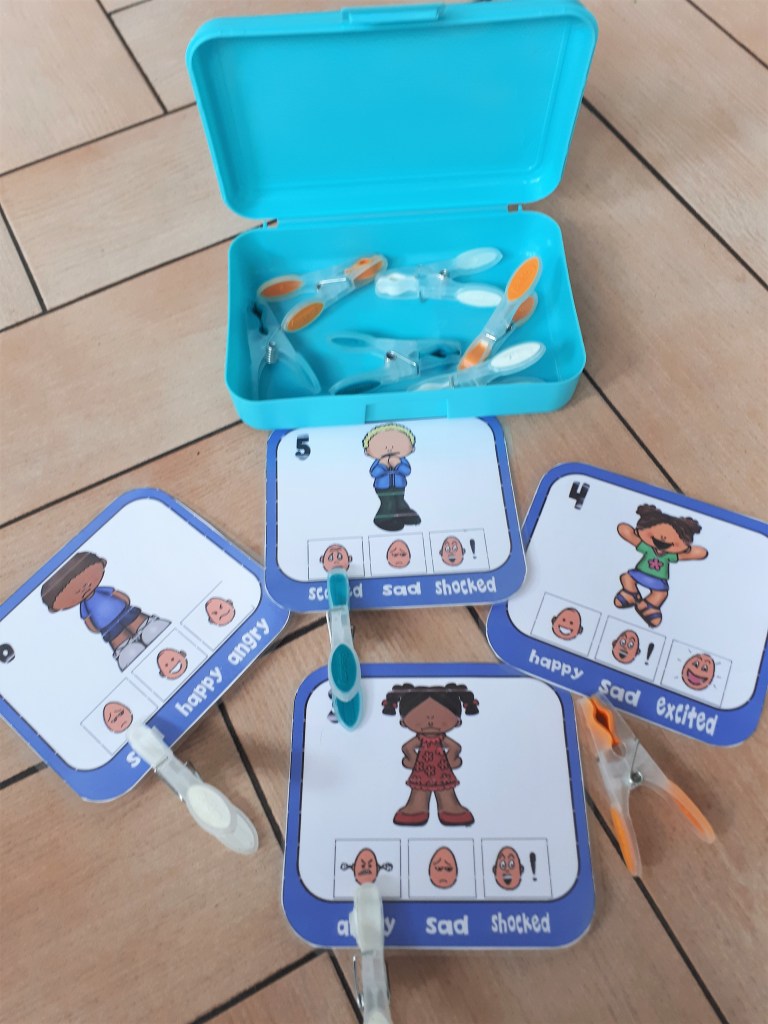
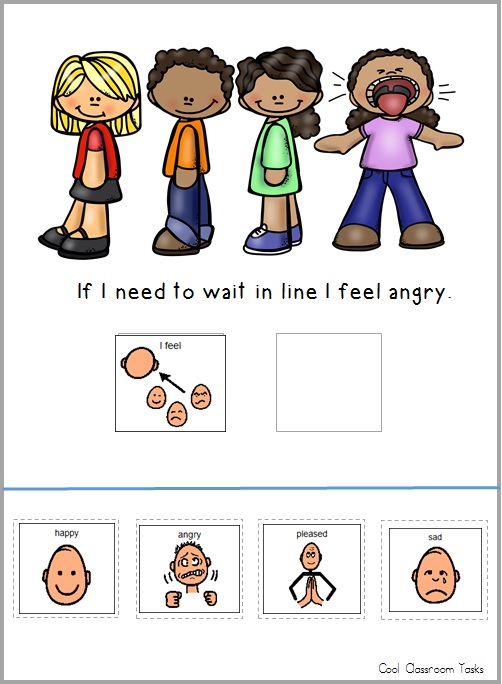
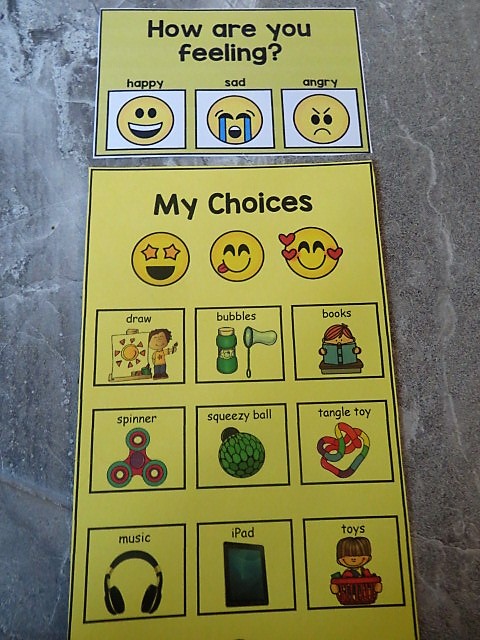
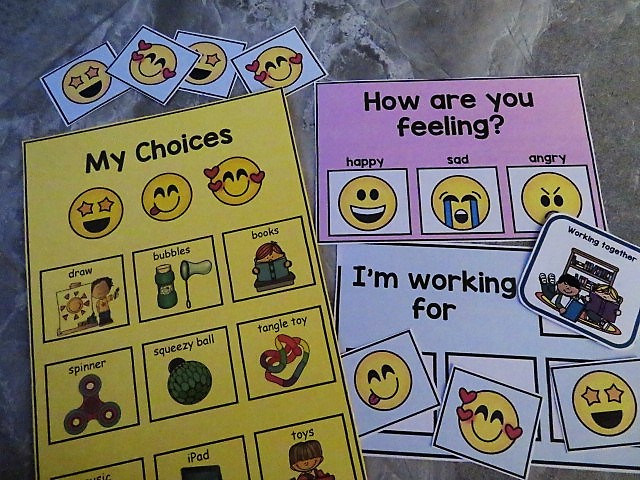
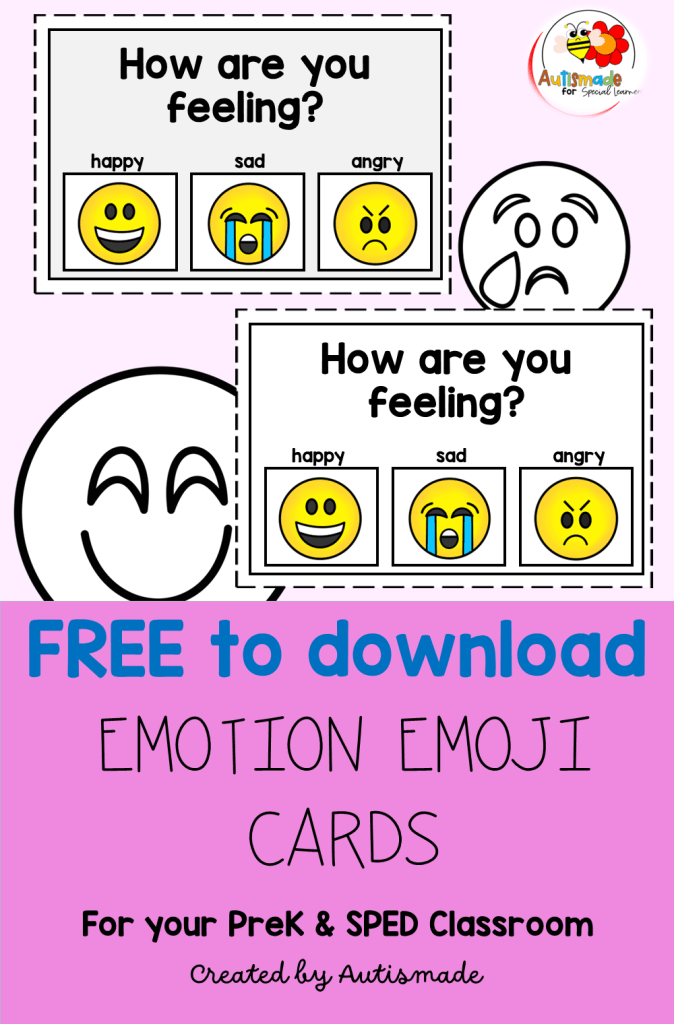
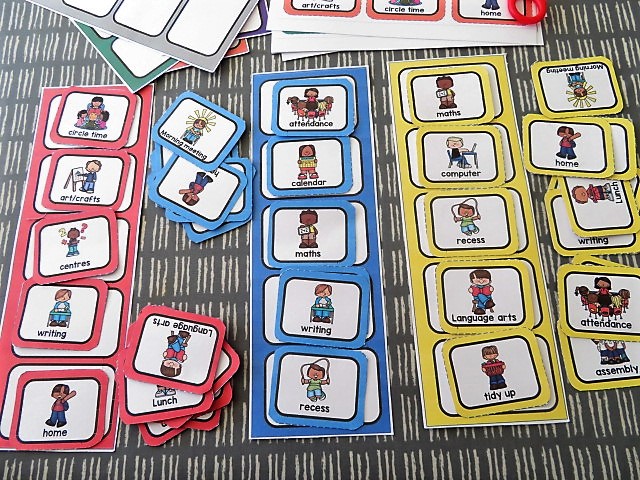
This interactive Daily Binder is full of visual strategies to help your students plan their day ahead and keep them focused throughout. Once laminated or placed in a pocket folder a dry wipe marker can be used for students to jot down their name, grade and class, followed by their teachers name, their friends name, things they like and things they don’t. There are pages with the days of the week for your student to practice and tick off what day it is and same for seasons. Handy pages for students to write out their daily schedule and tick off as they go though it. Working for cards and reward choice. What to remember when you feel angry, “first and then” when they get frustrated and what I need visuals for them to choose from.

About Me – Back to school activity sheets especially designed for new class members to fill in and share information about themselves.
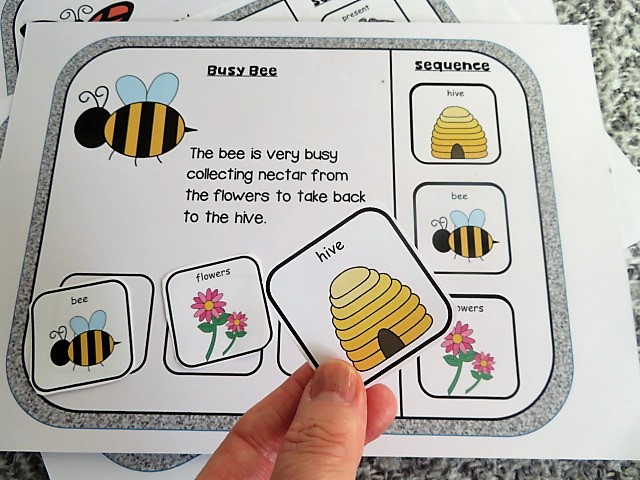
Adapted books will enable your students to practice sequencing, curriculum tasks, stories and everyday activities. Instead of laminating and binding use them as cut and paste activities!

The ability to organise, sequence and prioritise helps us to plan daily activities and manage our time effectively. however, a lot of preschool/Special Education children may find communicating, organising, sequencing and prioritising difficult. This visual binder can support students with everyday basic needs.