Making Learning Fun: Using Token Reward Systems in PreK & Special Education
Helping young children stay engaged and motivated can feel like chasing bubbles—joyful but fleeting! For preschoolers, especially those in special education, structure and predictability are key. That’s where Token Reward Systems come in: they’re simple, effective, and incredibly adaptable.
Let’s break it down into friendly, easy steps so you can bring smiles and success to your classroom or home environment.
What Is a Token Reward System?

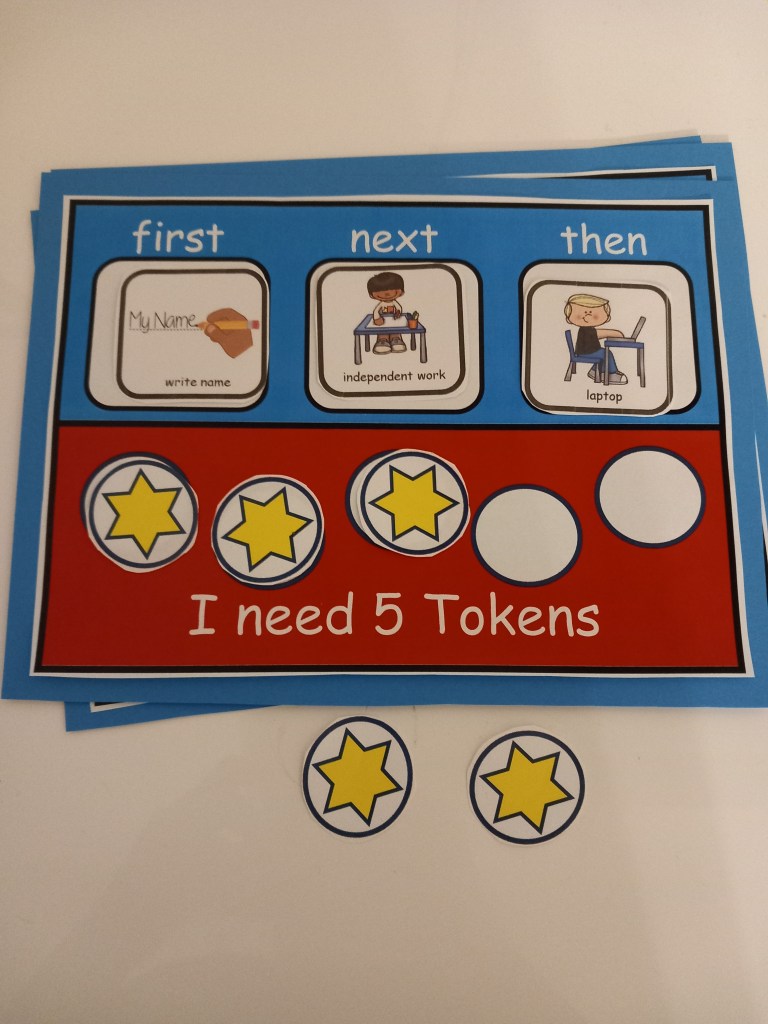
A token system uses small items (stickers, stars, check marks, coins, etc.) to reward positive behavior or task completion. Once a child earns enough tokens, they exchange them for a preferred item or activity.
It’s like earning stamps for good behavior and trading them in for extra playtime or a favorite book!
Why It Works for Preschoolers in Special Education
Preschoolers thrive on routine, visual cues, and positive reinforcement. Token systems work well because they:
- Offer concrete visuals they can understand
- Create consistent motivation
- Encourage independence and decision-making
- Reinforce specific behaviors or skills
Step-by-Step: How to Set It Up
Here’s a super simple plan:
- Choose a Target Behavior
- Example: “Use kind hands,” “Stay seated during circle time,” or “Ask for help with words.”
- Pick Your Tokens
- Use stickers, Velcro stars, plastic coins—anything tactile and fun.
- Make sure they’re large and colorful for easy visibility.
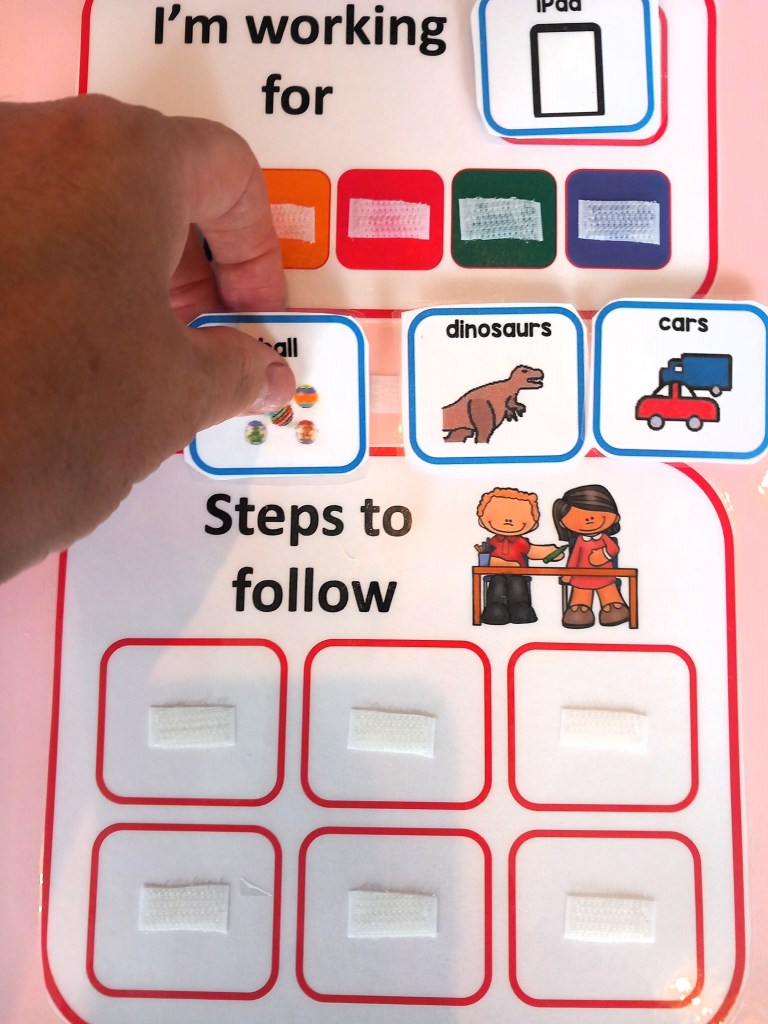
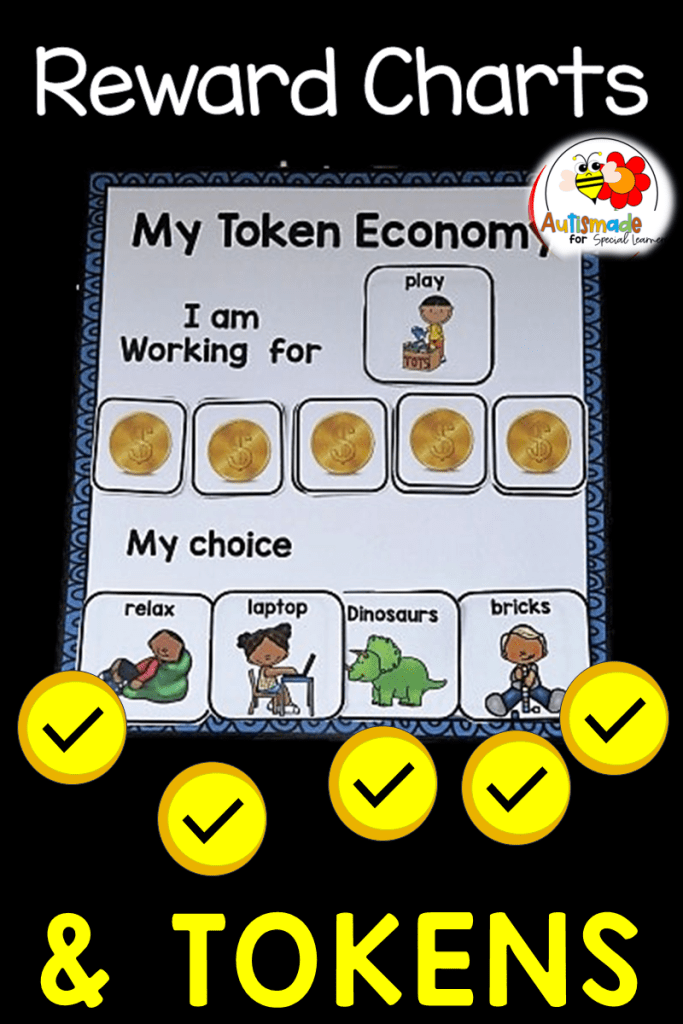
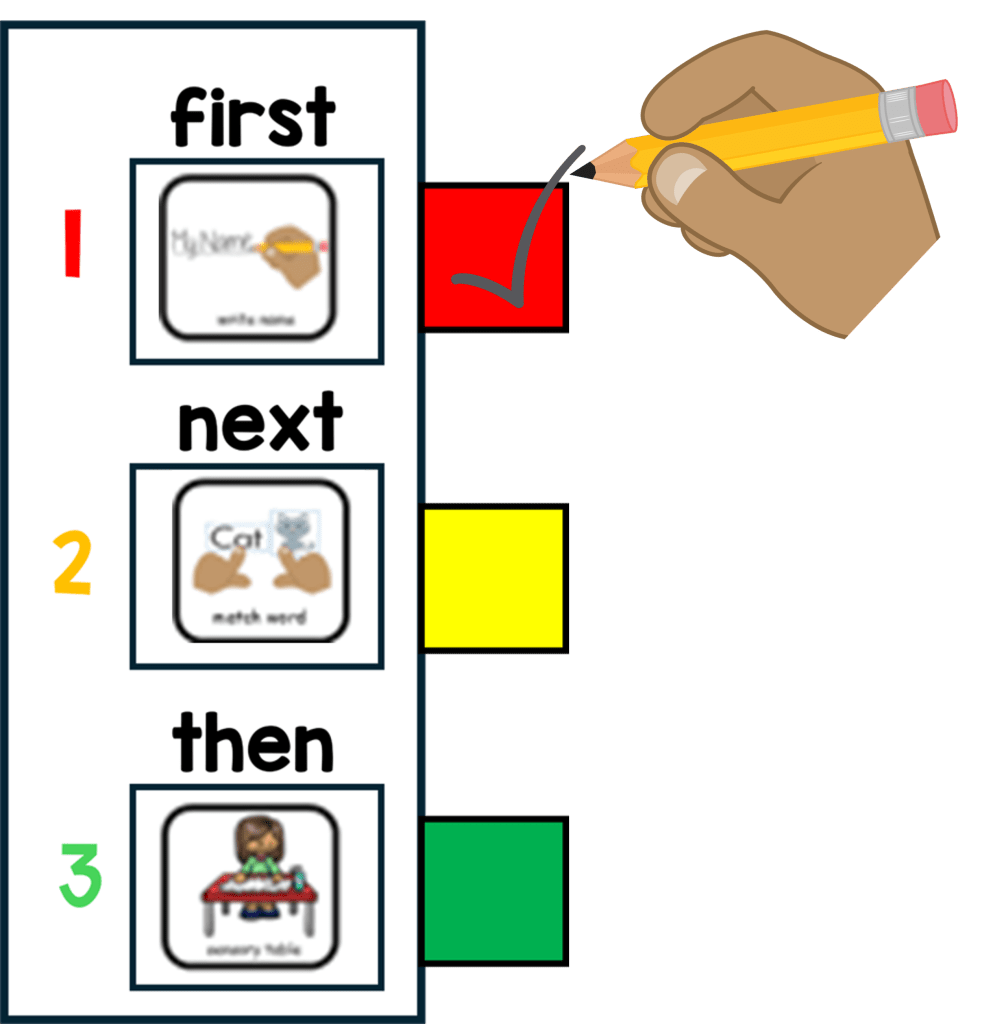
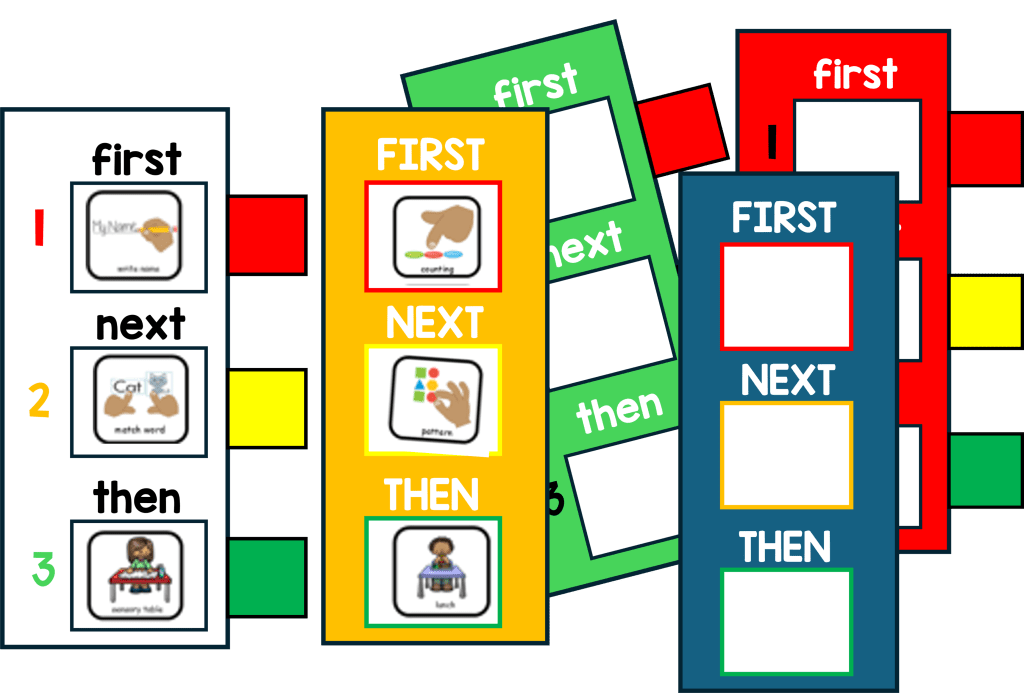
- Create a Visual Chart
- Use a laminated board or a sheet with empty boxes.
- Label how many tokens are needed to earn the reward (e.g., “5 stars = 5 minutes on the swing”).
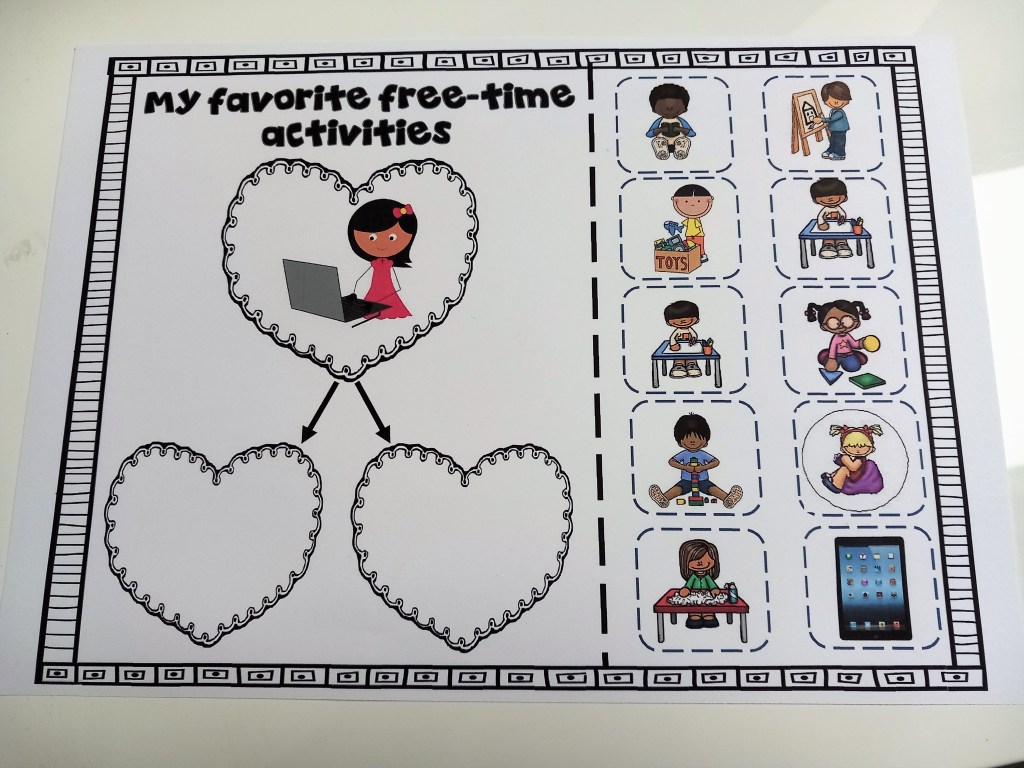
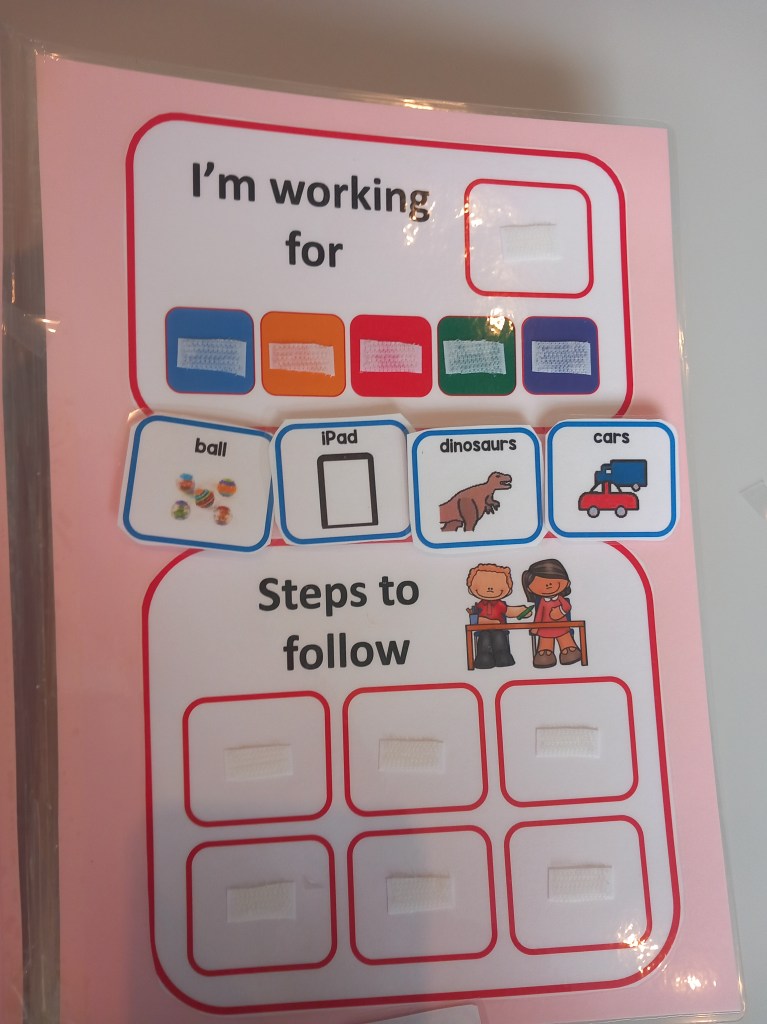
- Select Reinforcers
- Offer choices: a toy, a song, playtime, cuddly reading time, or even a high-five parade!
- Rotate them to keep it fresh.
- Start Using the System
- Give tokens IMMEDIATELY after the behavior occurs.
- Pair it with verbal praise: “You shared your crayons—great job! Here’s a star!”
- Celebrate the Success
- When tokens are exchanged, make it a moment! Clap, cheer, and smile.
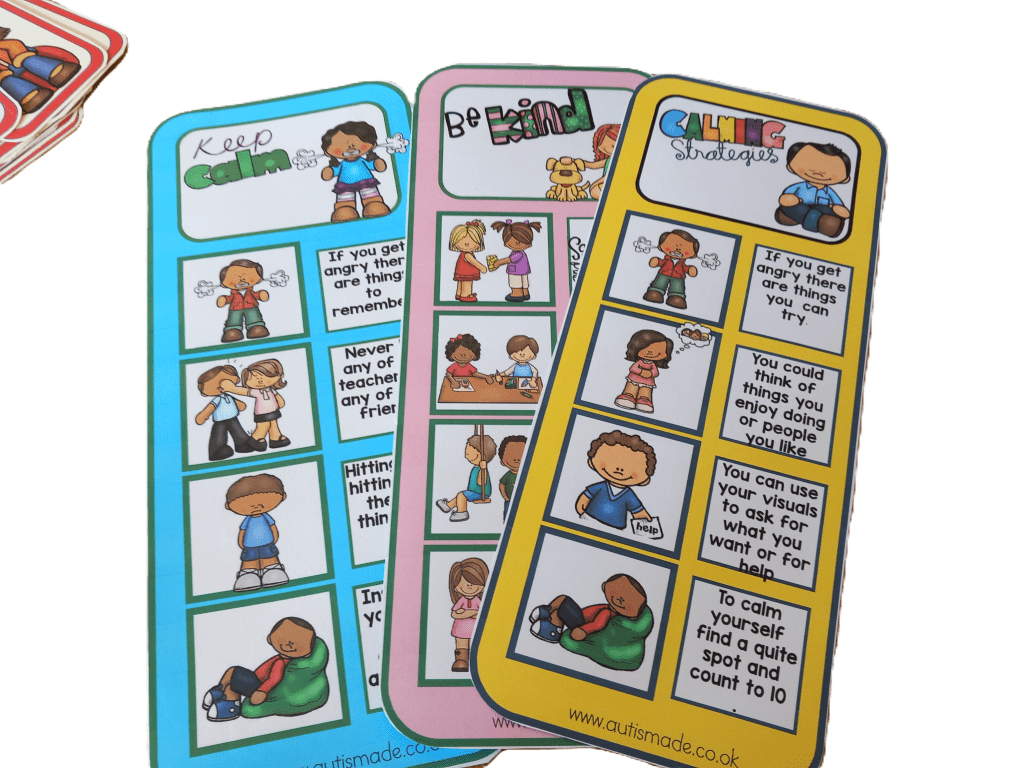
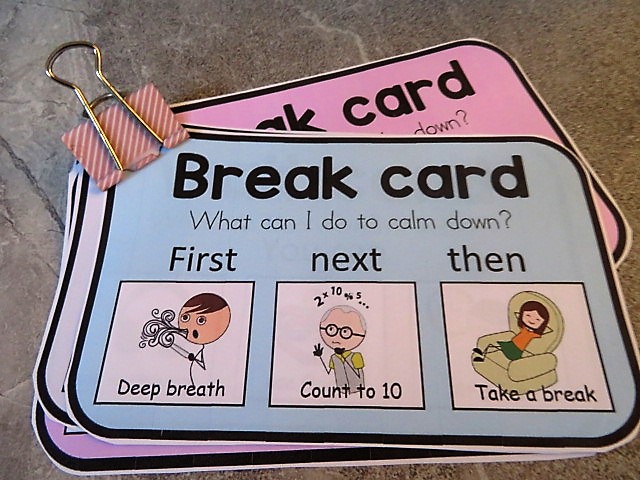
Visual Reinforcement Tips
Preschoolers are visual learners—so let’s make it pop!
- Use pictures of rewards (photos or symbols)
- Create emotion faces to pair with behaviors (“happy face when we wait patiently”)
- Display charts at eye level so kids can see their progress
- Use gesture praise (thumbs up, high-fives, dance)