“5 Fun and Effective Token Reward Board Ideas for Preschool Special Education Students”

Using Token Reward Strategies can help your students learn new skills, develop positive habits, and build confidence. Below I’ve listed some of the Token Reward Boards that we find effective in our SPED classroom:

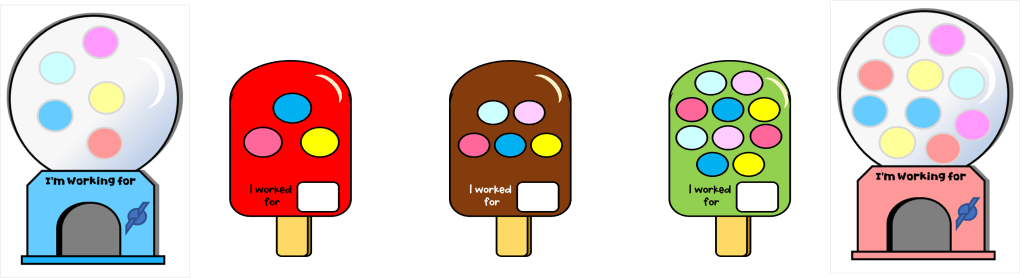
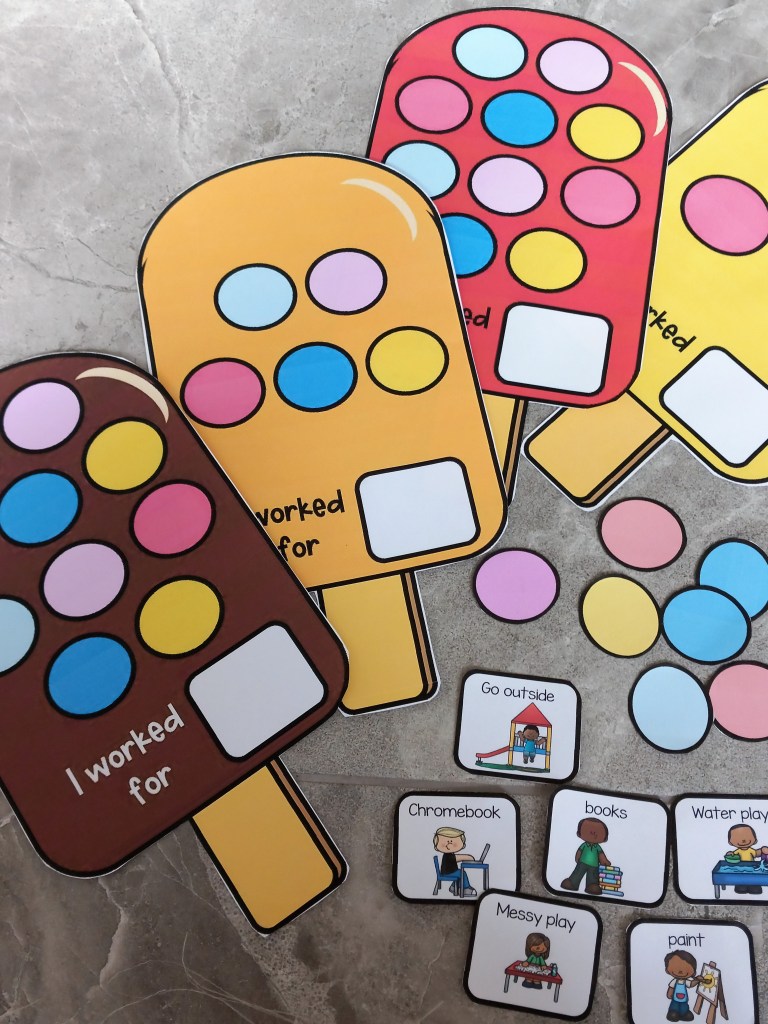
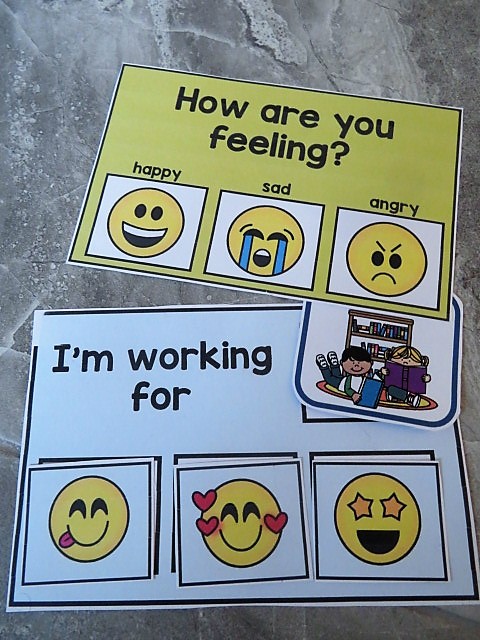
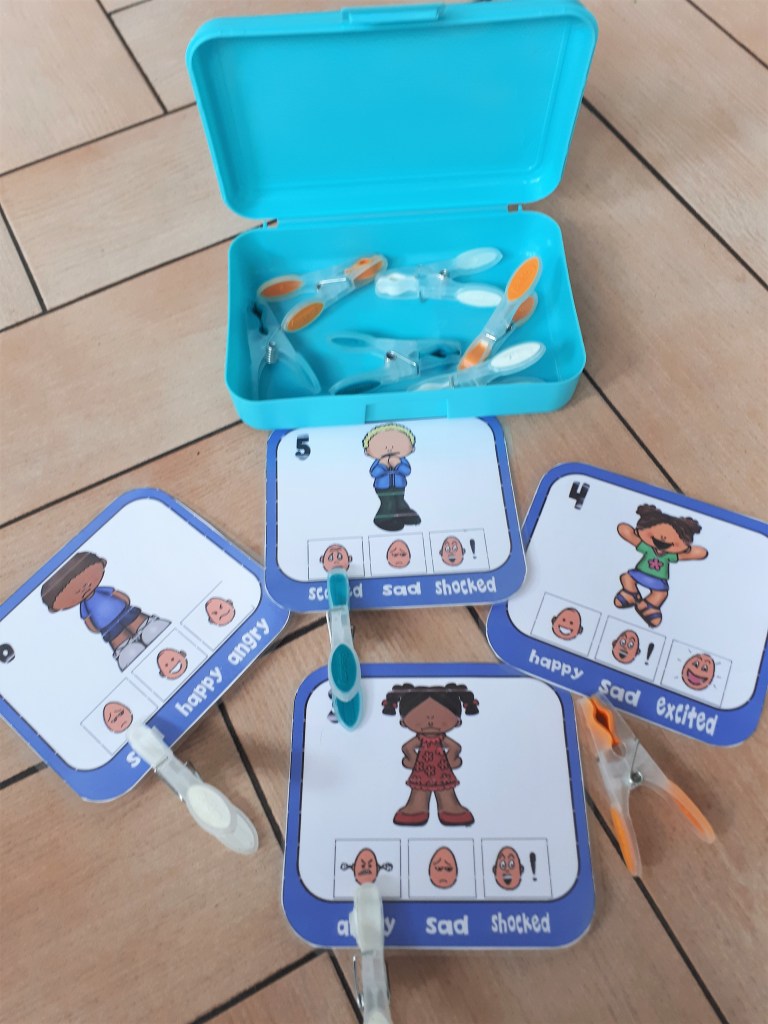
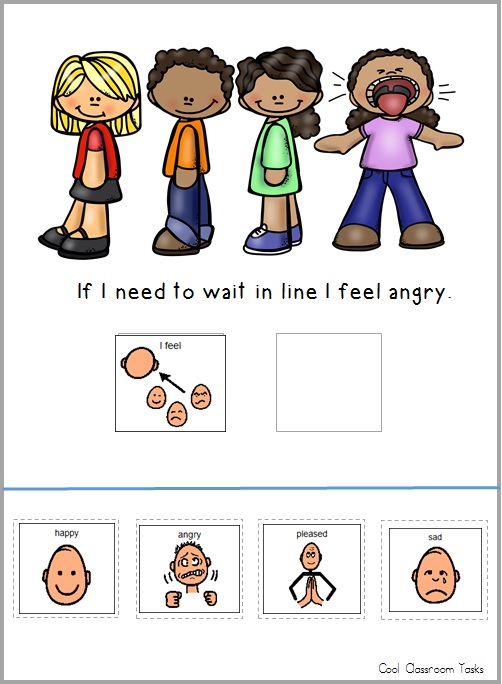
  1. The Picture Board: A picture board is an excellent way to engage young learners who are still developing their reading skills. You can create a board with pictures of various rewards, such as stickers, small toys, or even a favorite activity. When a student earns a certain number of tokens, they can choose a picture from the board as their reward.
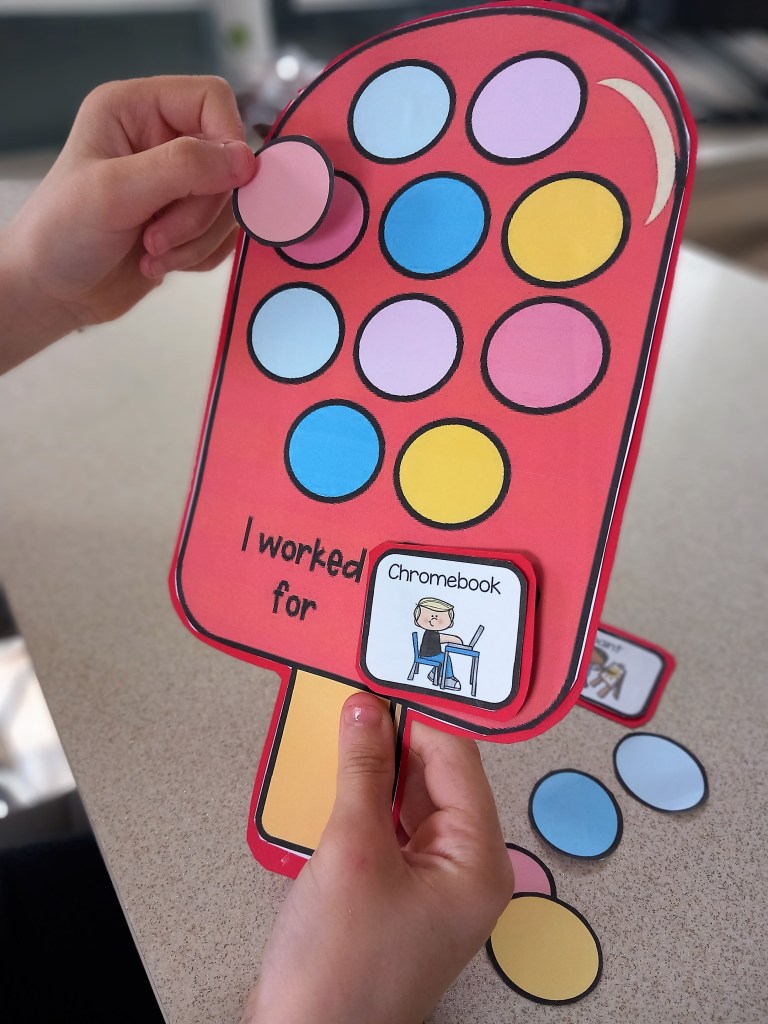
  2. The Themed Board: A themed board can be a fun and creative way to encourage positive behavior. You can create a board that corresponds with a current unit of study, such as Summer Time or the Farm Animals. Each time a student demonstrates positive behavior, they can earn a token that corresponds to the theme.
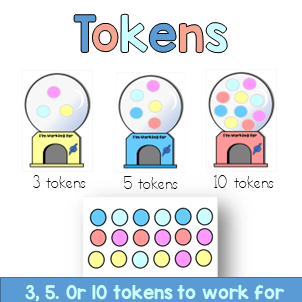
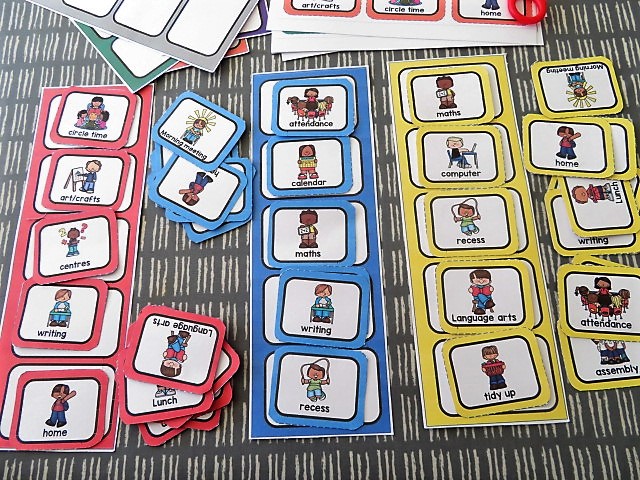
  3. The Color-Coded Board: A color-coded board can be a simple and effective way to track progress and reward positive behavior. You can assign each student a color, and when they earn a token, they can add it to their designated color section. This can help students see their progress and encourage healthy competition.
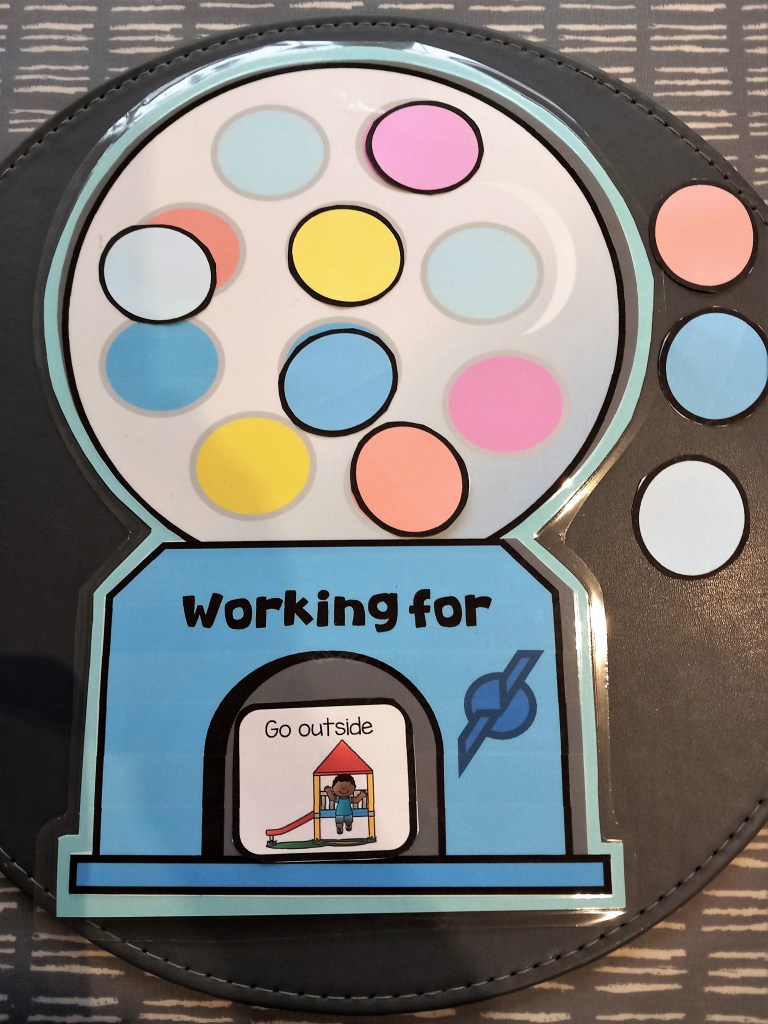
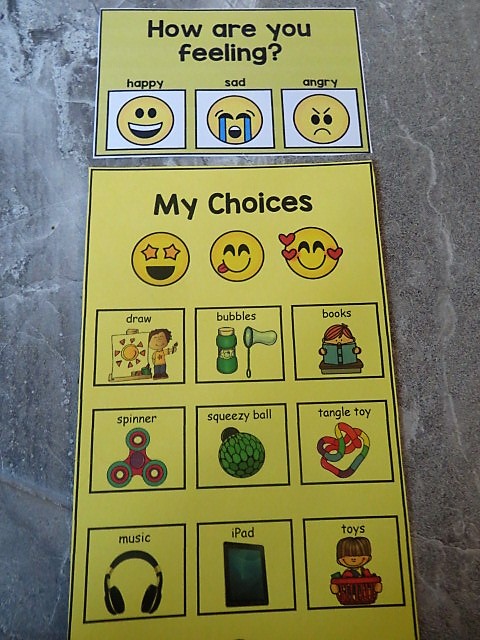
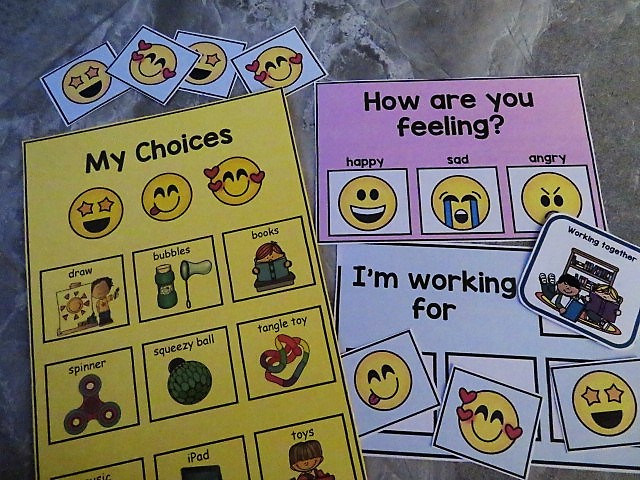
  4. The Token Exchange: This token reward board involves giving students the ability to exchange their earned tokens for rewards that they value. For example, students can earn tokens for positive behavior, and then exchange these tokens for privileges or items such as extra computer time, or a favourite toy.
  5. The Goal Board: A goal board can be a powerful tool for helping students set and achieve their goals. You can create a board with specific goals, such as not shouting out, completing tasks, sharing with friends or listening to Teacher. Each time a student reaches a goal, they can earn a token towards a larger reward.

The key to making successful boards is to make them engaging and personalized for students, so they are motivated to earn tokens and achieve their goals.

By incorporating fun and engaging themes, colors, and rewards, you can help students develop new skills, build confidence, and achieve their goals.

For Resource ideas visit my TPT Store

Token Board Ideas

Token Boards can come in all shapes and sizes but they all should do the same thing… Motivate, Regulate and Reinforce Positive Behavior.

With the Summer term fast approaching I wanted to incorporate some fun and uniqueness into my Boards!

ICE LOLLIE AND BUBBLE GUM TOKEN BOARDS

Funny looking I know! but fresh and engaging for the last term with my little brigade.

Children in my class learn and work at different levels and use token reward systems with motivators they’ve chosen, so I made sure there was a place for the motivator picture and a bunch of others to alternate between if needed. I always adapt the Boards to meet each child’s interests and needs, this in its self makes them unique enough to motivate them to learn in my busy classroom.

Token are used like an IOU and once collected can be exchanged for the actual reinforcer they’ve chosen. Students can start off collecting 3 token before gaining their reinforcer and build up to 10 tokens once the concept is mastered and they’re ready to learn a little longer.

Reinforcers are offered before the task starts and tokens are distributed throughout.

Working with Emotion Visuals & Reinforcement Tools

Grab a free download of a “How are you feeling” card to try with your classroom!

I was finding it difficult to teach my learners in Special Ed how to recognise their feelings and emotions. Teaching my amazing kinder how to label their emotions was a difficult skill, and being unprepared when these emotions presented was sometimes a tricky process to catch and implement. 

I had to be prepared! and start to teach them how to recognise their feelings by encouraging them to label how they feel with visuals when I saw them displaying negative or happy emotions myself.

I also created opportunities for my students to recognise emotions and facial expressions of others and practice them in lesson. I always try to incorporate a number of social skill activities where my students can have an opportunity to recognise someone happy, sad, angry and practice labelling facial expressions with visual cues.

Some of my students got it straight away but some would need practice, practice, practice. Once I’m happy that my students can recognise how they are feeling and can tell or show me, I will use a quick visual tool “How are you feeling” card to establish if they feel ready to work or what they need to feel better.

I show them a selection of motivators that they can choose from that could help them feel better and ready to try some work.

Being able to choose a motivator to use with a Token economy system becomes a powerful reinforcement tool.

So once the motivator is established, I encourage them to place it next to the “I’m working for” box before starting their task.

Depending on their mood and ability to concentrate will determine how fast they gain their tokens and get rewarded with the motivator they’ve chosen.

I always keep a selection of these handy tools at work stations and calm down areas!

If you want to try out this strategy and begin encouraging your students to label their emotions I’m giving away free trial cards and emoji colouring faces for you to download below.

Click here to download a free “How your feeling chart”

Tips for setting up Visual Schedules in Special ED

Having a selection of Communication Strategies ready to use is always a good idea in Special Ed! Having a visual schedule is one strategy I find very effective in class. Below I’ve listed my schedule tips and other strategies that have really helped my young leaners settle into a structured learning environment.

Visual Schedules – Set out visuals to reflect the order of the class day. They should be designed to support your student through a smooth transition eg. from activity to activity, room to room or within tasks.  

Here are some quick tips for setting up and getting started!

1. START SIMPLE – Make visuals for just meaningful times of the day eg, morning work, break, lunch etc,  this will help your young students learn to recognise and correspond each picture with each of the activities.

2. BUY A LAMINATOR – Your laminator will become important! If you want all your hard work to last, laminate all mounts and visuals because they are going to go through a tough time!

3. WALL MOUNT  – Mount on a wall, the schedule must be low enough for your student to access and take away finished symbols in the daily routine. 

4. USE A FINISHED BOX – Attach a finished box at the end or side of the schedule to drop the finished visuals in before starting a new activity. 

5. TRY A FILE FOLDER – A portable schedule can be used in a file folder in the same way as a wall mounted one. I find these easier with older children to check into the activities and more efficient in busy classrooms. Pop their name on it and keep all their individual support visuals in one place. 

6. MODLE AND PRACTICE – Always model, practice and remind your busy student at the beginning of each activity to, “check in”.  Make a plan to pull back on all prompting until they begin to use this system independently!

Timers – For giving a break and reminding students how long they need to work and how long left on free time!

Routines – Keep Break, Lunch and free choice the same time each day!

Consistency – All staff should use the same strategies and follow this classroom management structure!

Positive Reinforcers – Use token reward boards, First and Then, Behavior regulation tools and Reward systems tailored to individual interests and likes!

Communication – Critical skills for Functional Communication, a means in which your non verbal student is able to request a “break” “help”  or asked to “wait”

Colour Coordinate – For some of my young learners I’ve introduced portable schedules, that I’ve colour coordinated! 
I’m pleased it offers all the strategies I wanted to incorporated throughout the day.
I keep them in a handy place for my students to access first thing in the morning and follow the schedule by checking into the work areas they need to complete.
There’s a set place in the booklet for the schedule symbols, a token reward system, plus a place for reinforcer visuals and Critical Communication cards so students can ask for a Break or Help, all while reminding and keeping a consistent approach that staff can help students to follow!

Visit my TPT Store here

Social Skills-Being Kind to Friends

Download a FREE sorting activity

We often spend time teaching our children about friendships in school, often saying, share with your friends, kind hands, play nice. But some children lack the social skills, for what ever reason, to maintain healthy interactions with other kids and need regular reminding.

Its sometimes important to teach basic social skills to young learners on how to be a good friend. They might need us to help them understand some of the more complex parts of what being a good friend is and what that looks like.

Learning about how their own behaviours will affect others, about recognising other people’s feelings and how to respond in an understanding and caring way in order to maintain friendships is important to.

When difficulties arise some children can use visual guides or social narratives to guide them through the what’s and what-nots to do in friendship groups.

TIP – Use Social supports to reinforce positive behavior regularly either in a one to one situations or as part of a group. Using simple visuals with easy instructions during social skill sorting games and activities can help young learners stay on track.

Being kind Social Story –

Social Stories on TPT

Download free activity here