Classroom management in a special education setting often requires creative, student-centered strategies that support diverse learning needs. One highly effective and versatile tool that special educators use is visual direction cards.

Visual direction cards are more than just classroom aides — they are tools that foster independence, reduce behavioral challenges, and create a more structured and inclusive learning environment.
What Are Visual Direction cue Cards?
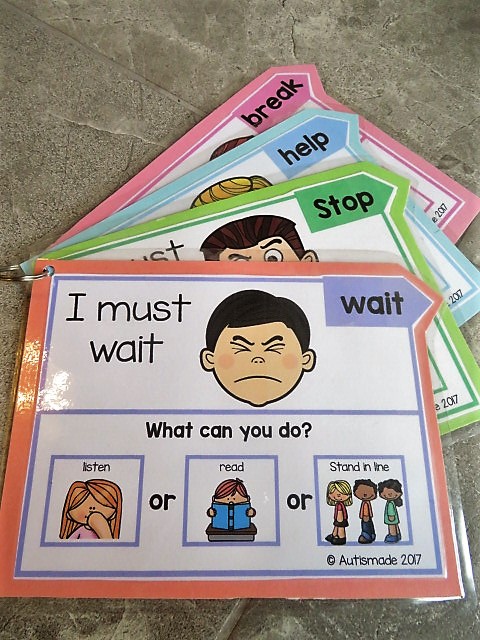
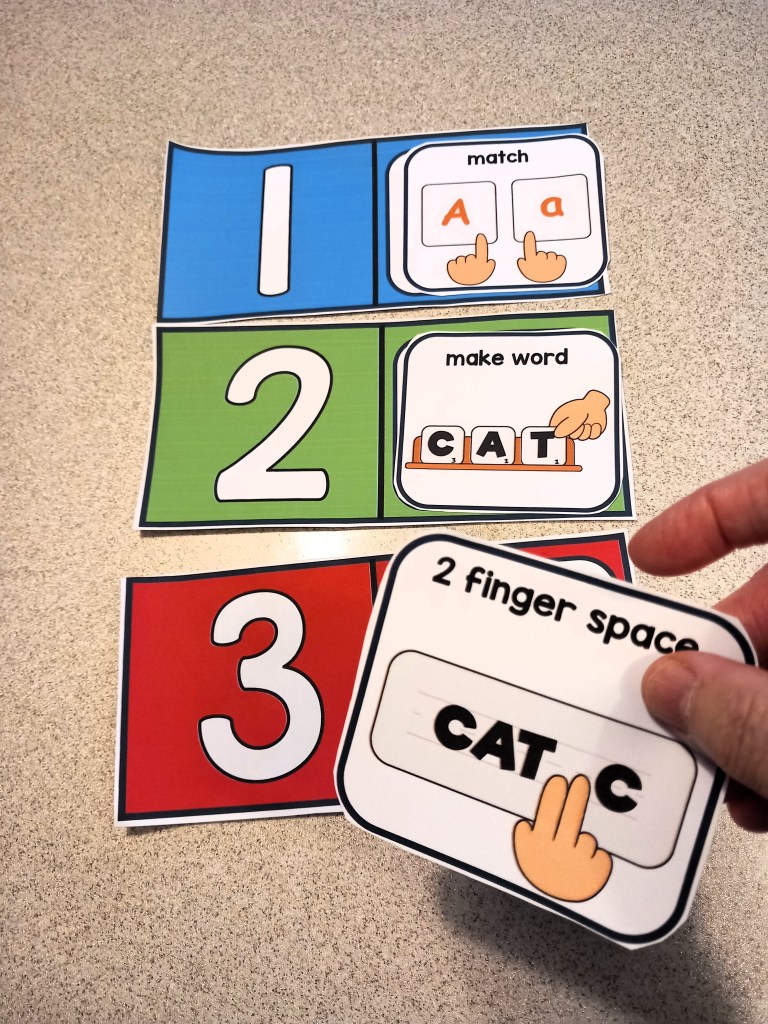
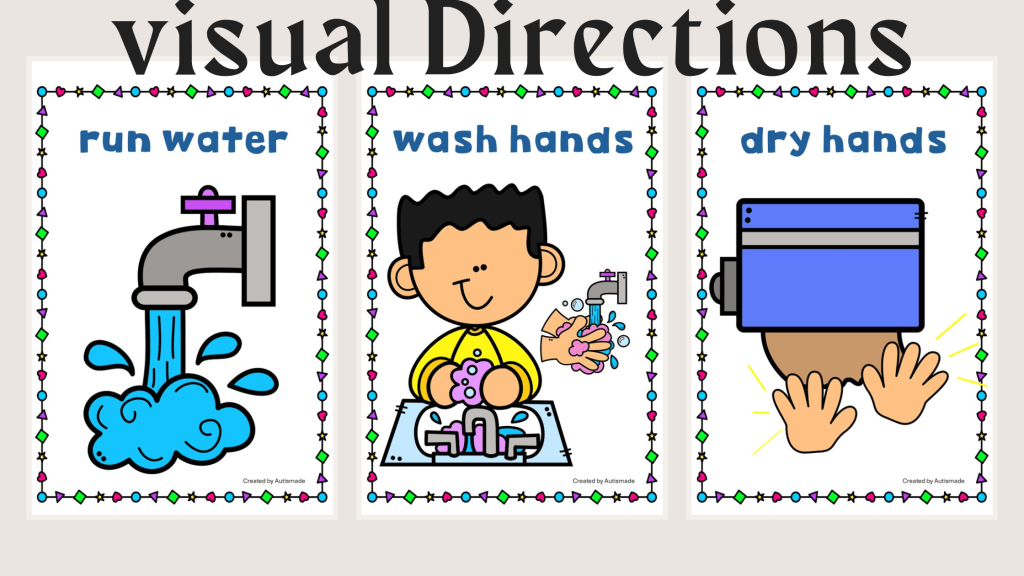
Visual direction cards are simple, illustrated cues that provide clear, step-by-step instructions or expectations. They often use a combination of text and images or symbols to help students understand what is being asked of them, even if they struggle with verbal instructions or have limited language skills.
Examples include:
“Sit down”
“Raise your hand”
“Get your materials”
“Take a break”
“All done”
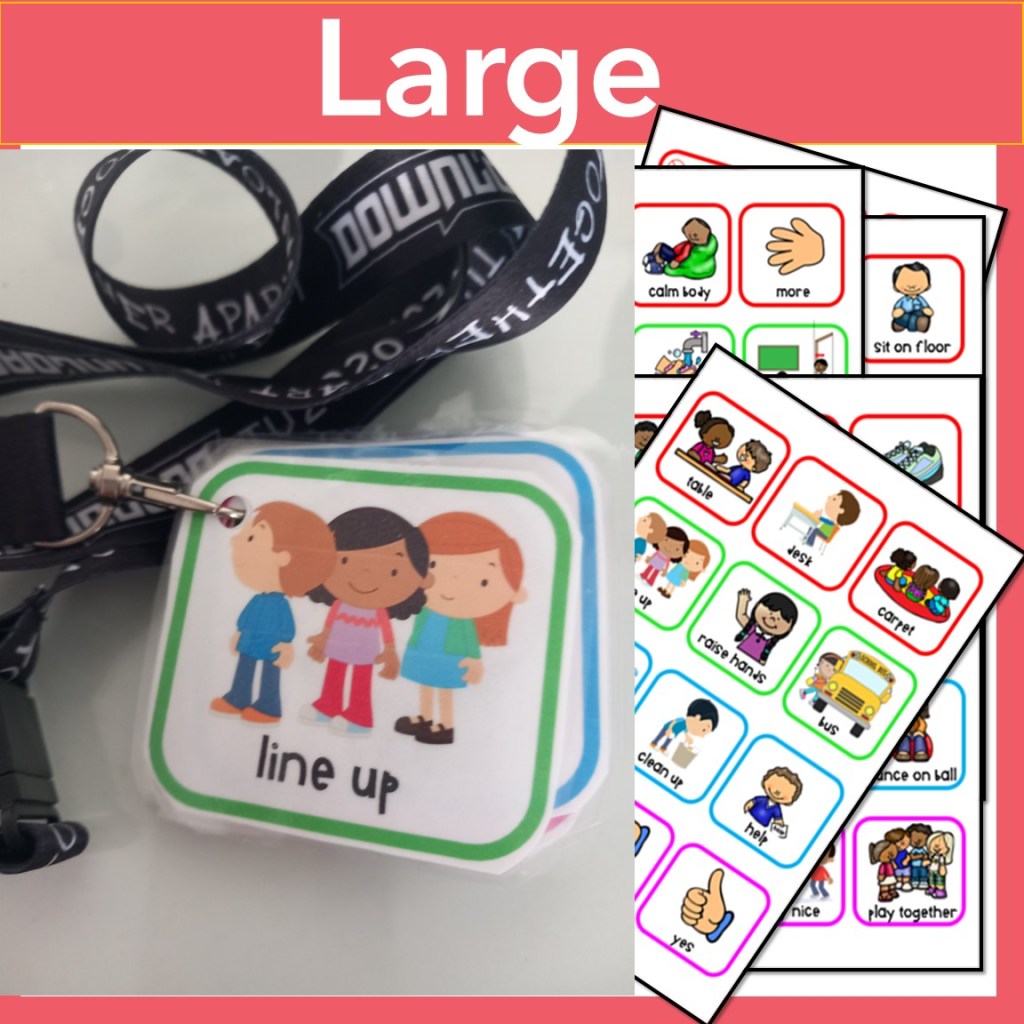
They can be printed on cardstock, laminated, attached to lanyards, placed on desks, or mounted on Velcro boards for easy access and use
Why Use Visual Direction Cards?
1. Promote Independence
Visuals allow students to process information at their own pace. Instead of relying on adult prompting, they can refer to cards to understand what to do next. This boosts confidence and helps them develop problem-solving skills.

2. Reduce Verbal Overload
Many students in special ed settings experience sensory processing or language delays. Visual directions minimize stress by providing clear, concise instructions without relying on verbal cues.
3. Support Positive Behavior
When expectations are clear, students are more likely to engage in appropriate behavior. Visual cards can be used proactively to guide transitions, routines, and self-regulation.
4. Increase Classroom Efficiency
With visual directions in place, teachers can spend less time repeating instructions and more time facilitating learning.

Grab a free Classroom visual Direction card
Strategies for Using Visual Direction Cards Effectively
1. Teach the Cards
Introduce cards one at a time during calm, structured parts of the day. Model the behavior and have students practice using them until they become familiar.
2. Make It Student-Centered
Personalize cards for individual needs. Some students may need large icons, others may benefit from first-person phrasing (“I need a break”), or even real photos instead of clipart.
3. Create a Visual Schedule
Use direction cards to build a daily schedule that students can follow independently. This supports executive functioning and helps reduce anxiety during transitions.
4. Pair with Reinforcement Systems
When students successfully follow visual directions, reinforce their efforts with praise, token boards, or other motivators. This strengthens the connection between visual cues and positive behavior.

5. Encourage Generalization
Use direction cards in different settings — during centers, specials, lunch, or community outings or for personal hygiene — so students learn to apply the skills beyond the classroom.
Visual direction cards may seem simple, but their impact is profound. They empower students with the tools they need to be more independent, confident, and successful in and out of the classroom.
As a special education teacher, your ability to adapt tools like visual cards can transform daily routines and build lifelong skills for your students.