Visual Recipes Mat | Easy no bake snacks | Cooking Life Skills
Looking for a fun and interactive way to help young learners build real-life skills? Our Visual Recipe Mats are the perfect addition to any early learning classroom!
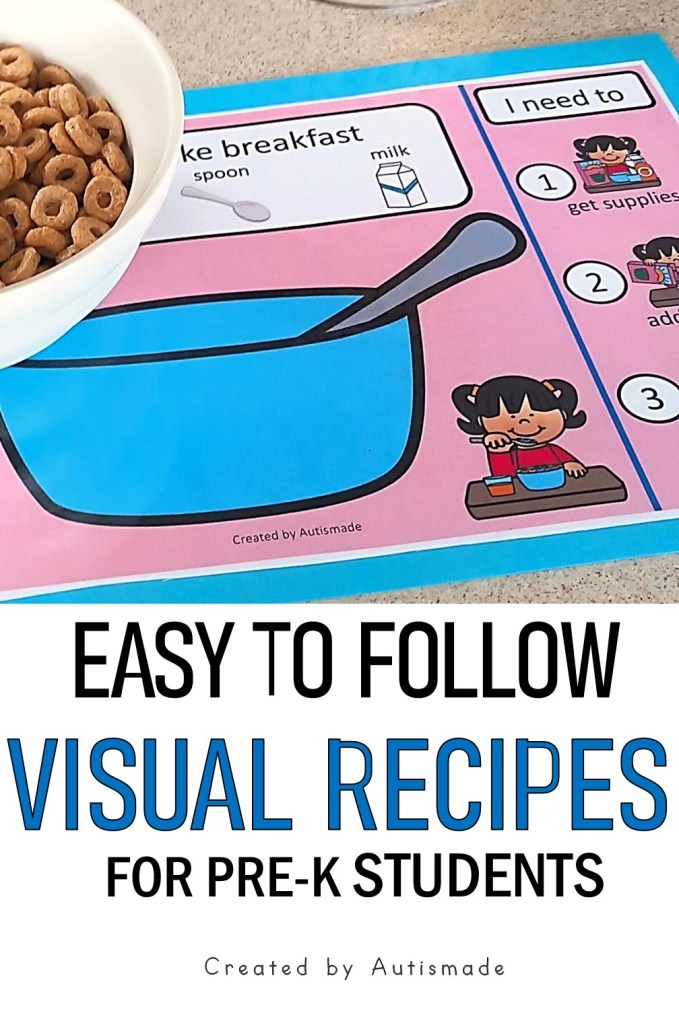
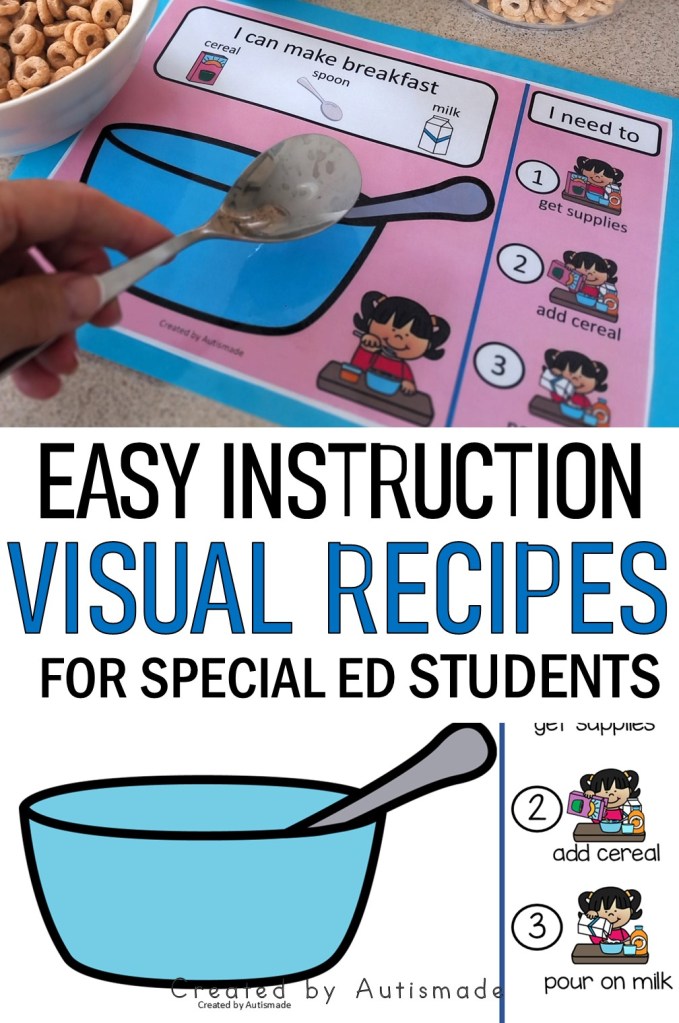
These engaging, hands-on mats walk students through simple snack recipes using step-by-step picture instructions. Whether it’s making a sandwich, mixing up some chocolate milk, or assembling a breakfast favorite, children will gain confidence and independence as they follow along.
Perfect for preschool, Special Education and early elementary ages, these mats are designed to:
Encourage sequencing and direction-following
Build basic cooking and fine motor skills
Promote independent learning—with plenty of fun along the way!
What’s Included?
🥪 I Can Make a Sandwich
🍳 I Can Make Breakfast
🥛 I Can Make Chocolate Milk
Each mat has 3 easy steps and is durable, easy to clean, and reusable—just wipe and reuse! They’re great for small groups, life skills centers, or one-on-one support.
Bring real-world learning to life in your classroom—one recipe at a time!
Ready to get cooking? Grab your set of Visual Recipe Mats today and make learning deliciously fun!
Classroom management in a special education setting isn’t just about keeping order—it’s about creating a space where every student feels safe, supported, and empowered to learn. Whether you’re a new teacher or just looking for a refresher, this ultimate classroom management plan will help you build a strong foundation for success.
1. Set Clear Expectations from Day One
Students thrive when they know what’s expected of them. Establish clear, simple rules and routines early on. Use visual aids, pictures, or even role-playing to reinforce rules. Keep the language consistent and positive—for example:
Connection comes before correction. Get to know your students—what they like, what triggers them, what helps them calm down. A strong teacher-student relationship is the cornerstone of good behavior. Take time to:
Greet students warmly each day
Show interest in their hobbies
Celebrate small wins
3. Structure the Environment for Success
A well-organized classroom can reduce distractions and promote independence. Try this:
Use labeled bins and clear visuals for materials
Create defined spaces (e.g., a calm-down corner, group work area)
Keep transitions smooth with visual schedules or timers
4. Be Proactive, Not Reactive
Anticipate challenges before they happen. For example:
Use sensory breaks for students who get overstimulated
Provide fidgets or alternative seating for students with focus issues
Modify tasks to meet individual needs
Being proactive also means recognizing and praising positive behaviors more often than correcting negative ones.
5. Use a Consistent Behavior Plan
Consistency is key. Choose a behavior management system that works for your group, such as:
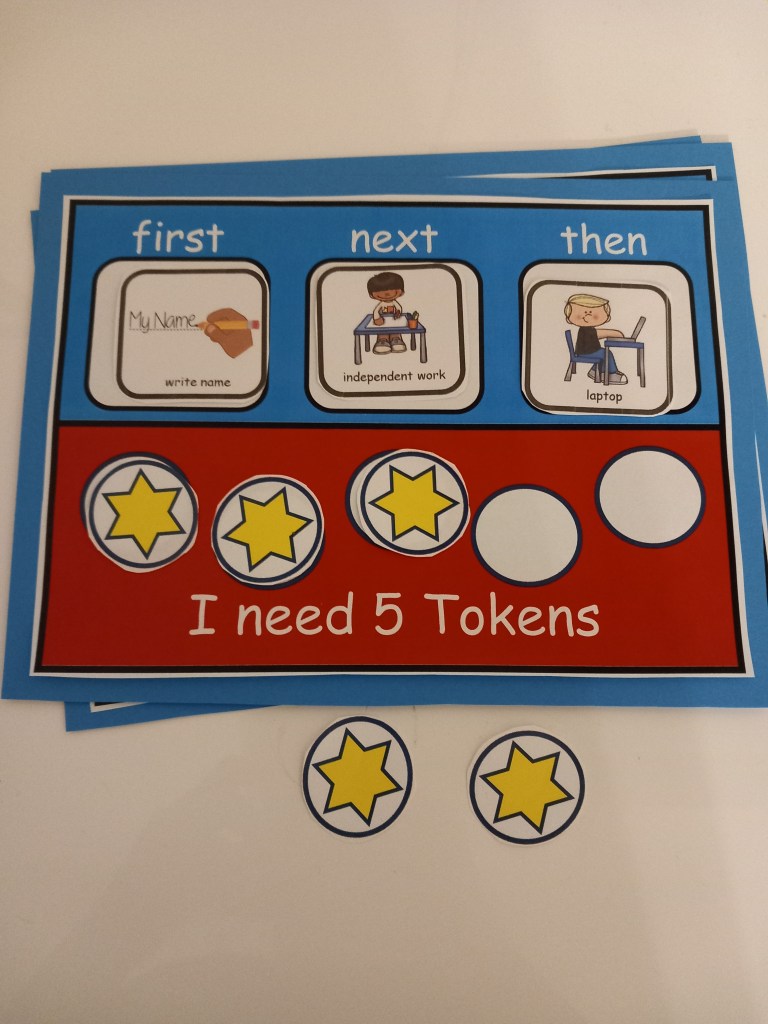
Token economies (students earn points or stickers for positive behavior)
Color charts or behavior contracts
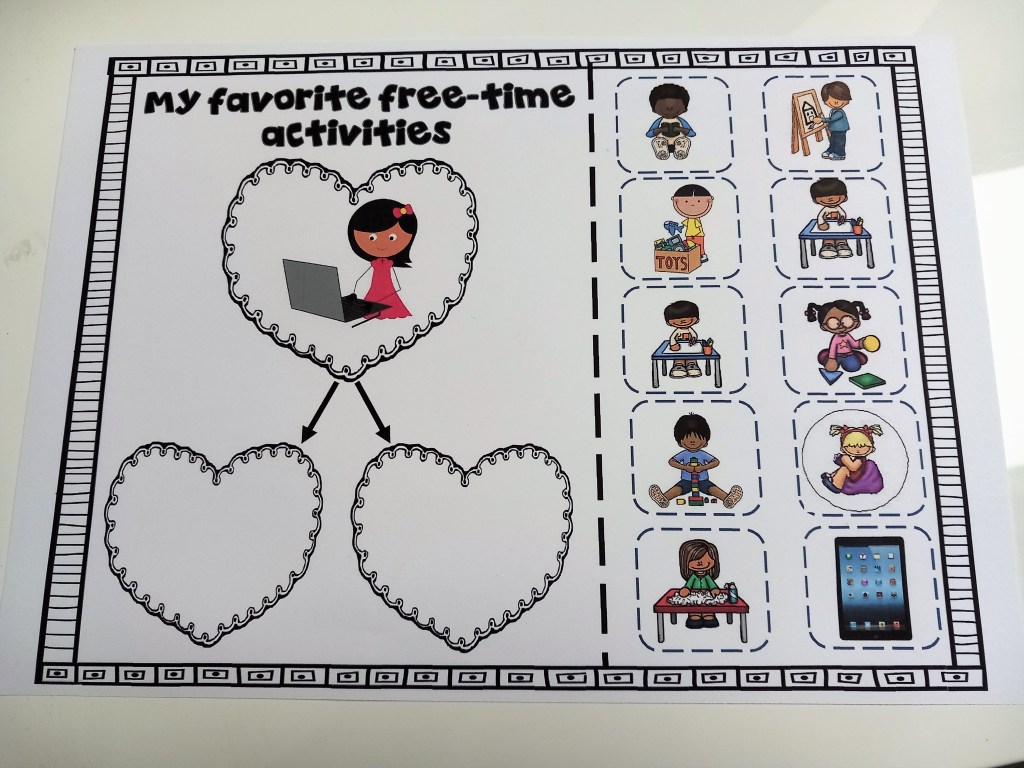
Positive reinforcement systems customized to the student (like earning extra iPad time)
Make sure to communicate the plan with paraprofessionals, parents, and anyone else working with your students.
6. Collaborate with Your Team
You’re not in this alone. Collaborate with:
Paraprofessionals
Therapists (OT, speech, etc.)
Parents and caregivers
Share strategies, stay consistent, and support one another.
7. Reflect and Adjust
No plan is perfect—and that’s okay. What works for one group might not work for the next. Reflect regularly:
What’s working well?
What needs tweaking?
How are the students responding?
Stay flexible and be willing to change what’s not working.
Final Thoughts
Effective classroom management in special education is all about structure, relationships, and consistency. When students feel safe and understood, real learning can happen. With a solid plan in place, you can build a classroom where every child has the opportunity to shine.
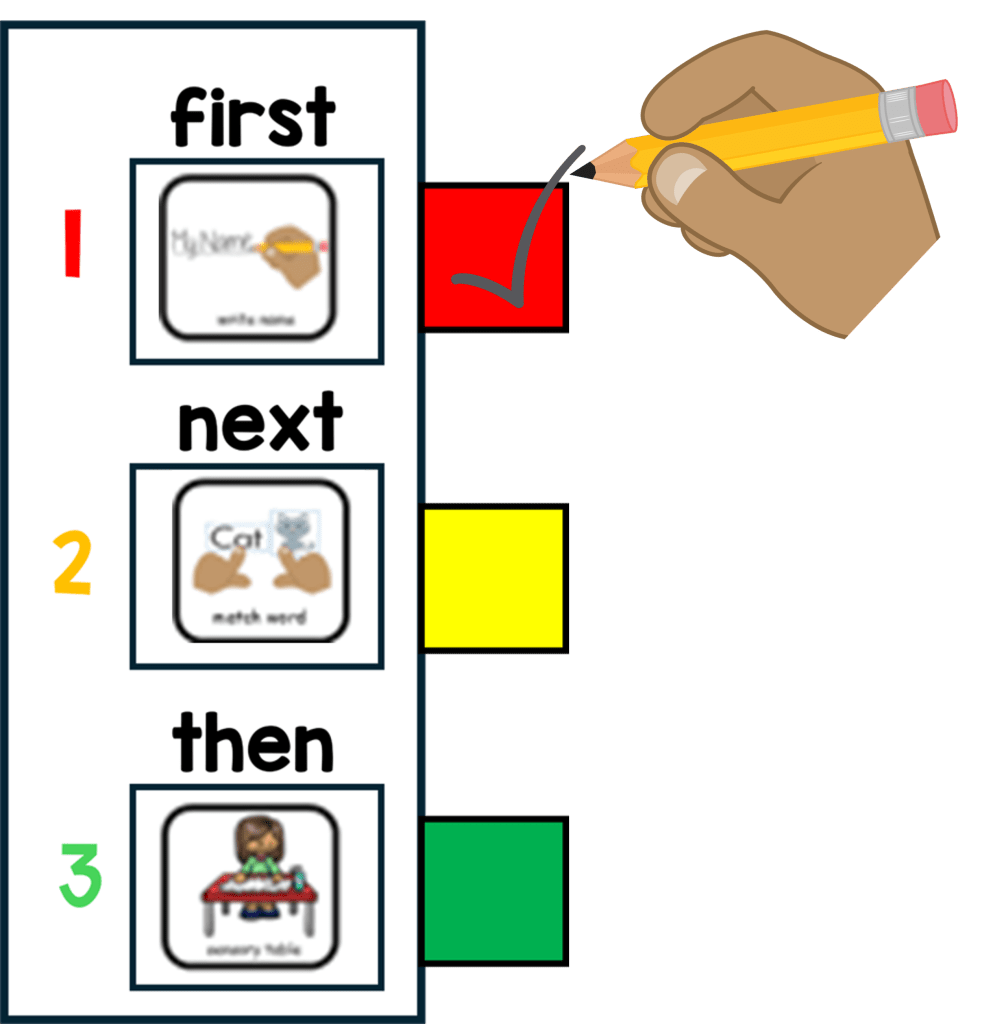
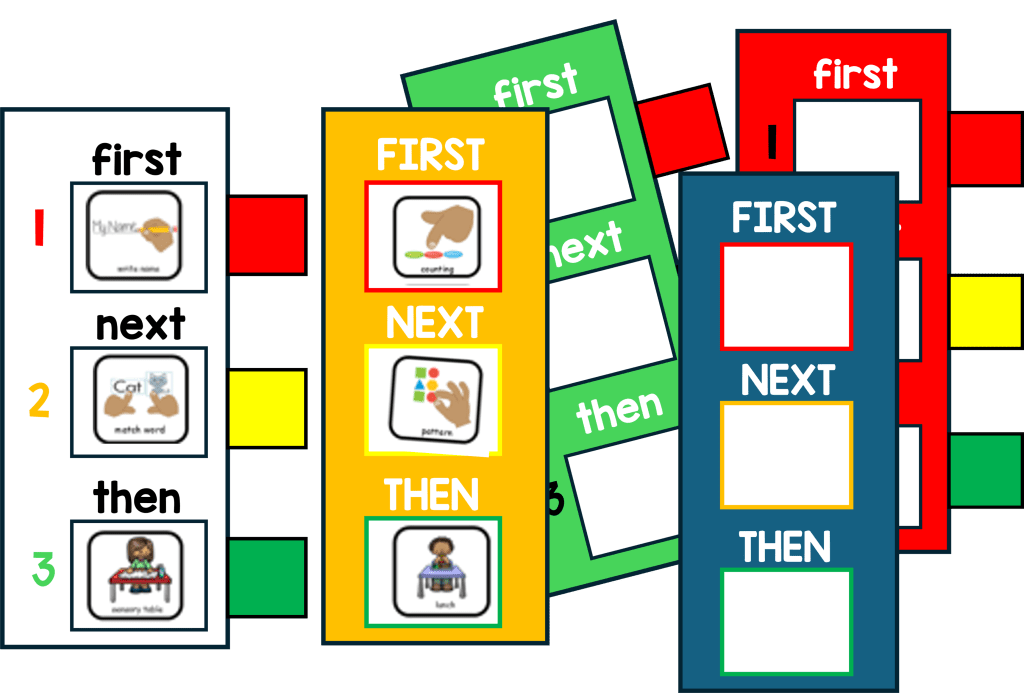
The First-Then strategy is incredibly versatile. It can be adapted for a wide range of situations, from simple tasks (like “First, put on your shoes. Then, you can go outside”) to more complex, academic instructions.
It can be used across different environments (home, school, therapy settings), making it a universally applicable tool. Below I’ve listed more reasons to implement this strategy!
ToEnhances Self-Regulation and Motivation:
Children better manage their behavior by knowing they must finish one activity (First) before starting another (Then). This builds intrinsic motivation and a sense of accomplishment.
ToFacilitates Communication and Language Development:
The First-Then strategy supports communication skills. Using visuals or choice boards helps non-verbal children understand sequencing and choice-making, encouraging language use for communication.
To Reduces Anxiety and Overwhelm:
For many children with special needs, the world can be overwhelming. Not knowing what to expect next can lead to anxiety or avoidance. The First-Then strategy provides predictability, helping children to feel more in control and less anxious about transitions.
To Builds a Positive Reinforcement Cycle:
By using the First-Then strategy with rewards that are meaningful to the child, educators or caregivers can create a positive feedback loop. The child is more likely to follow instructions and engage in activities if they know there’s an enjoyable outcome after completing the task.
Positive reinforcement also helps build trust between the child and teacher or caregiver.
To Increases Independence:
As children become more familiar with the structure of the First-Then strategy, they may begin to independently initiate tasks. Over time, they learn that completing tasks leads to desired outcomes, which can encourage them to take ownership of their actions.
To Strengthens Social Skills:
In group settings, using First-Then can help children learn how to take turns, follow rules, and understand social expectations. For example, “First, you listen to the teacher. Then, you can play with your friends” helps kids practice social behaviors while learning the concept of waiting.
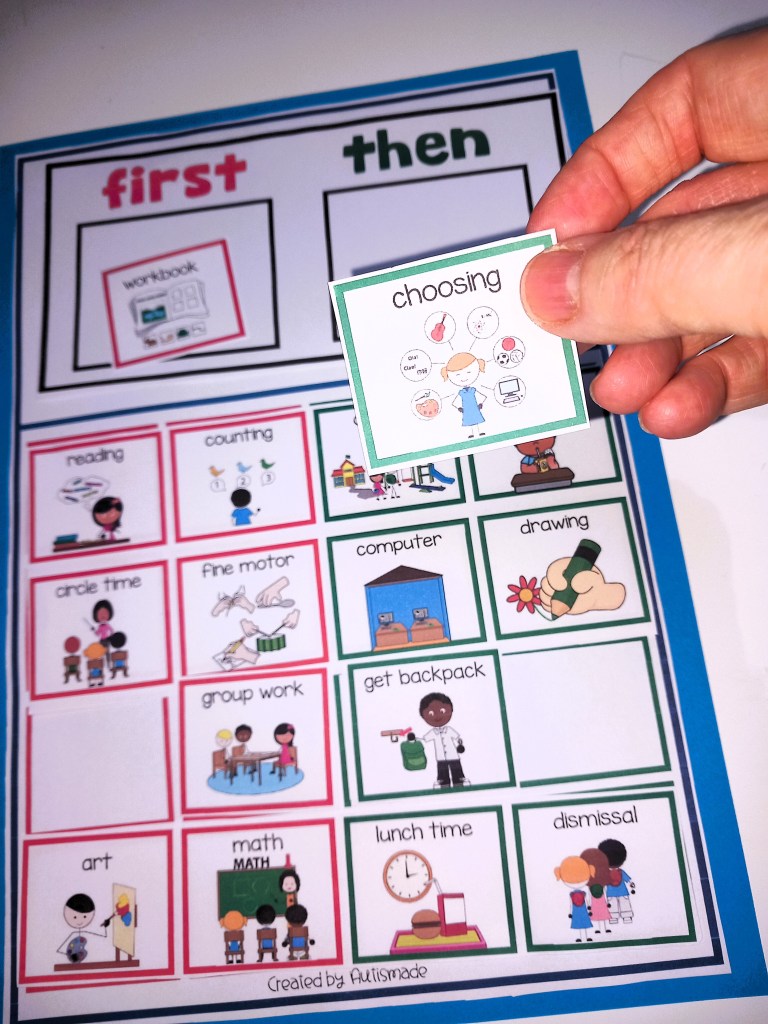
Visual Example:
First: Work on your math.
Then: You can play with your favorite toy.
This helps the child to know what is expected and what they will get in return after completing the task.
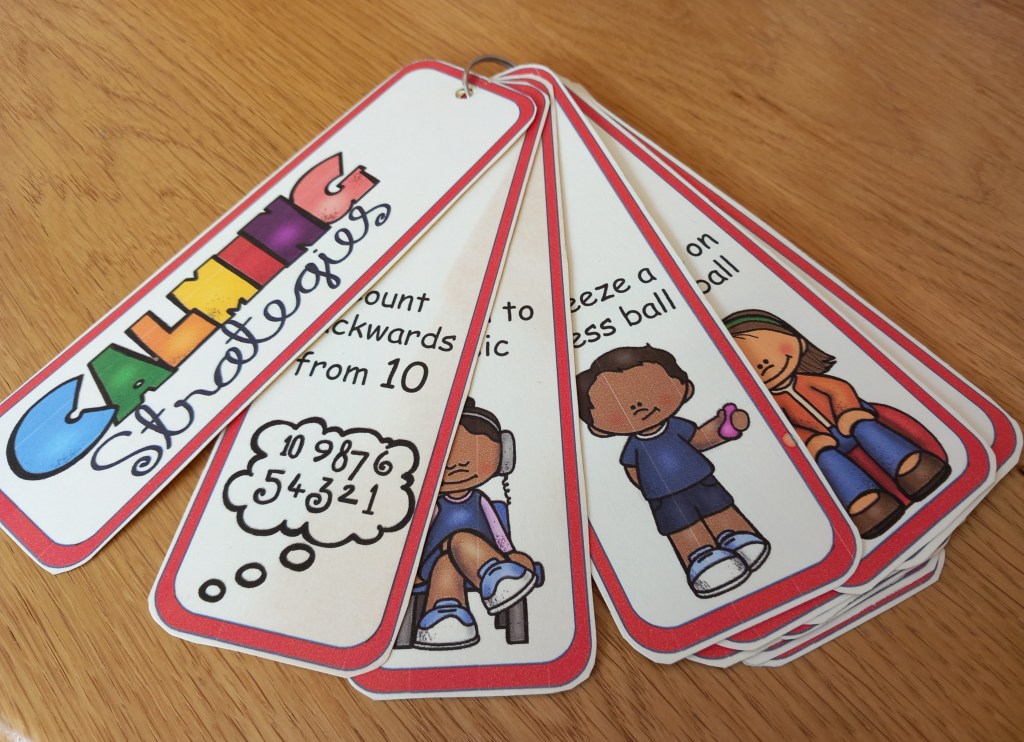
Creating a calm and supportive classroom environment is crucial for students with special needs, especially those with Autism. Sensory overload, anxiety and frustration can often trigger emotional reactions that make it more difficult for them to focus, learn and engage. This is where calming strategies are needed.
In this post we’ll explore easy to implement strategies that can help calm students and create a more tranquil classroom environment. These strategies can be used by Teachers, Teachers aides and parents to support children in Special Education and Autism Classrooms.
Setting Up a Calm-Down Area: The Basics
When setting up a calm-down area, start by choosing a space that’s away from busy areas and distractions. The space should be quiet, cozy, and inviting, a retreat where children can relax without added stress. Try to make it an inviting space that encourages students to want to spend time there when needed.
Key Elements to Include:
Here are some simple yet effective elements that can make the calm-down area more functional and calming:
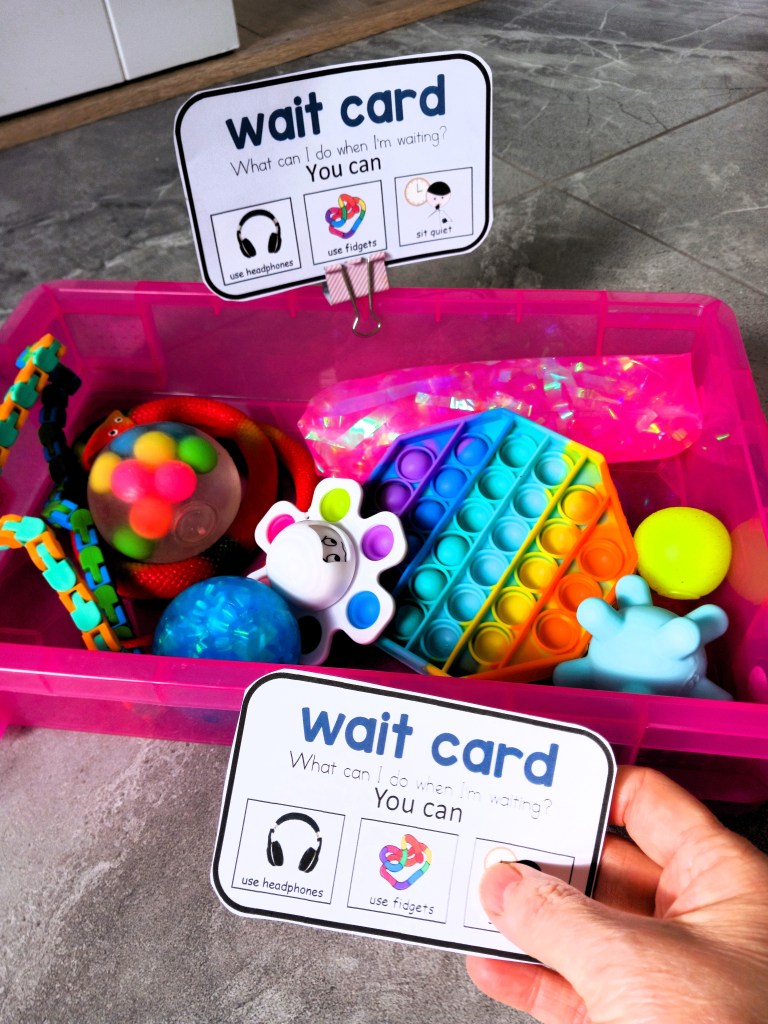
Sensory Tools: Sensory experiences can help children self-soothe and calm their nervous systems. Include items like weighted blankets, soft toys, squishy stress balls, or fidget spinners. A tactile or auditory experience can often help children feel grounded.
Soft Lighting: Bright overhead lights can be harsh, so consider adding a small lamp with soft, warm light or even a string of fairy lights. This creates a peaceful atmosphere and reduces visual overstimulation.
Comfort Items: Cushions, pillows, or a soft rug can make the area feel cozy. Some children may find comfort in having a favorite object like a stuffed animal or a familiar blanket.
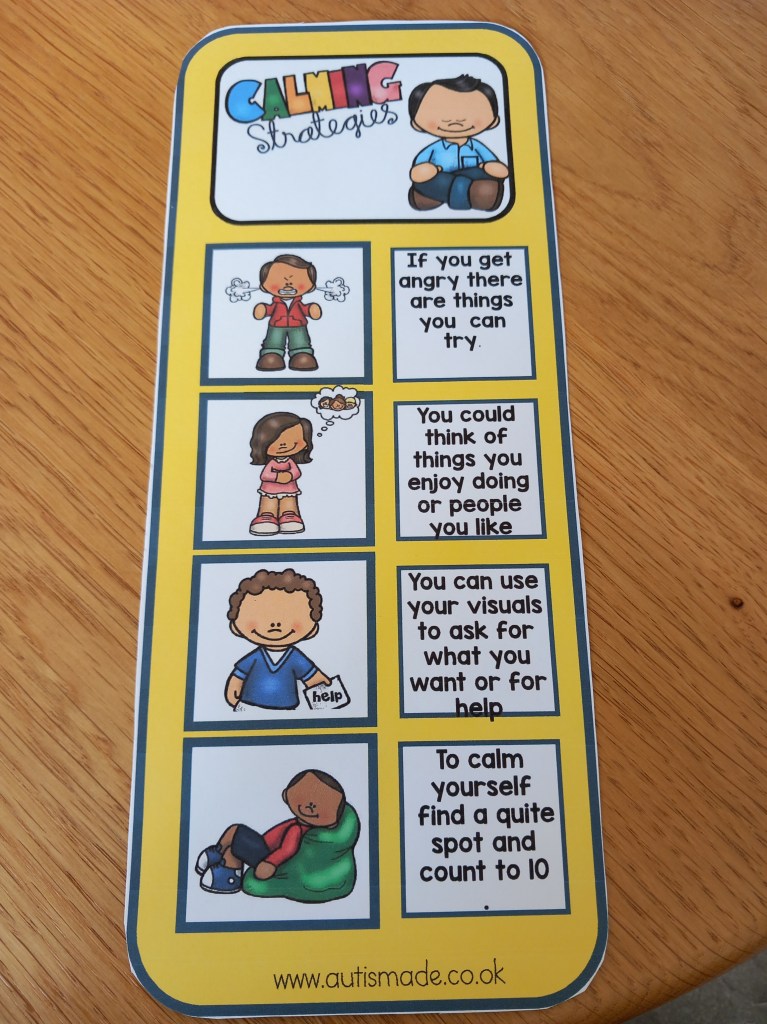
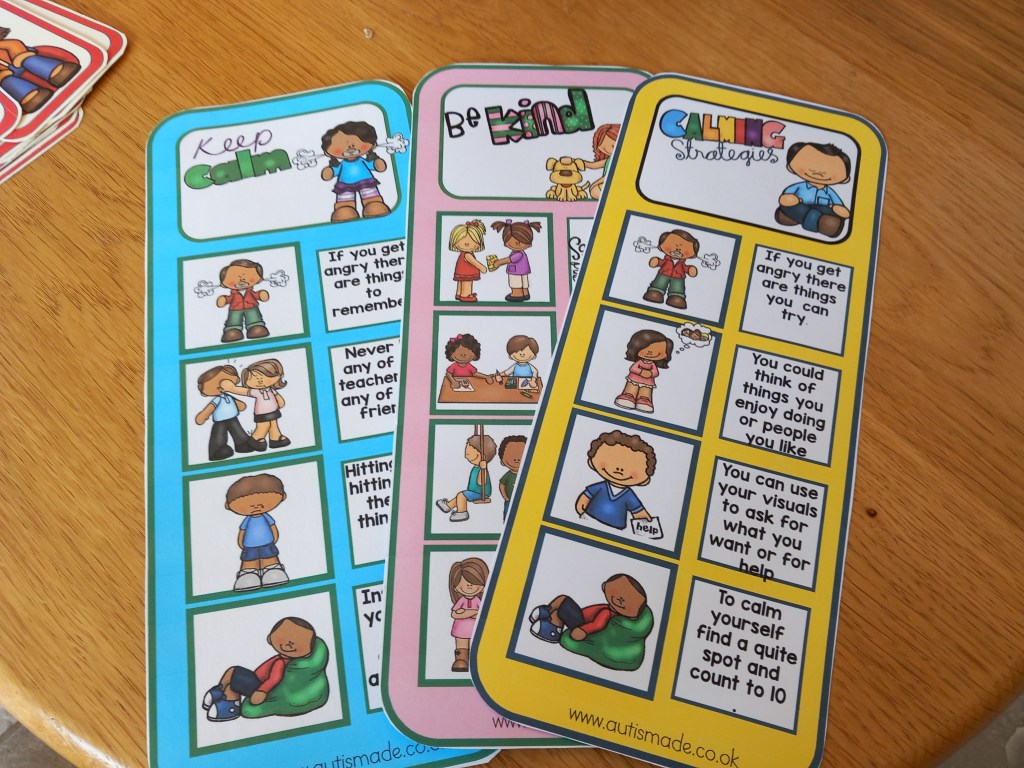
Visual Cues: Add calming visuals, posters, calming charts (e.g., breathing exercises or social stories), or a timer to help children track their time spent in the area. For some students, these cues help to create structure and ease transitions.
The calm-down area is most effective when it’s introduced as a tool for emotional regulation rather than a time-out or punishment zone. It’s essential that children understand that it’s a space to use when they feel overwhelmed or need a break, not when they’re being “bad.”
When introducing the space, explain its purpose to the students. You might say something like, “This area is for when you need a break to calm your body. You can come here when you’re feeling upset or need to reset.”
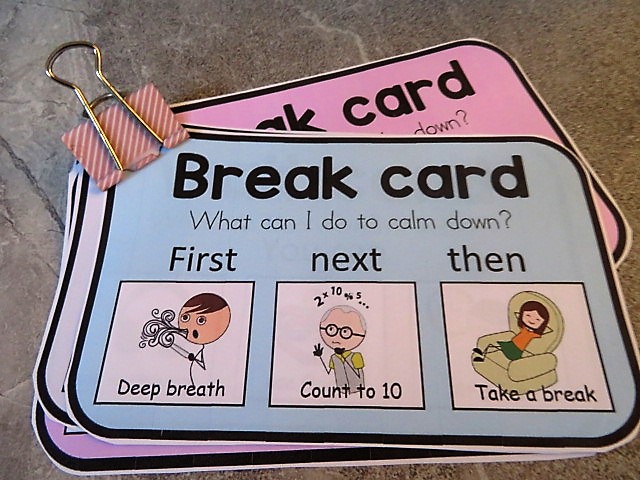
Consider using visual or verbal reminders throughout the day to reinforce its use, such as a “calm down” card that students can hold up when they need a break. Having a routine for when and how to use the area helps students understand it’s a proactive tool for self-care.
Remember, the calm-down area should be flexible and adapt to the needs of each student. As children grow and develop, their emotional needs may change, and it’s important to be open to modifying the space as necessary. Whether it’s adding new sensory tools or adjusting the space to make it more comfortable, keeping the area evolving can keep it an effective resource for emotional well-being.
Creating a calm-down area in your classroom or home can have a powerful impact on emotional regulation and overall well-being for children with special needs. By providing a dedicated, safe space for children to retreat when needed, you’re helping them develop the skills to manage their emotions and build resilience. With a little creativity, flexibility, and collaboration, you can create a space that supports both learning and emotional health.
Handy Calm Down Resources linked for you to check out:-
Creating a functional communication lesson for non-verbal kids with autism, limited play skills, and fine motor challenges requires a careful approach to make sure the lesson is engaging, motivating, and supportive of their unique needs. Here’s a little list to help you develop a lesson:
a. Objective:
The goal is to enhance functional communication skills in a way that connects with the child’s daily experiences, interests, and abilities. Focus on initiating communication, requesting items or activities, and expressing basic needs.
b. Lesson Structure:
A structured, predictable routine is key for kids with autism. Keep the lesson simple and short (10-15 minutes). Use visuals, and embed movement and sensory activities to keep them engaged.
Tips for a lesson:
1. A welcomeroutineto start
Objective: Establish a calm, welcoming routine.
Activity: Start with a visual schedule (e.g., a picture of “circle time” or “activity time”) to show what will happen.
Use a familiar greeting song that the child recognizes (e.g., “Hello Song” or any favorite tune) to engage them right from the start.
Sensory input: If needed, provide sensory support (fidget toys or weighted items) to help them focus.
2. Offer Choice with Visual Supports
Objective: Encourage the child to make a choice (requesting/indicating preference).
Activity: Present two choices using pictures or objects. For example:
Show a picture of a toy and a book and encourage the child to choose by pointing, using a switch, or hand-over-hand if needed. Your student can press a button to make a choice if using communication devices. Once they make a choice, model functional language. If verbal, say, “I want the toy” or “I want the book.” If using a communication device, support them in using the symbol for “toy” or “book.”
You can also introduce a choice board with more items (preferably the child’s favorite toys or snacks), and make it easy for them to reach the option they want.
3. Use Play with Sensory Feedback
Objective: Practice requesting during play while incorporating sensory feedback.
Activity: Select a simple activity that encourages engagement, such as:
A sensory bin with textured items (rice, beans, or sand). Encourage the child to make choices by pointing, using a communication device, or simple gestures (like reaching for the object).
Use toys that light up or make sounds when touched (engaging for children with limited play skills).
Bubble play: If the child enjoys sensory experiences, bubbles can be motivating. Encourage requesting or communicating interest by helping the child point to the bubble bottle or making a gesture to indicate they want to play.
During play, encourage them to request more, using words, signs, gestures, or a communication board.
4. Routine and Repetition with Transition
Objective: Create a sense of closure and predictability.
Activity: Introduce a transition activity such as a song, a closing visual, or a familiar phrase like “All done” to help the child understand the lesson is ending. You can use a visual transition schedule to show them what comes next.
Provide a small reward or motivation based on the child’s choice (such as a favorite toy, snack, or sensory toy) to reinforce the communication they just practiced.
PrepareMaterials
Visual Schedule (showing the lesson steps with pictures).
Motivational Items (preferably things the child loves, such as their favorite toys or snacks).
Objects and Sensory Items (bubbles, textured items, toys that light up or make sounds).
Communication Tools (such as communication boards, switches, or AAC devices).
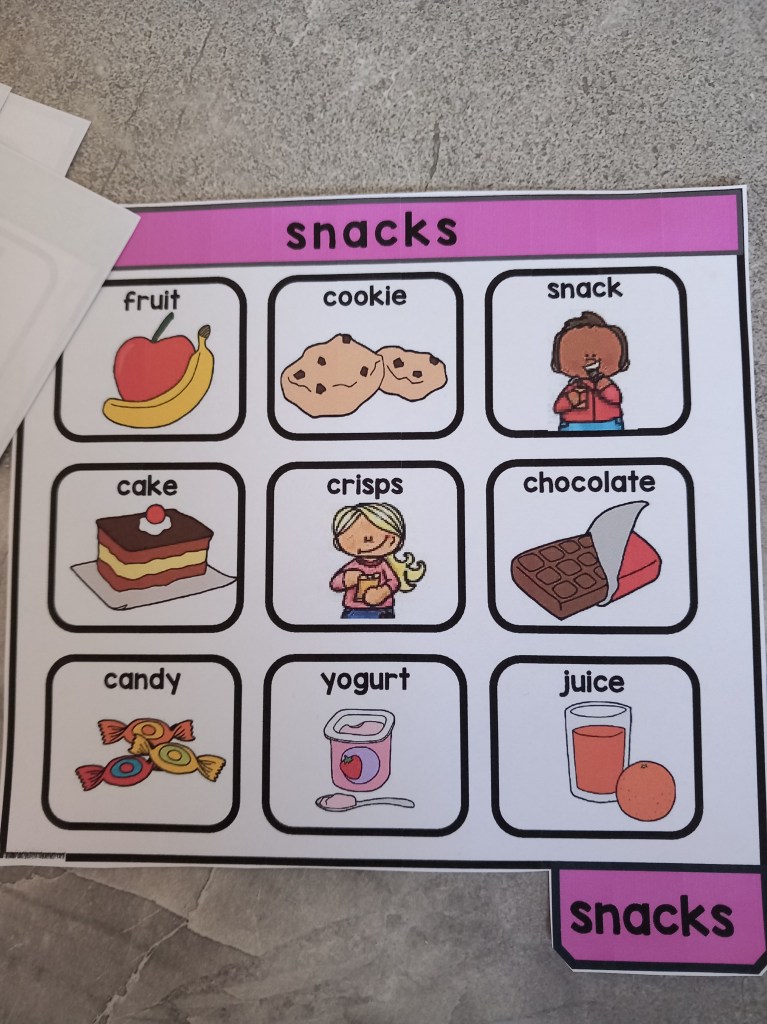
Choice Board or Communication Cards (pictures of toys, snacks, or activities they can request).
TipstoEngagement
Use High-Interest Items: Incorporate toys, activities, or songs that are favorites of the child to ensure they stay motivated.
Use Clear, Simple Language: Always model short, clear phrases like “I want,” “more,” “help,” “finished” in both verbal and non-verbal forms (sign language, gestures, etc.).
Ensure Success: If a child is struggling with motor skills, assist them (hand-over-hand) but always encourage independent attempts. Keep the pace slow and provide plenty of praise for any communication attempt.
Incorporate Movement: Since some children may have trouble sitting still, include movement activities like “jumping” or “clapping” as part of the lesson to maintain engagement.
Sample Lesson
Objective: The child will request a preferred toy using a choice board or gesture.
Greeting Song: “Hello, [child’s name], it’s time to play! use a little song.
Choice Activity: Place two favorite toys on the table (e.g., a soft ball and a musical toy). Show the child both options and say, “Which one do you want?”
Interactive Play: Once they indicate their choice, help them engage with the toy. If they point or attempt a sound, praise them, “Great job asking for the toy!”
Ending Routine: When the play ends, say, “All done, we are finished now,” and play a calming closing song.
Remember: Consistency and patience are key. Small, repeated successes build communication skills, and it’s important to keep the environment structured and fun.