Teaching Functional Skills
Teaching in my autism classroom is about more than academics — it’s about helping students build the functional learning skills they need to thrive in everyday life. These are the real-world abilities that foster independence, communication, and social participation.

What Are Functional Learning Skills?
Functional learning skills are practical, teachable skills that students use in their daily routines and community life.
Examples include:
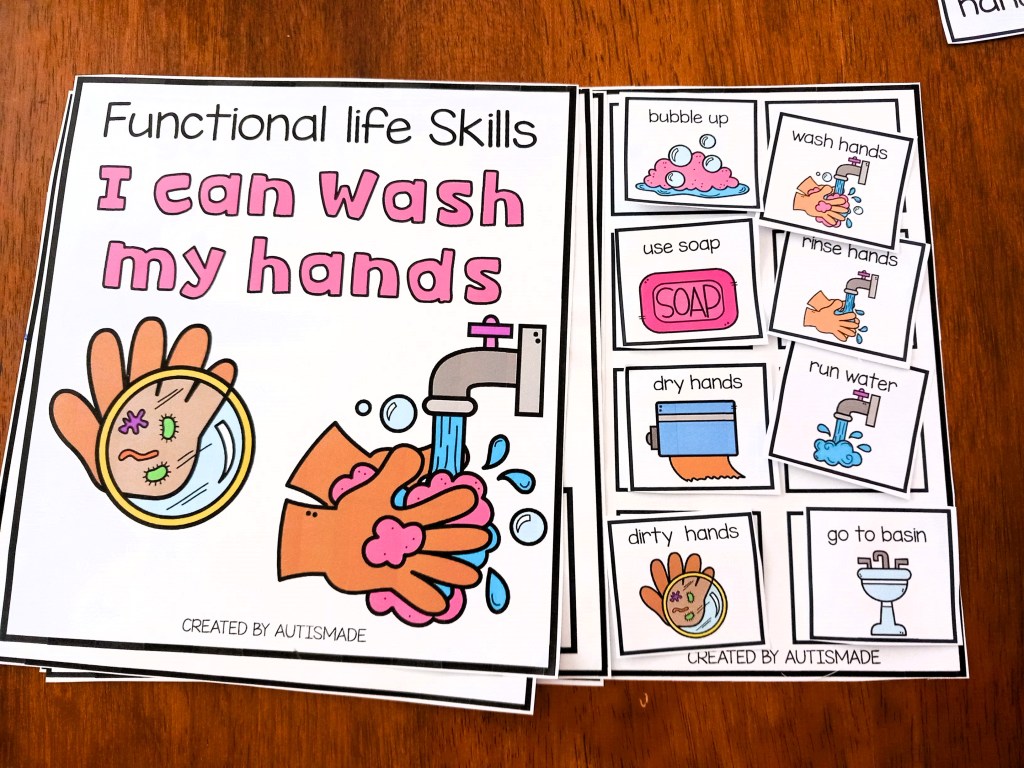
- Daily Living Skills – brushing teeth, making snacks, dressing for the weather
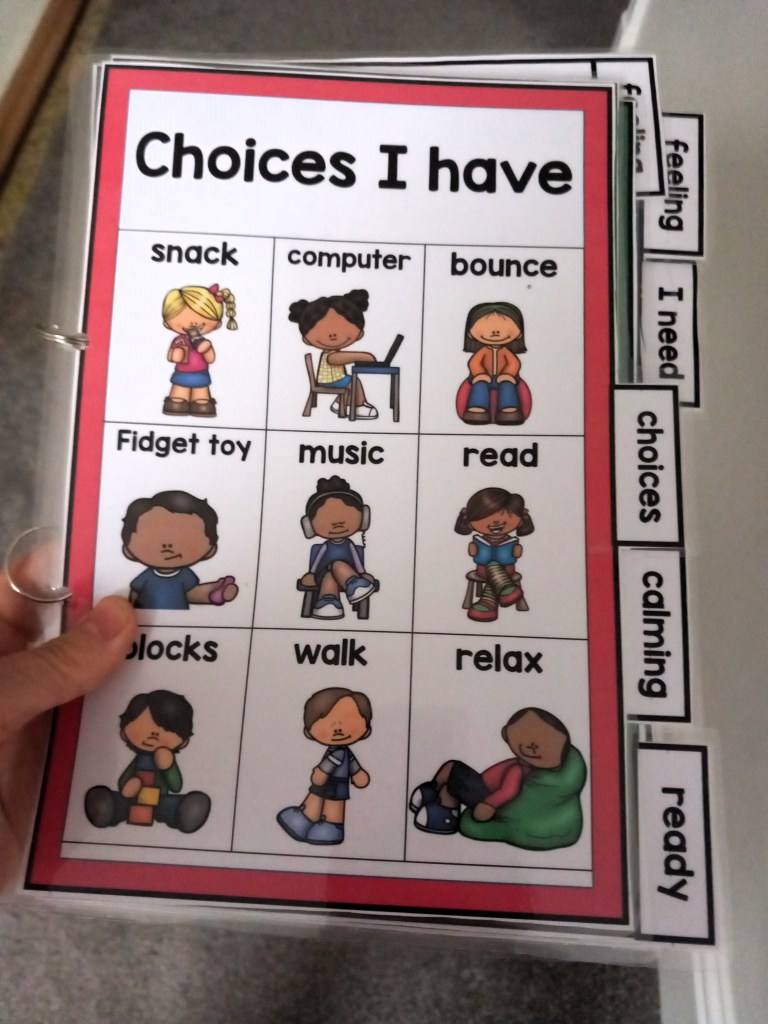
- Communication Skills – asking for help, greeting others, using AAC or visuals
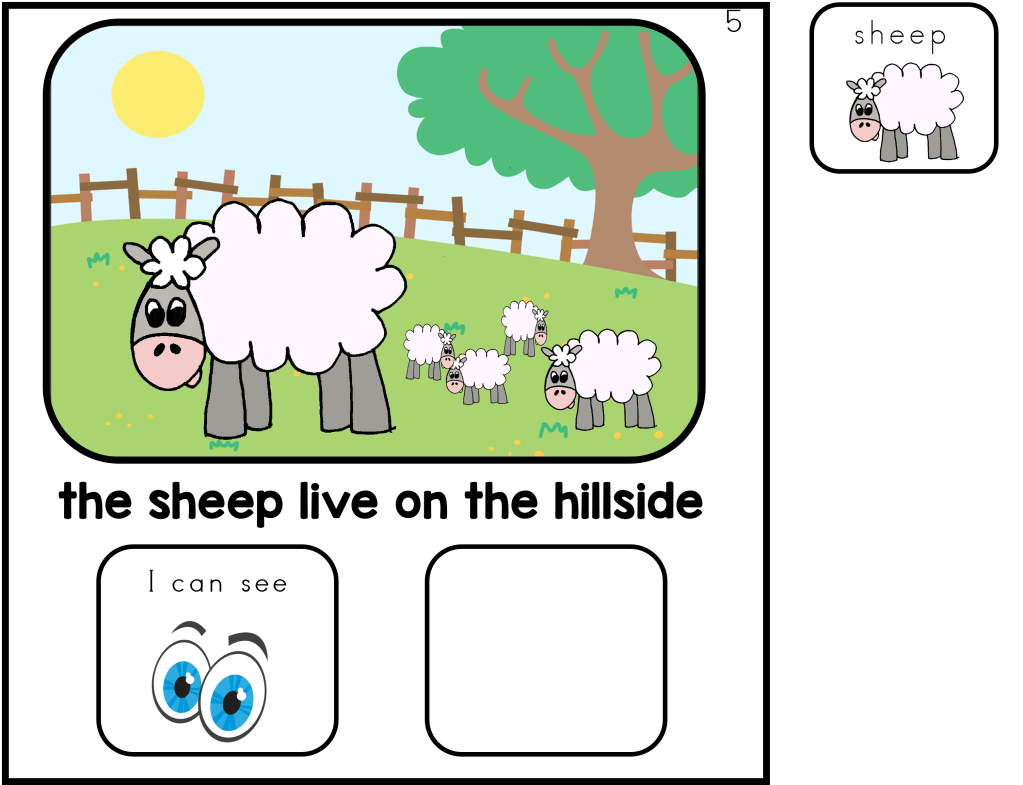
- Social Skills – turn-taking, sharing, recognizing emotions
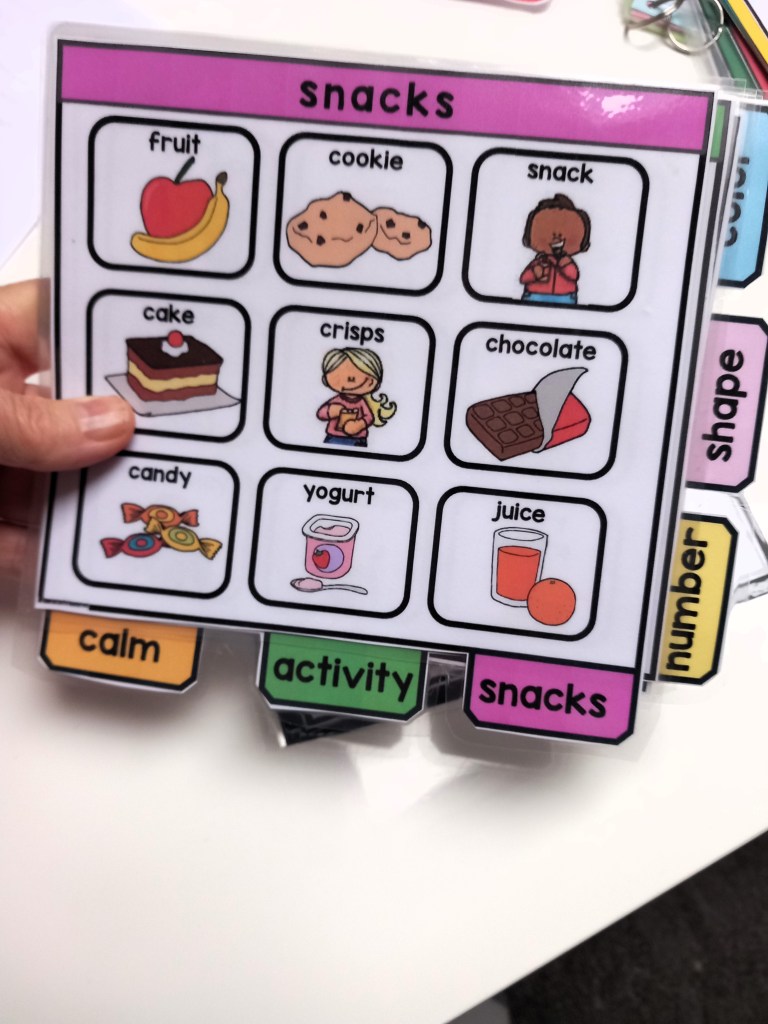
- Functional Skills – counting money, reading signs, telling time
- Community Skills – shopping, following safety rules, using transportation

Why Functional Learning Matters
For many students with autism or developmental disabilities, functional learning creates the bridge between classroom lessons and real-world independence. When we teach academics through hands-on, meaningful activities, students learn how to apply those concepts in their everyday lives.
Example: Instead of simply counting objects, have students count coins to buy a snack during a class store or community outing.
Strategies to Support Functional Learning
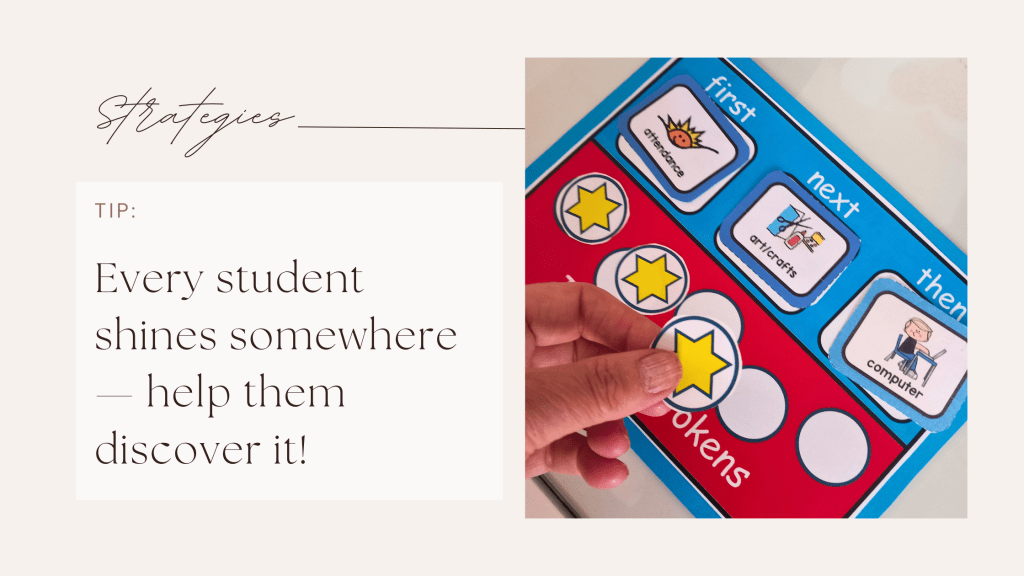
- Embed Skills in Daily Routines
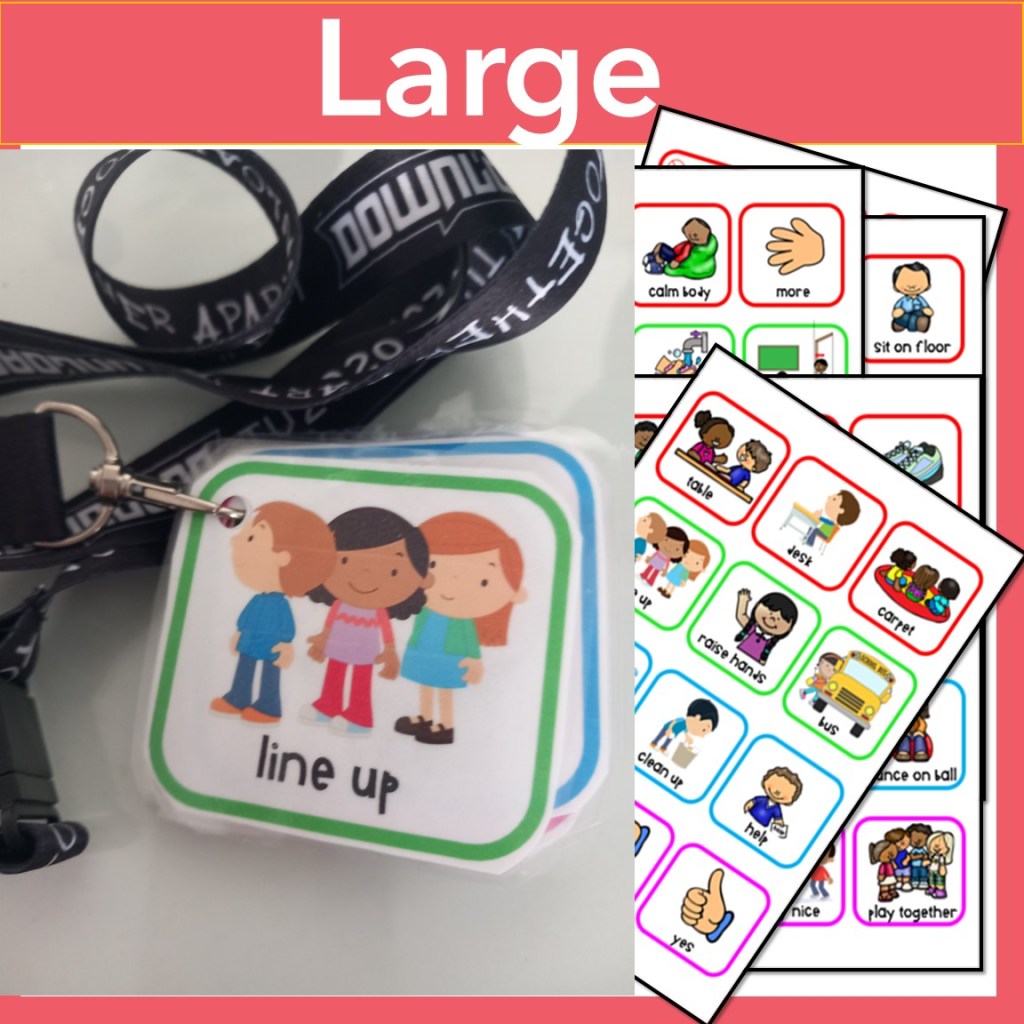
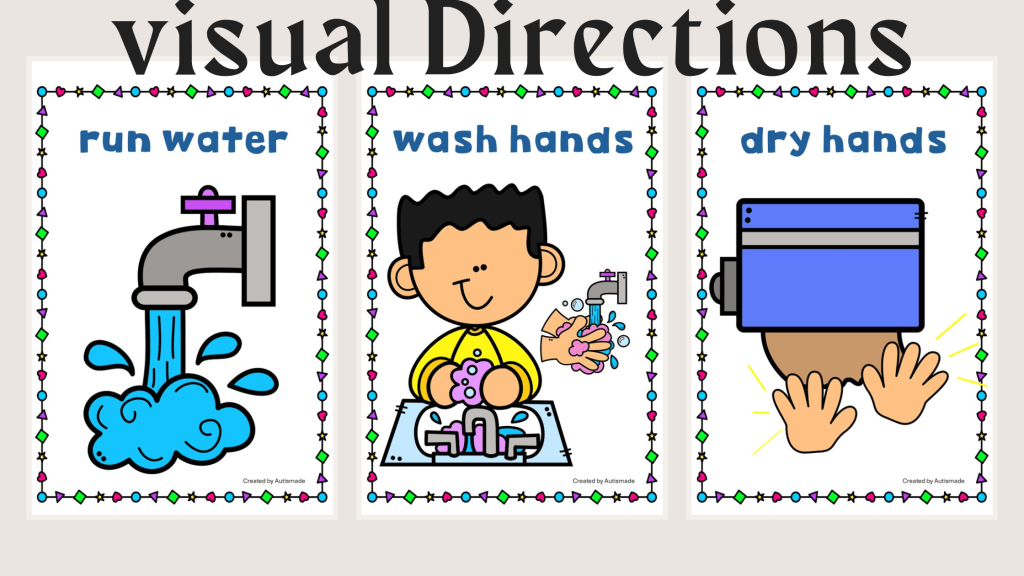
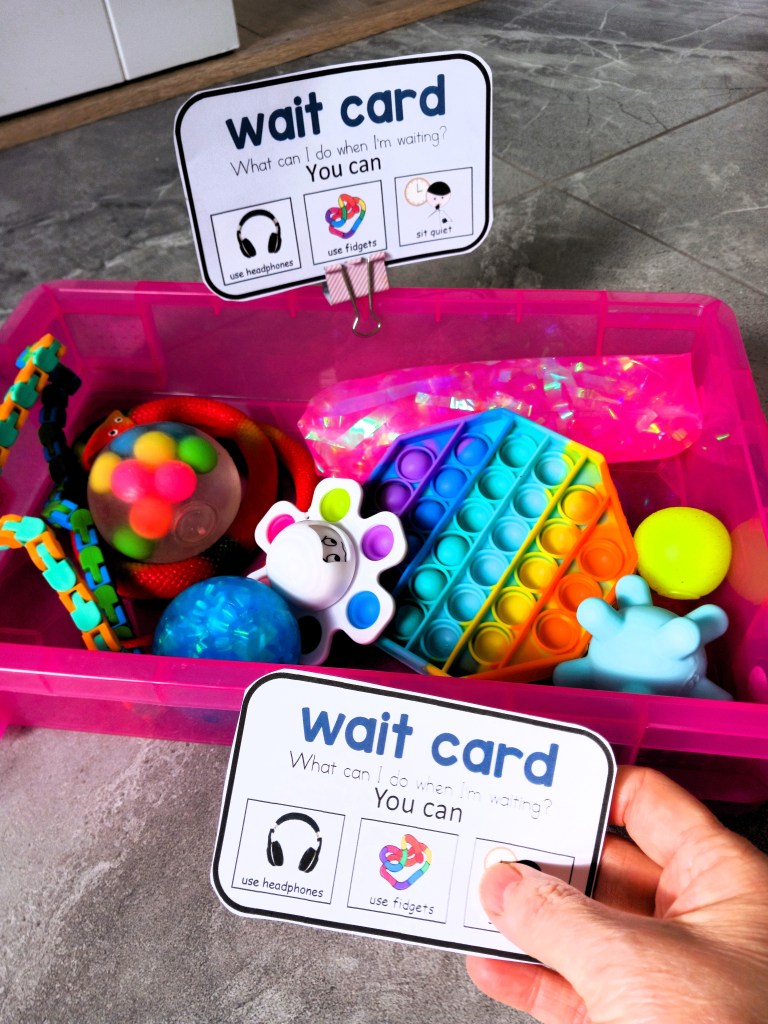
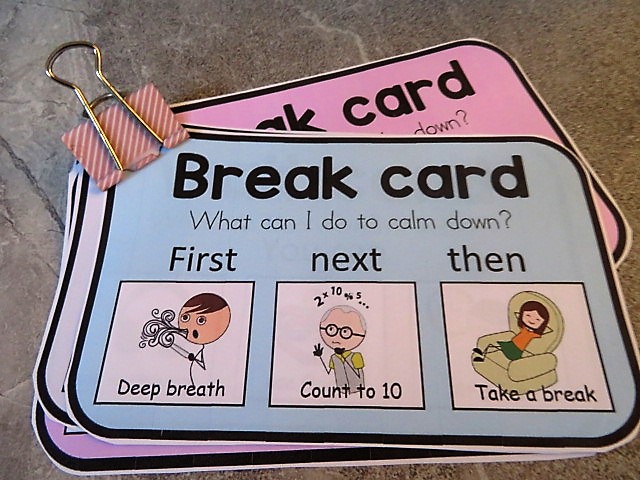
Use transitions, meal prep, or classroom jobs as natural teaching moments. - Use Visuals and Structured Supports
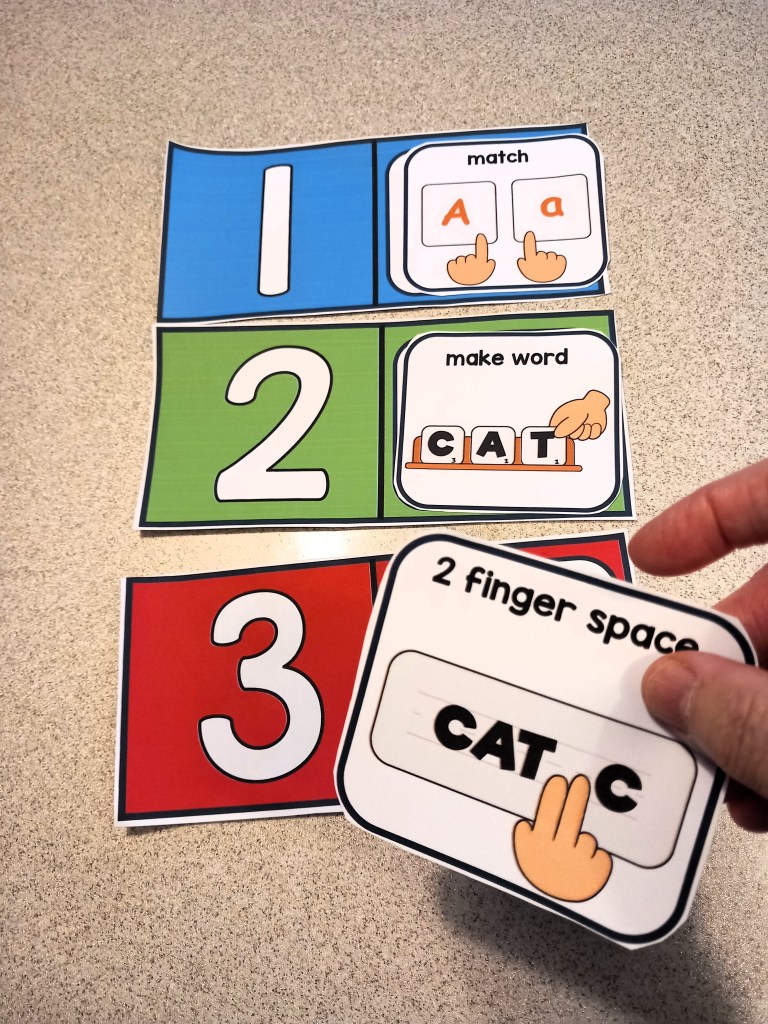
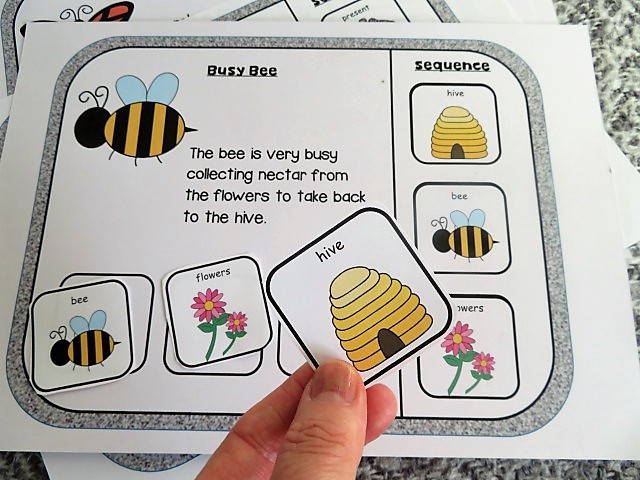
Visual schedules, step-by-step task cards, and picture prompts make learning predictable and clear - Incorporate Community-Based Learning
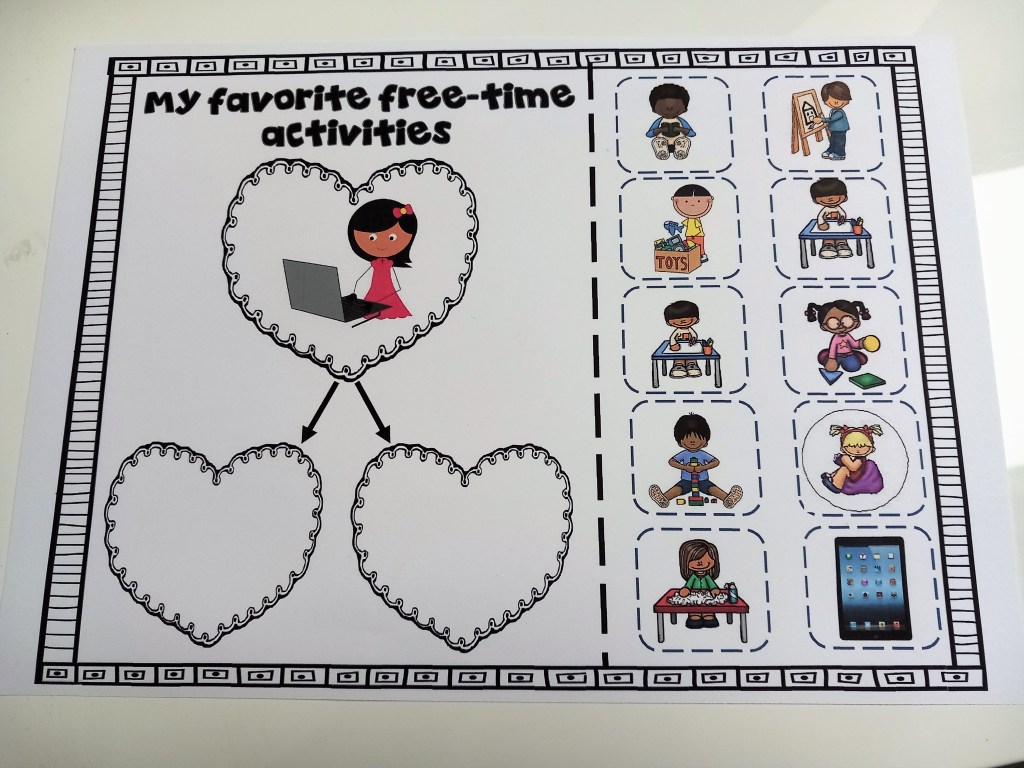
Simulate real-world settings in the classroom or plan short, supported outings. - Teach Functional Communication
Embed language practice in authentic activities — like asking for a snack or greeting peers - Celebrate Every Step of Progress
Growth looks different for every student. Each new skill, no matter how small, builds toward independence.
Functional Learning in Action
Picture your students running a classroom snack shop to practice functional math, or preparing a simple lunch to develop daily living skills. These experiences encourage problem-solving, teamwork, and confidence.

My Tips for Teachers
- Focus on real-world relevance in lessons
- Use visual supports and structured teaching
- Prioritize communication and social interaction
- Teach daily living and community skills
- Celebrate functional progress, not just test scores
Functional learning skills give students the tools to navigate life with greater confidence and independence. Every skill — from zipping a coat to paying for a snack — helps prepare them for a brighter independent future.