Hey there, Parents, Teachers, and Caregivers!
Are you stuck trying to explain social situations to a child with autism, you’re definitely not alone. That’s where social skills stories come in—and they can be total game-changers!
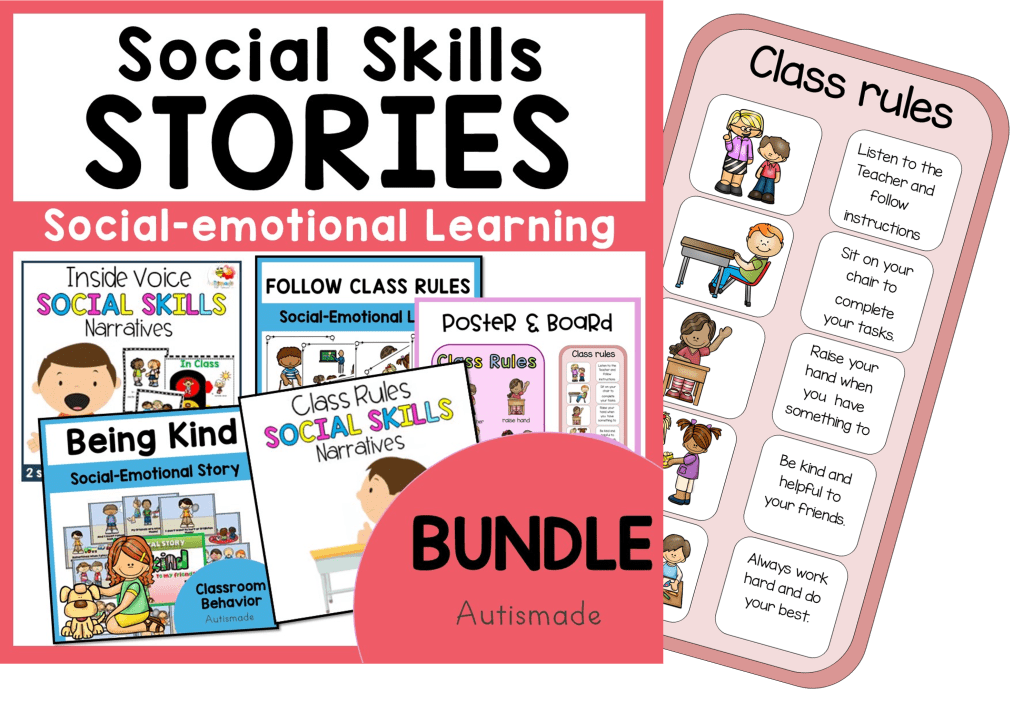
Grab a free Classroom expectations poster at the end of this post!


A social skills story is a simple, short story that helps kids understand everyday situations, new experiences, or tough emotions. They’re usually written with pictures and clear, calm language—perfect for helping children know what to expect and how to respond.
Think of it like giving your child a friendly “heads-up” before something happens.

Kids with autism often like routines and predictability. Social skills stories give them a little “preview” of what’s coming. That makes things feel less scary and more manageable. Whether it’s going to the dentist, starting a new class, or learning how to ask for help, social stories can make things a whole lot smooth.

Here’s a super simple example:
Going to the Doctor
Sometimes, I go to the doctor.
The doctor helps me stay healthy.
The doctor might look in my ears or check my heart.
It’s okay to feel nervous.
I can take deep breaths.
After the visit, I can go home and play!
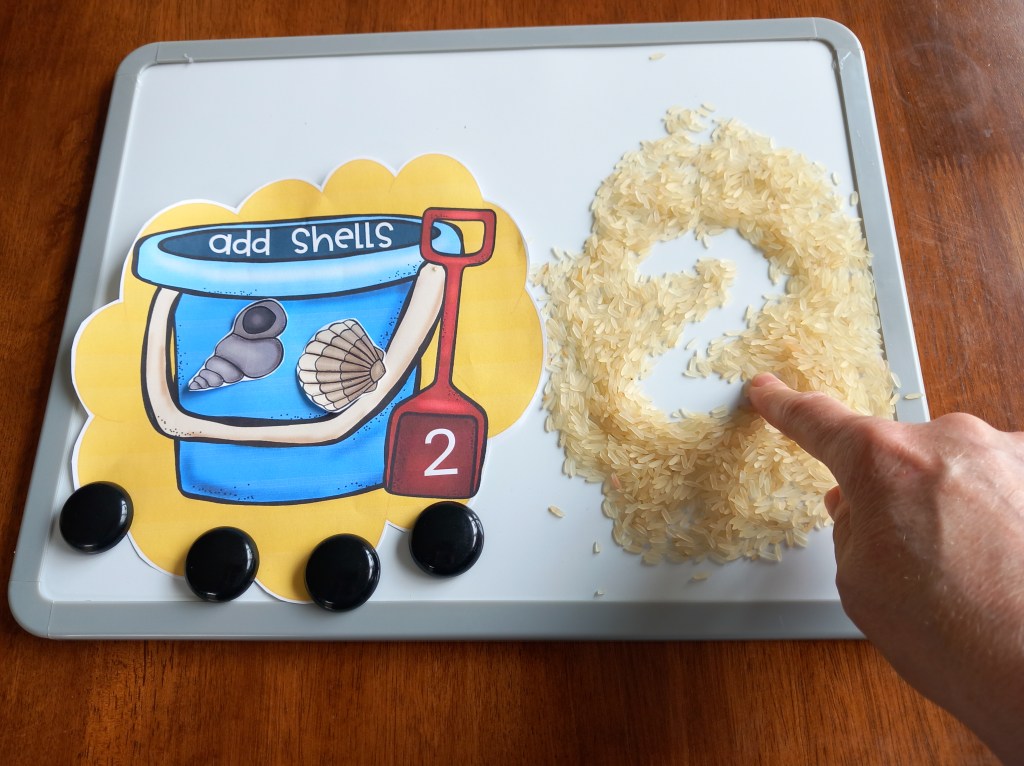
You can include pictures of the child, the place, or the activity to make it feel more personal.


- Before new experiences (like the first day of school)
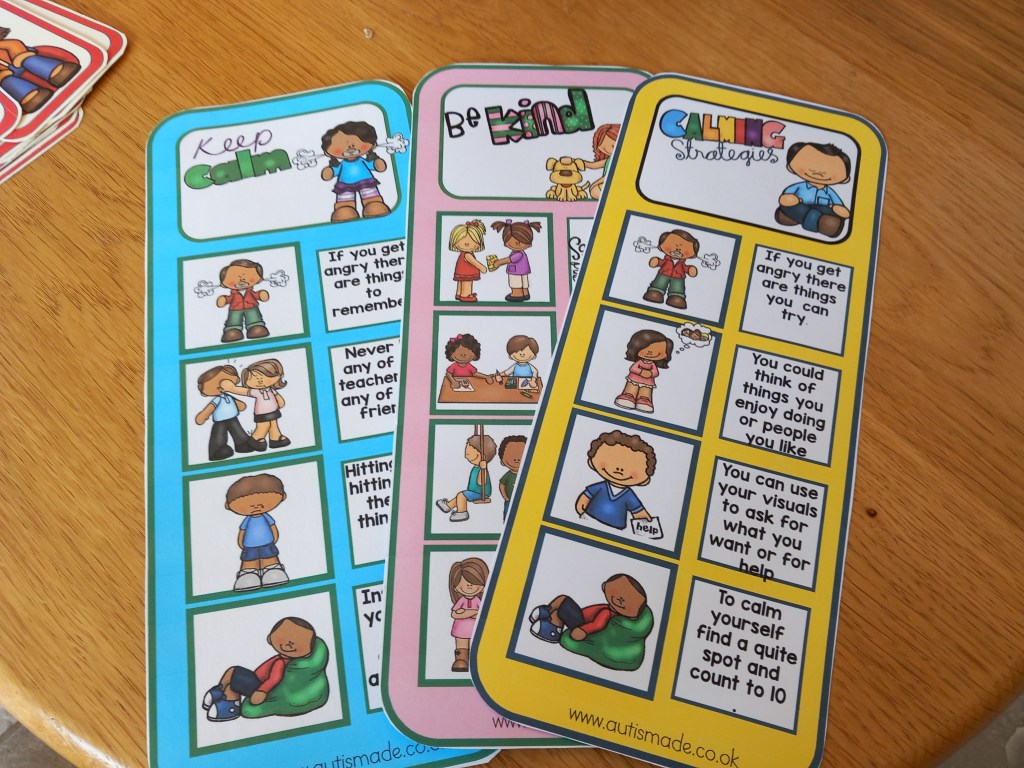
- To teach social skills (like saying “hello”)
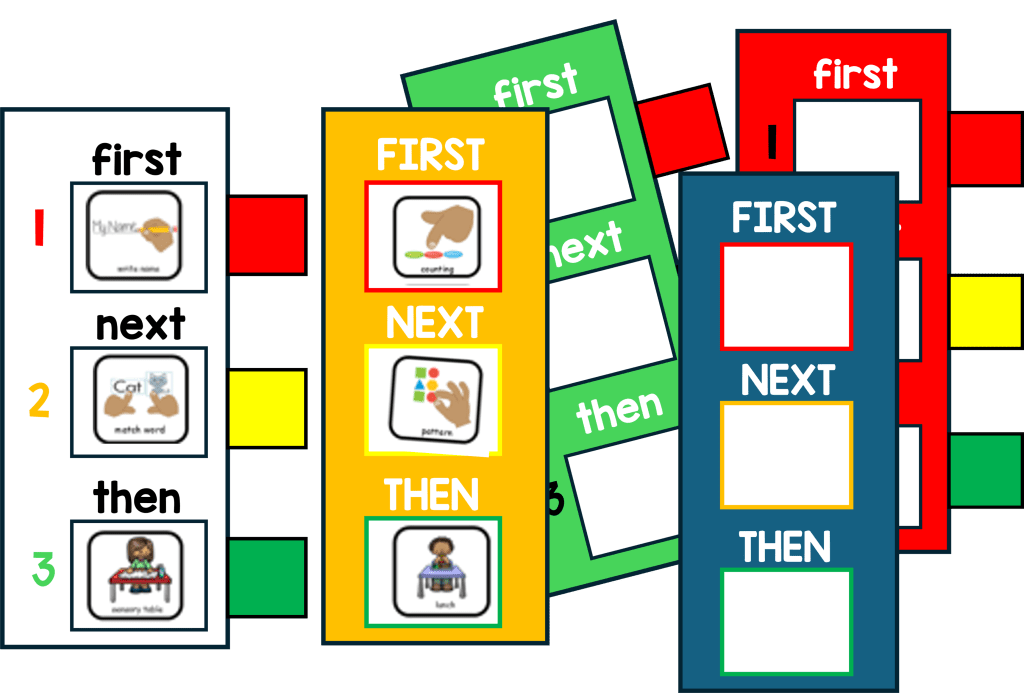
- To help with changes in routine (like a substitute teacher)
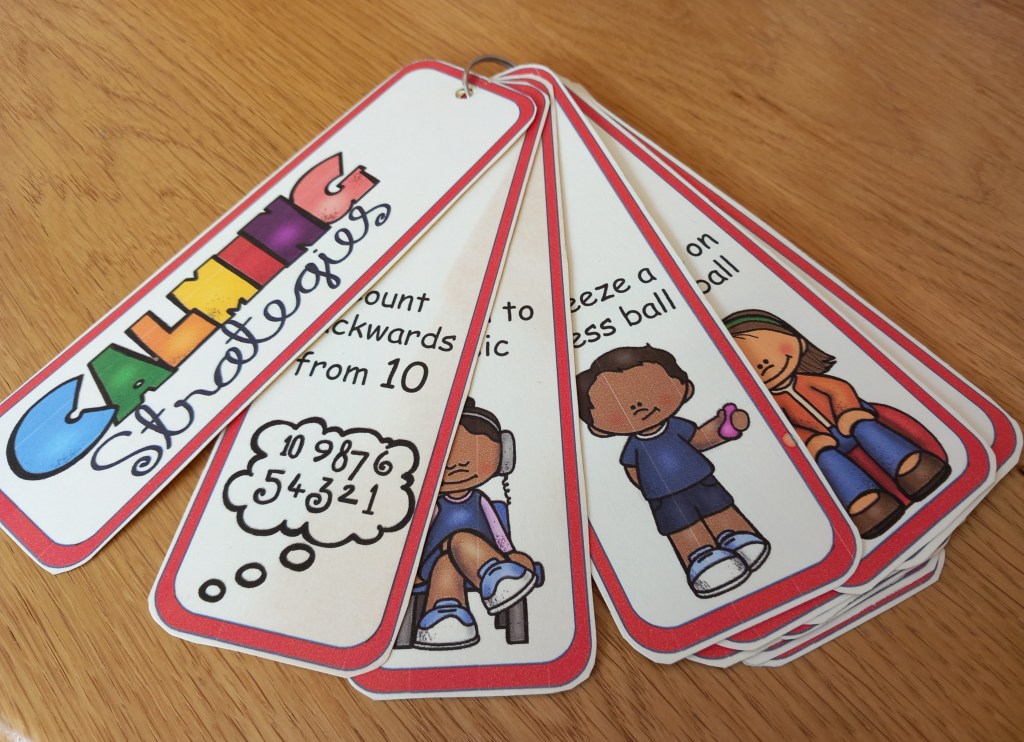
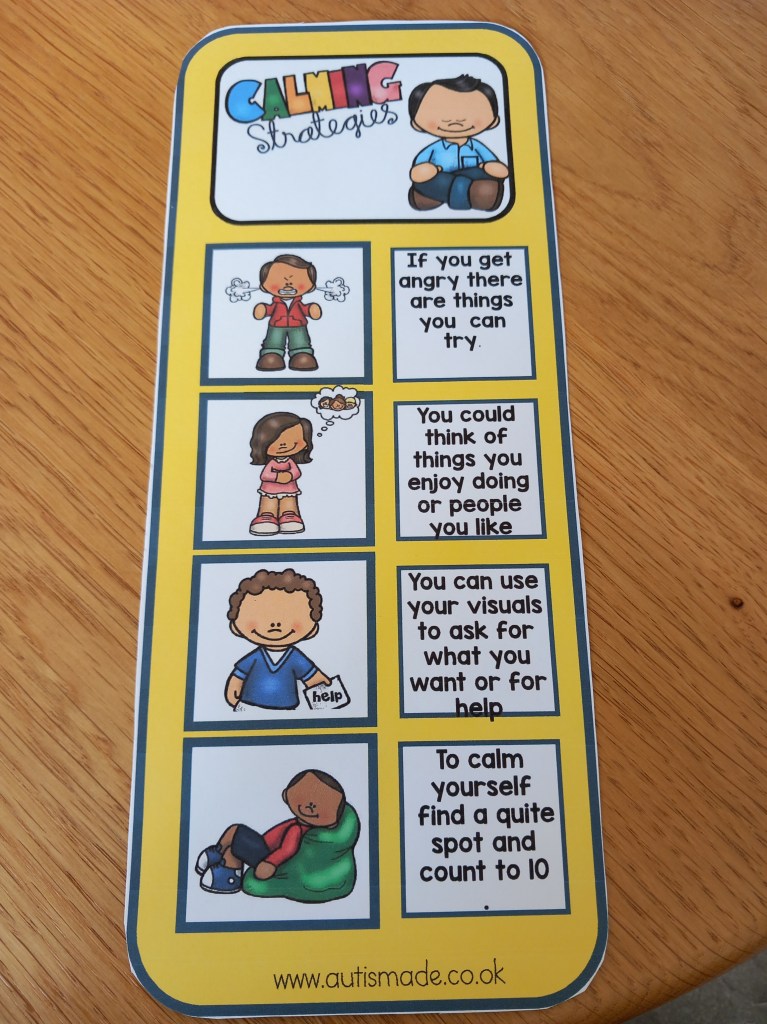
- To support emotional regulation (like what to do when feeling upset)

- Use clear, positive language
- Keep it short and to the point
- Include pictures if you can
- Read it together a few times before the event
- Involve your child in making it, if they enjoy that!
Social Skills Stories are a gentle, helpful way to support kids with autism in navigating the world. They build confidence, reduce anxiety, and encourage independence—and that’s something every child deserves.