Effective Feelings Check-in Strategies for Students with Autism

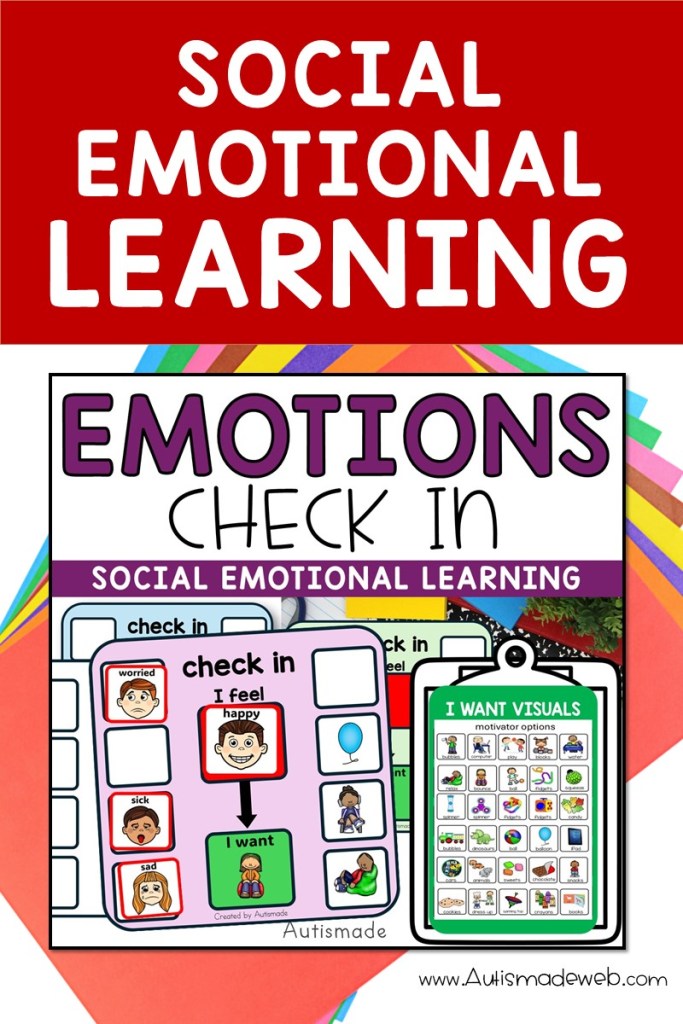
Feelings Check-in Tools

In early childhood classrooms, emotional regulation is not extra. It is foundational. Many of our students are still learning the language of feelings, and some of our learners with autism rely heavily on visual structure to make sense of their world.

That is where I Feel I Need Visual Autism | Emotional Regulation | steps in like a steady stream.

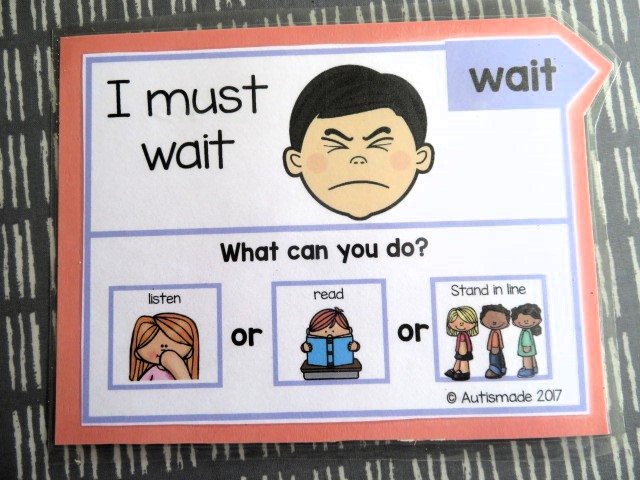
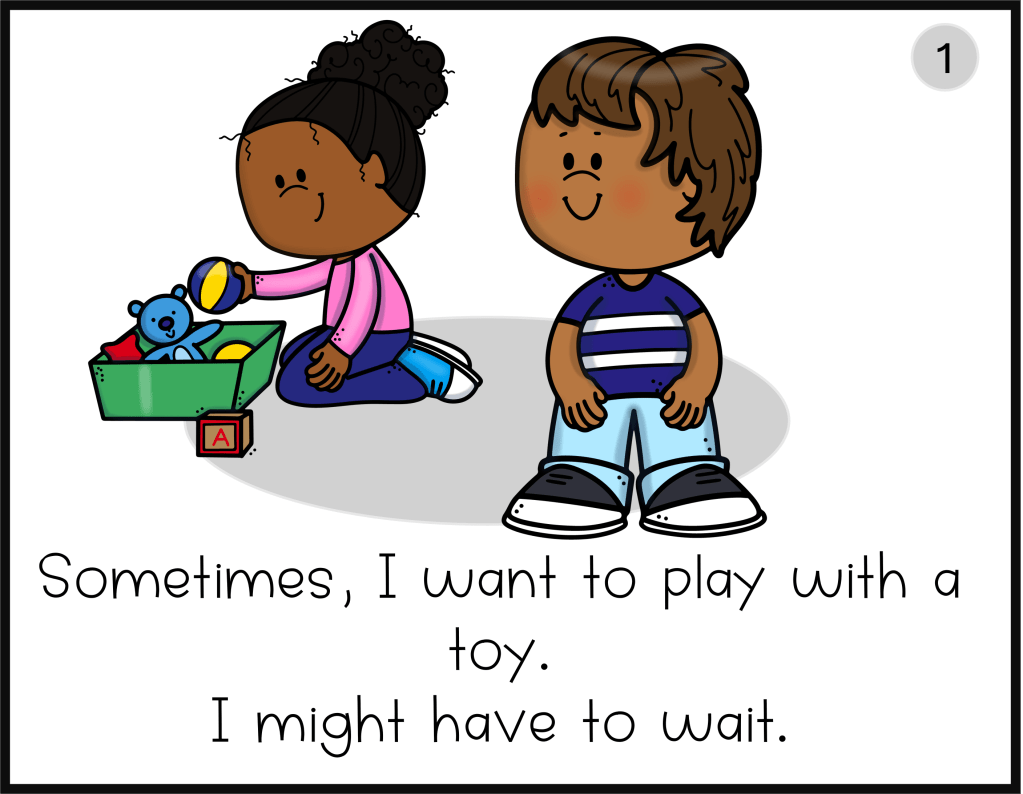
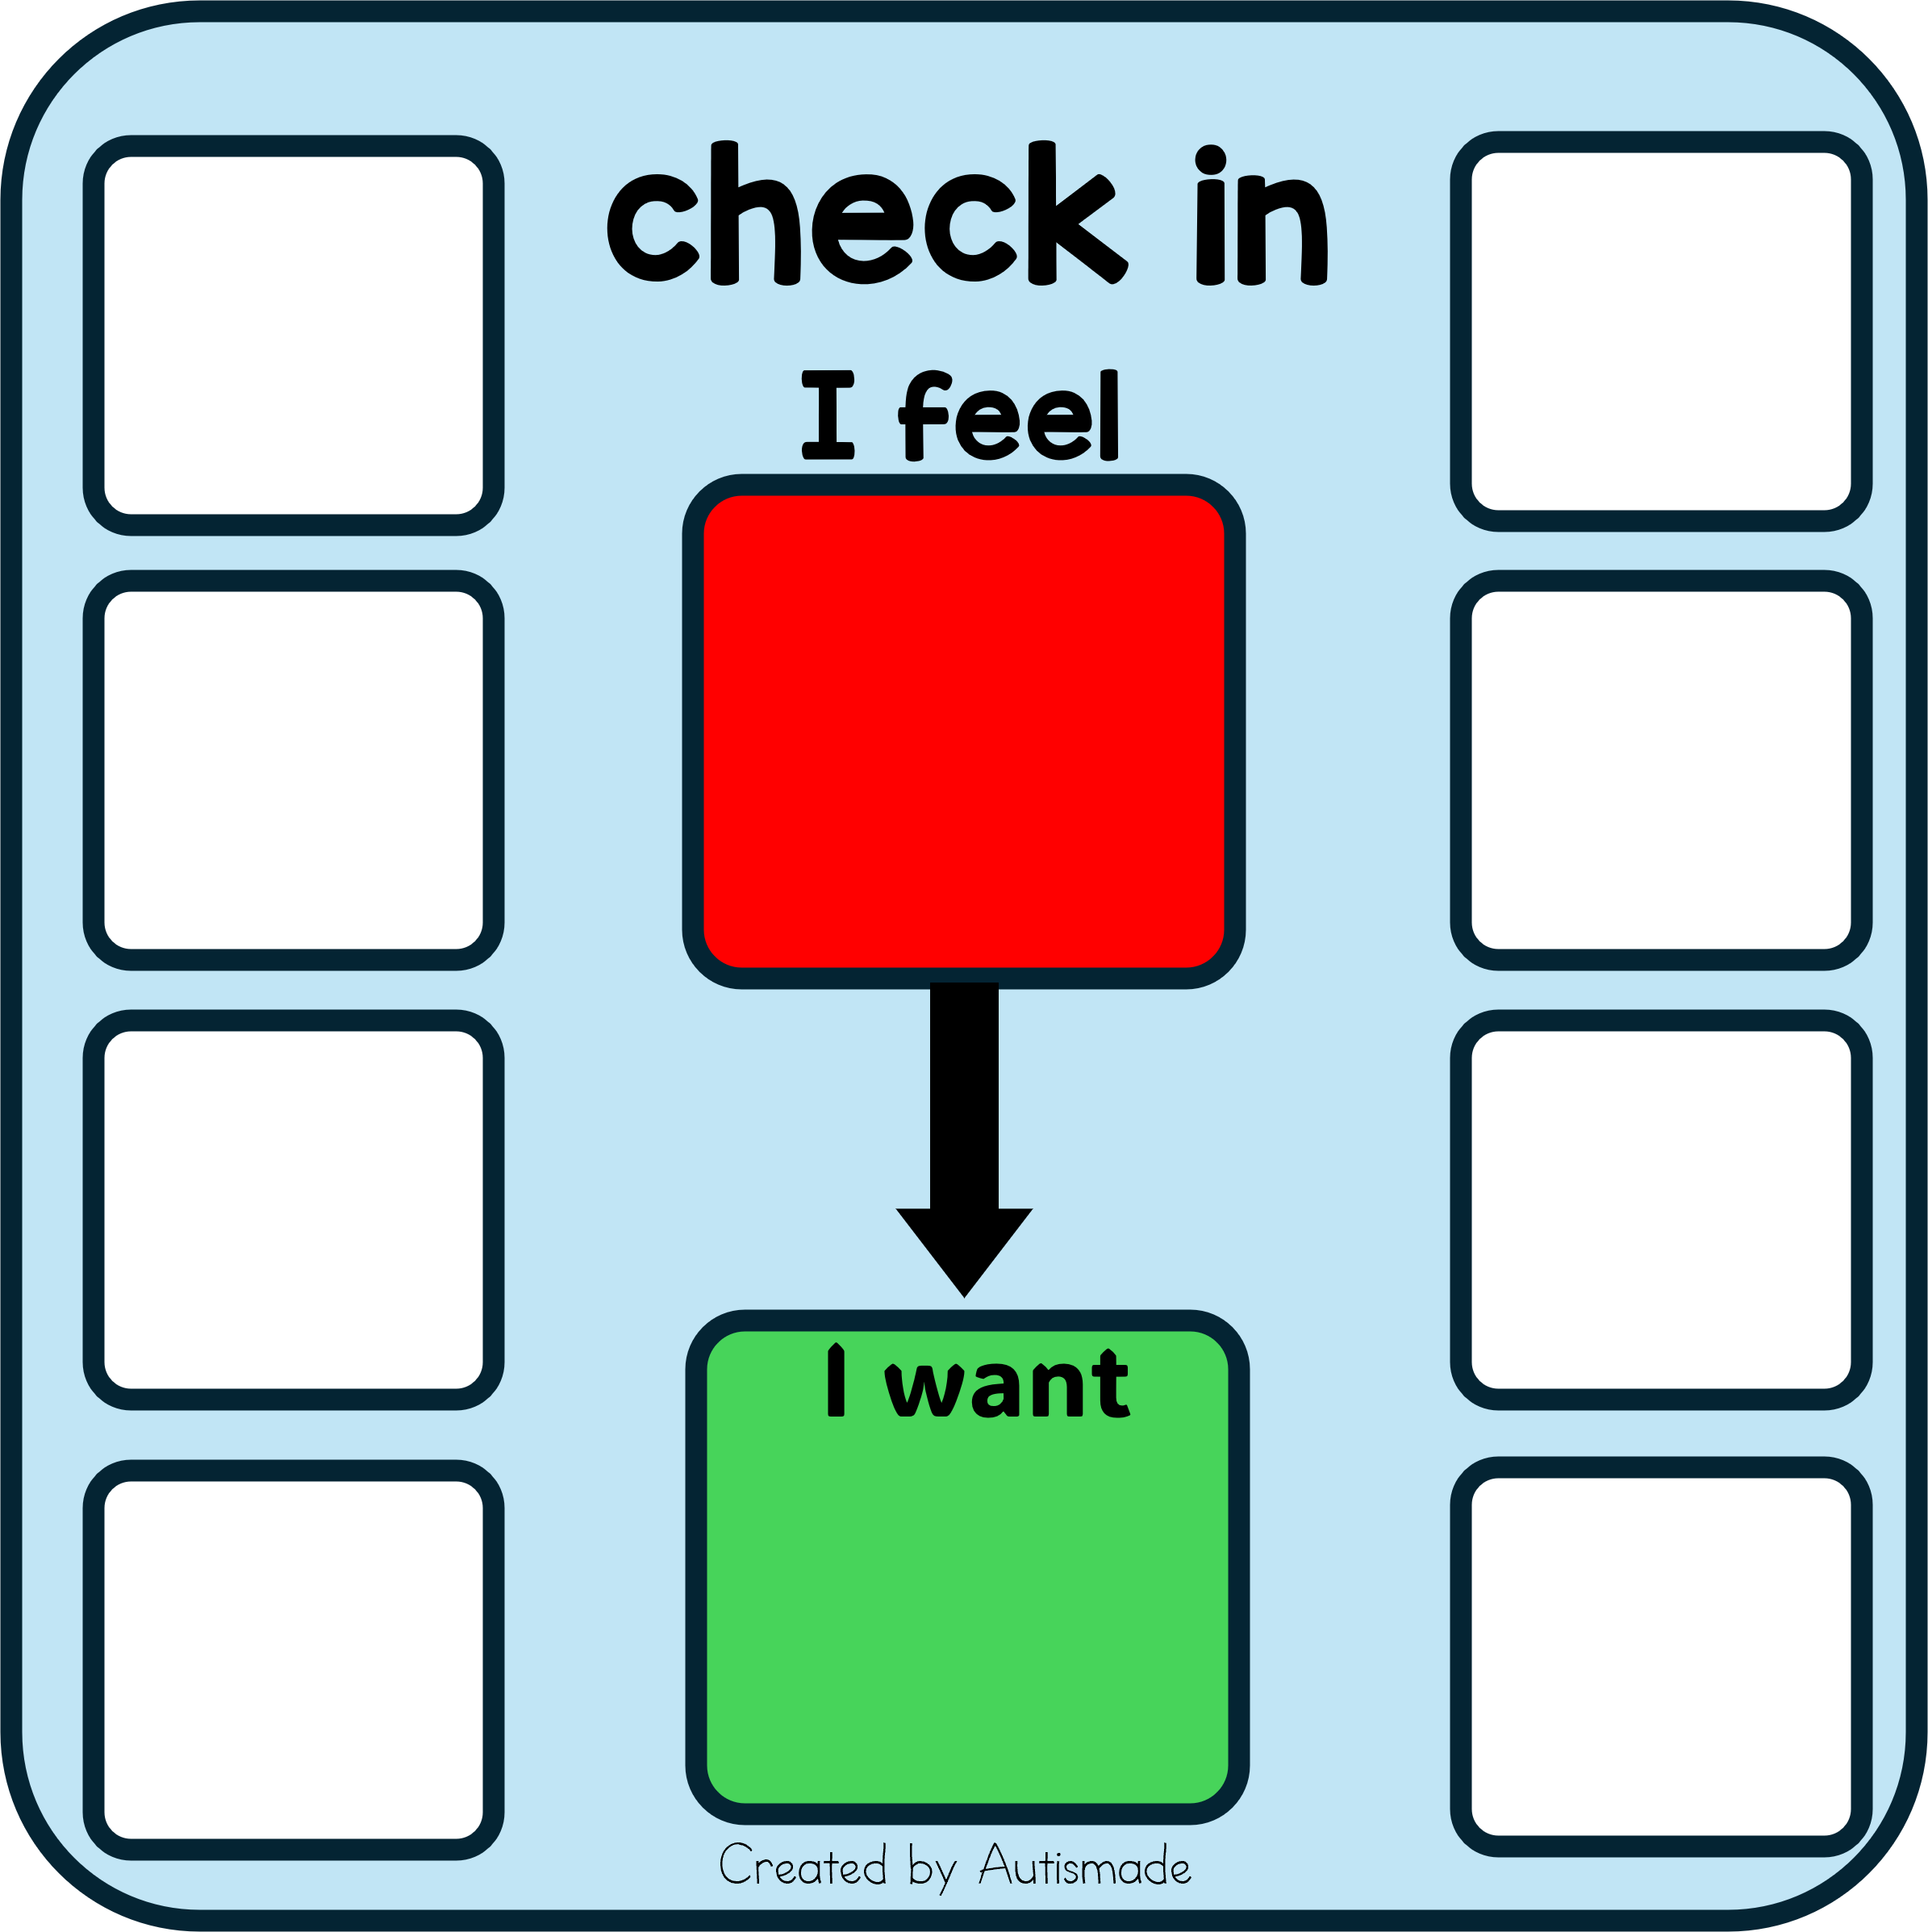
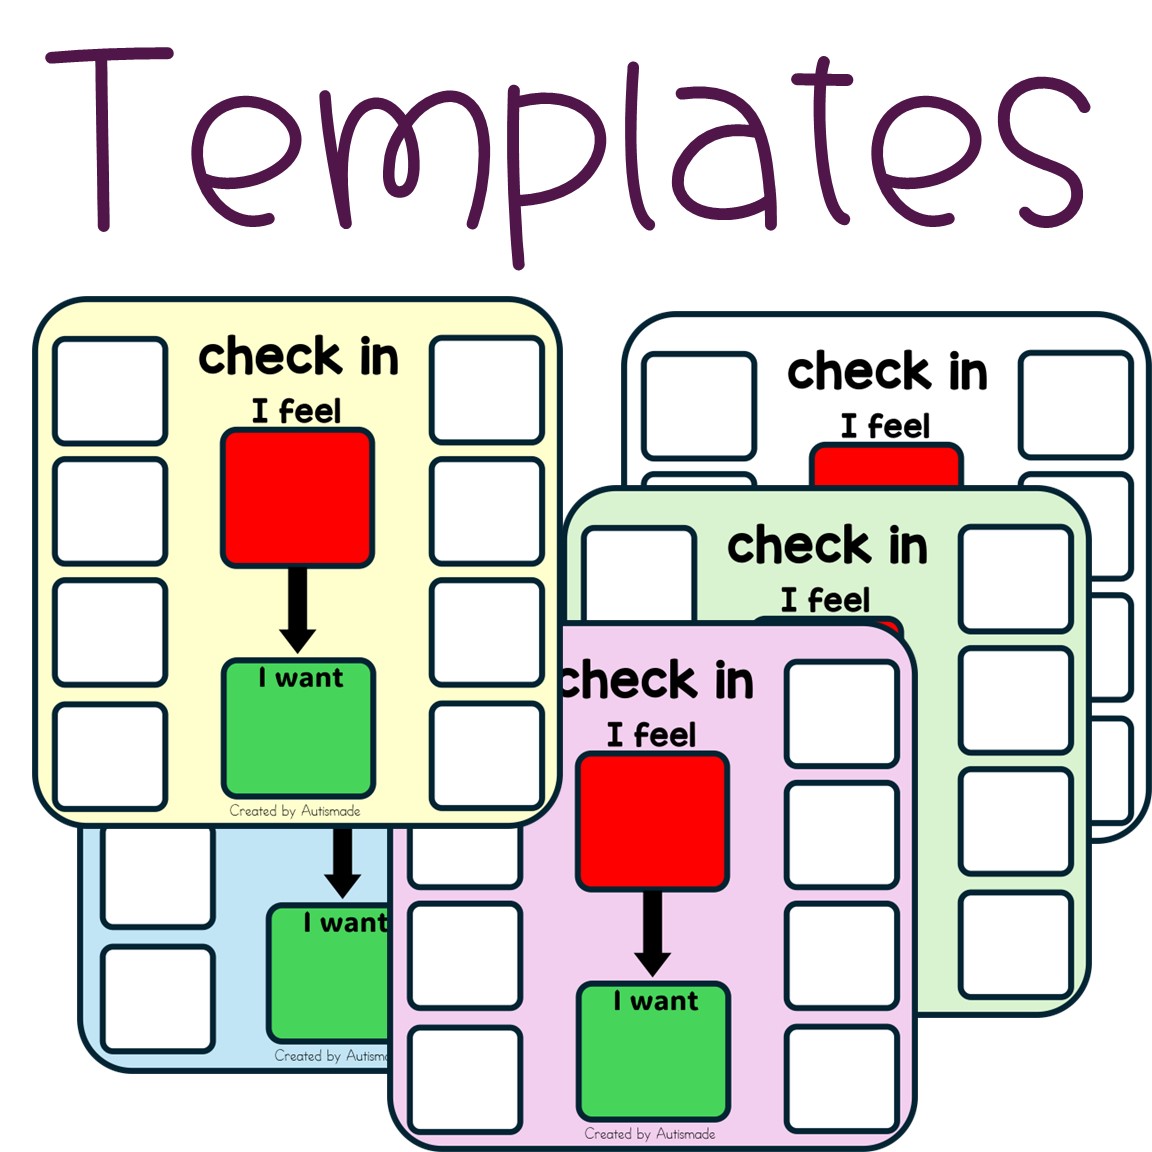
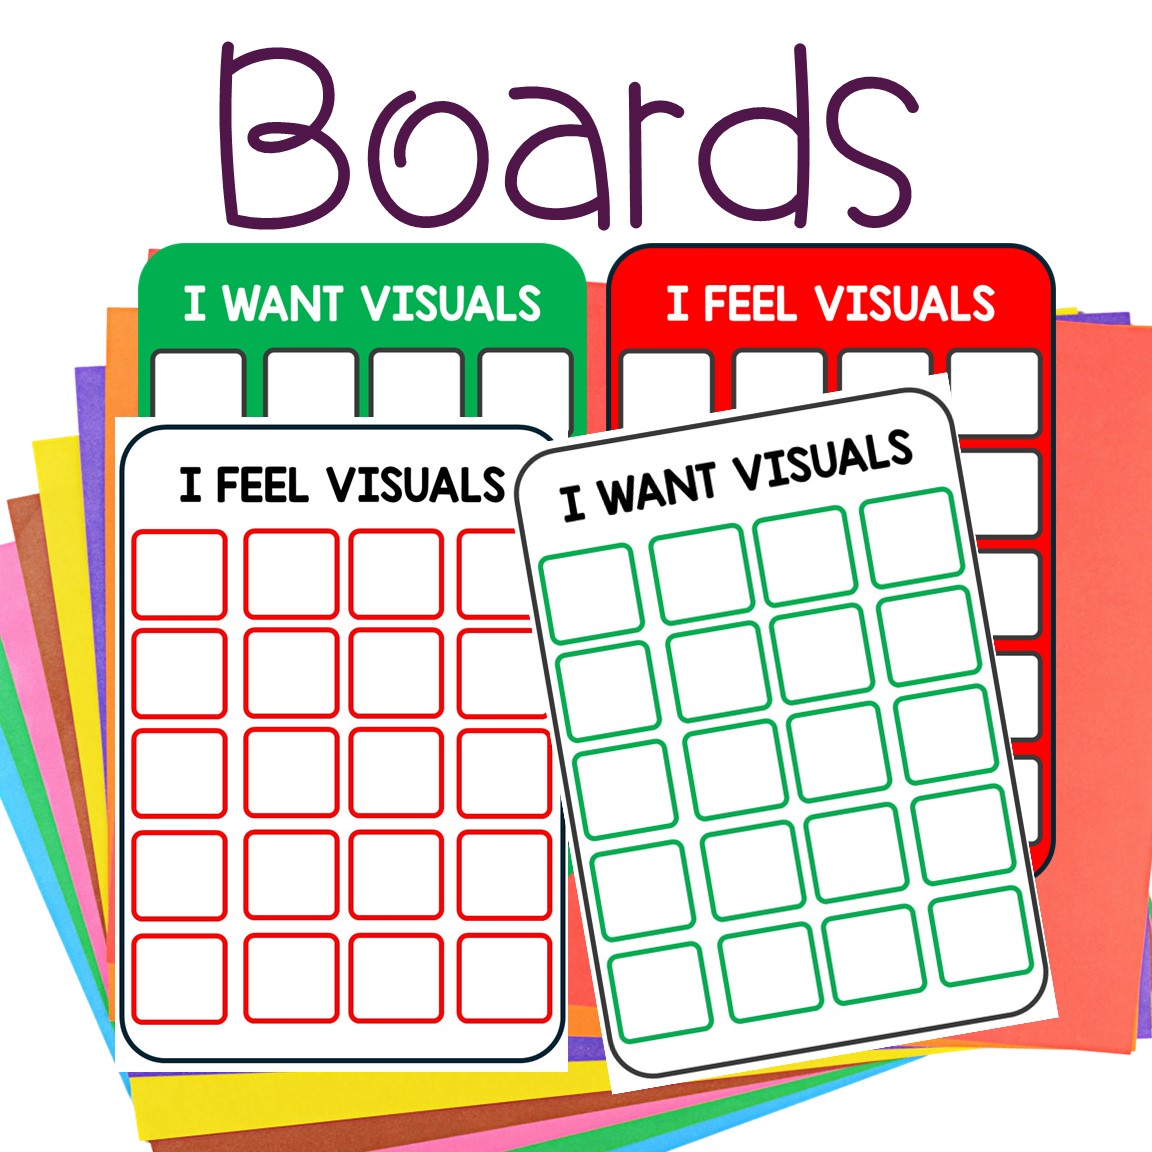
This visual, Emotions check-in tool gives students clear, concrete choices when emotions start to rise. Instead of saying, “Calm down,” we can say, “Let’s check in.” That small shift changes everything.

What Makes It Powerful

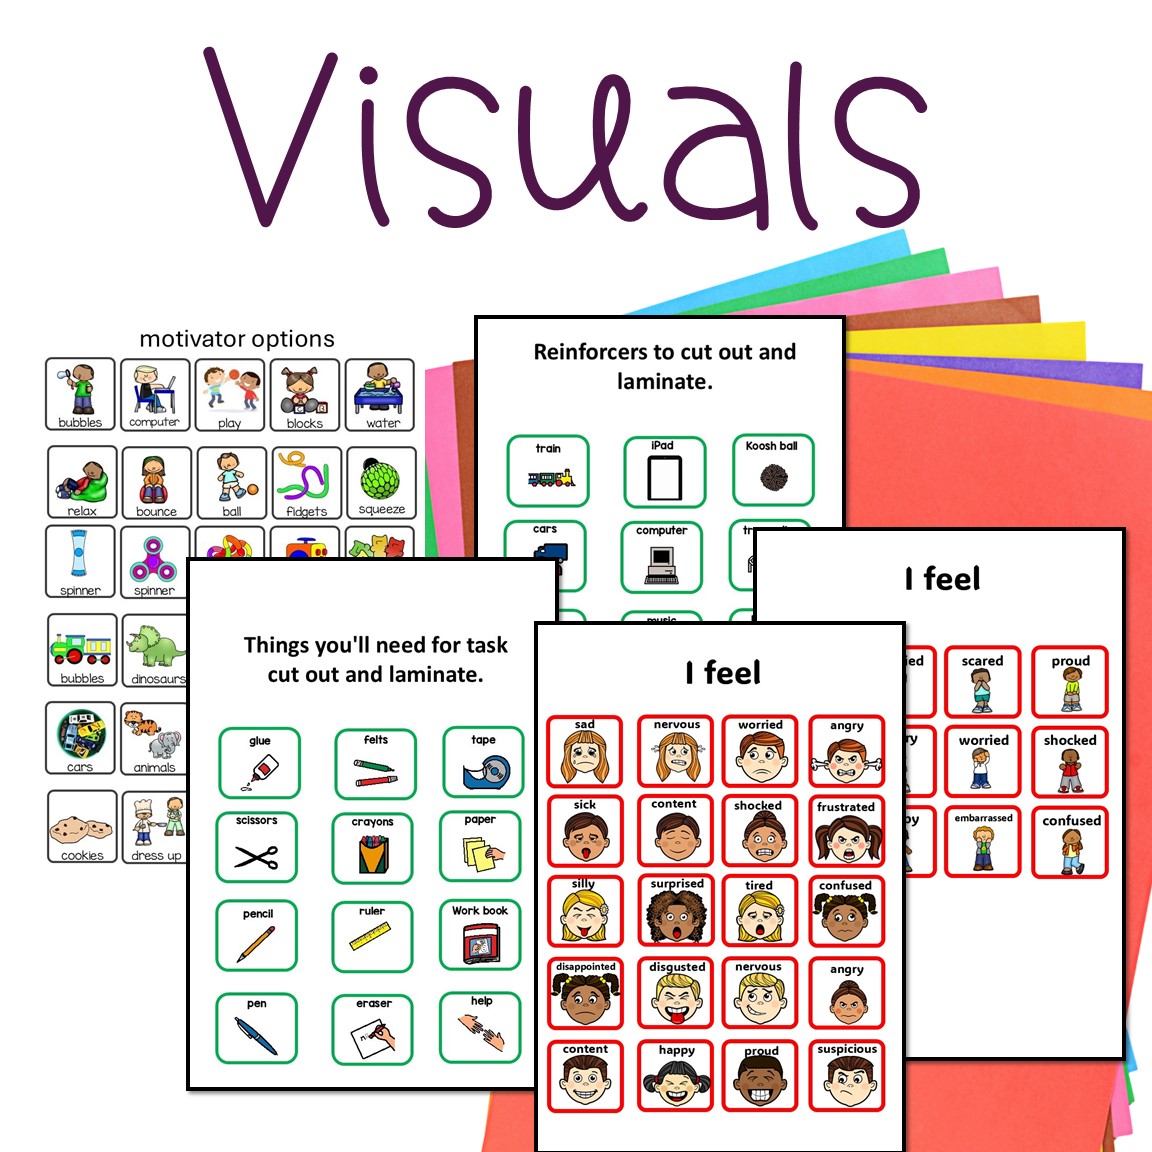
This resource includes:

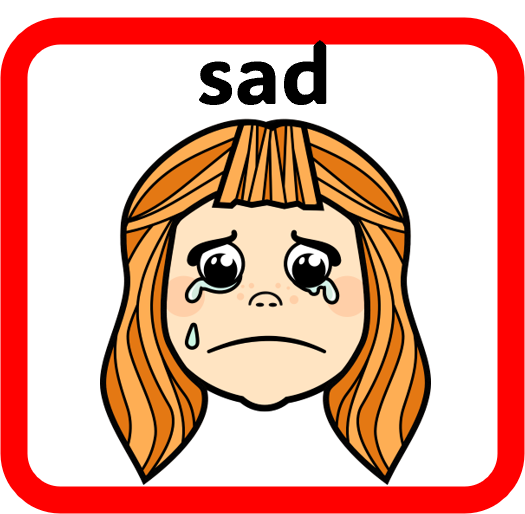
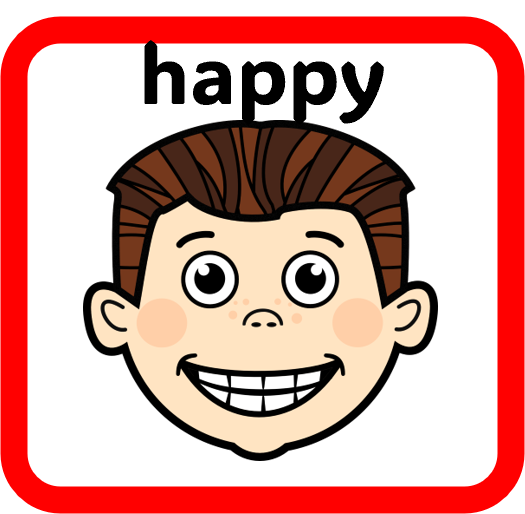
• Emotion visuals to identify
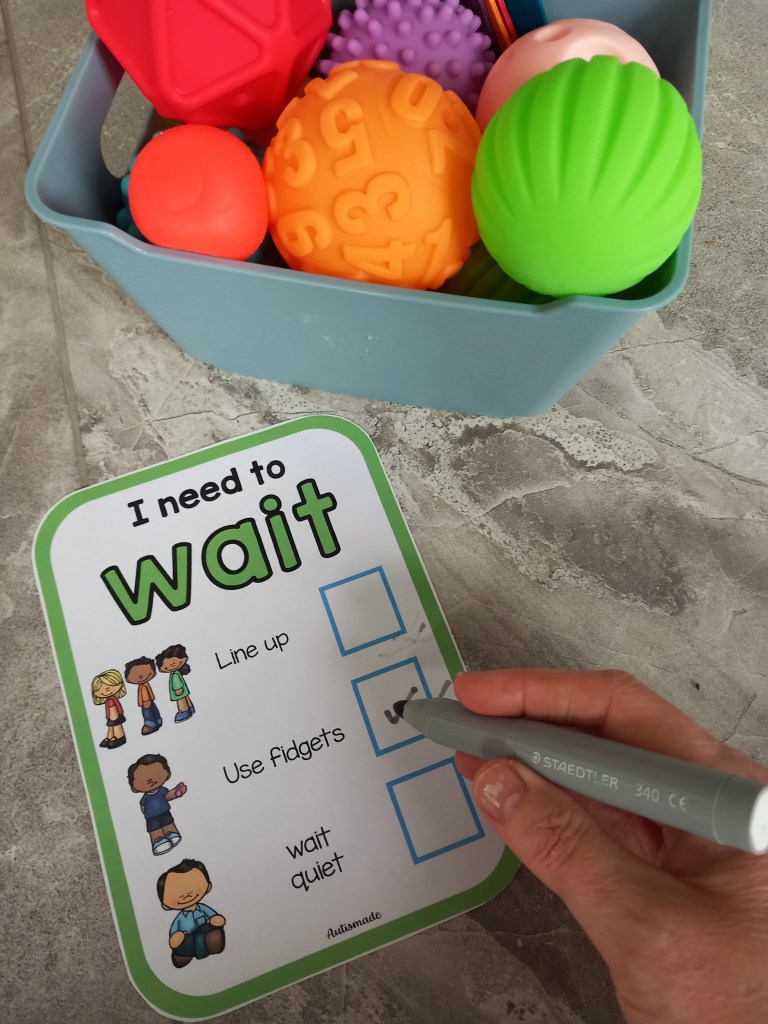
• A Regulation Check-in List
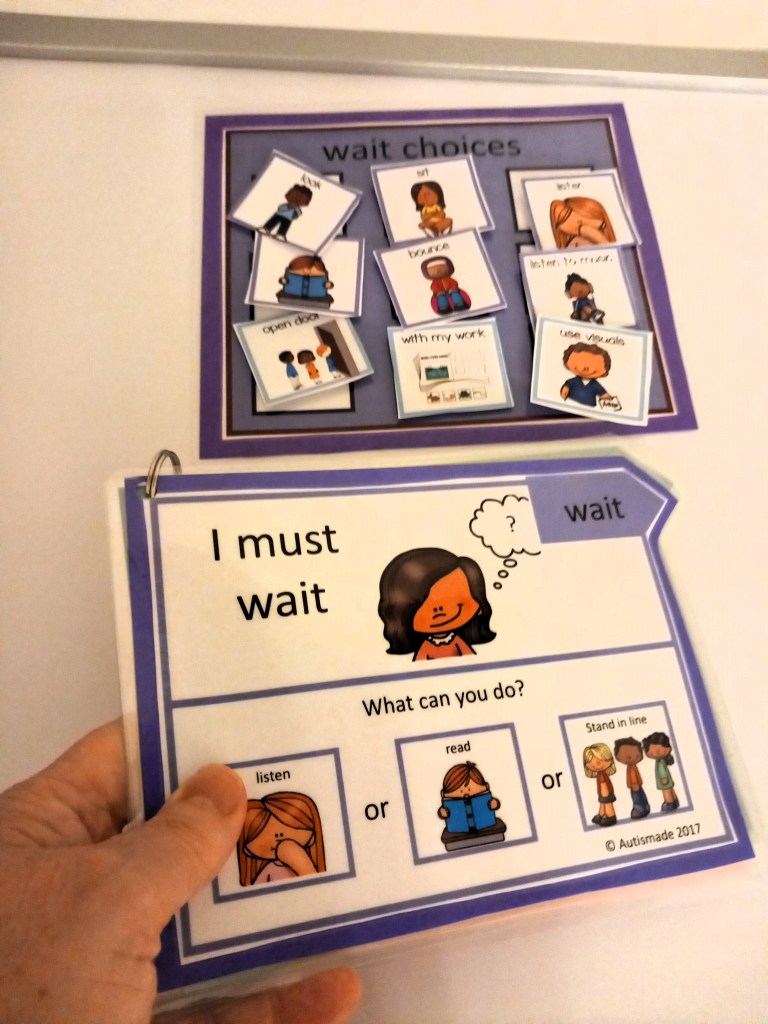
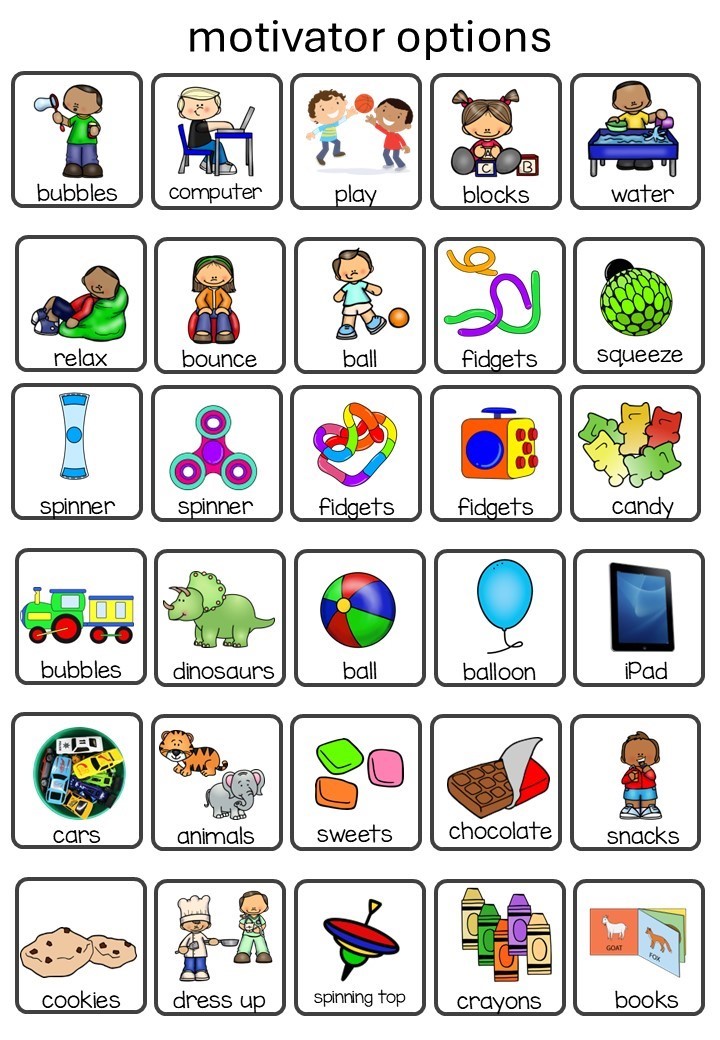
• Choice Boards with Visuals
• Color board Choices

Each section uses clear visuals and simple language designed specifically for PreK through 2nd grade learners, especially those who benefit from structured supports.

For many students in special education settings, visuals reduce anxiety because they remove guesswork. When students can see their options, they feel more in control. And when they feel in control, regulation becomes possible.

Why It Works in Preschool and Special Ed

Young children are concrete thinkers. Abstract ideas like “self-regulation” can feel invisible. Visual supports turn coping strategies into something tangible they can point to, flip through, and choose.

This tool works beautifully in:

• Calm Down Corners
• Autism Support Classrooms
• Inclusion Settings
• SEL Lessons
• School Counseling Spaces

It also supports independence, which is gold in early childhood classrooms. Instead of relying solely on adult prompting, students begin to initiate strategies on their own.

When we give children visual tools, we are not just managing behavior. We are teaching lifelong skills. We are helping them build their own emotional toolbox, one choice at a time.

For More Ideas and Resources Check out my TPT Store Here

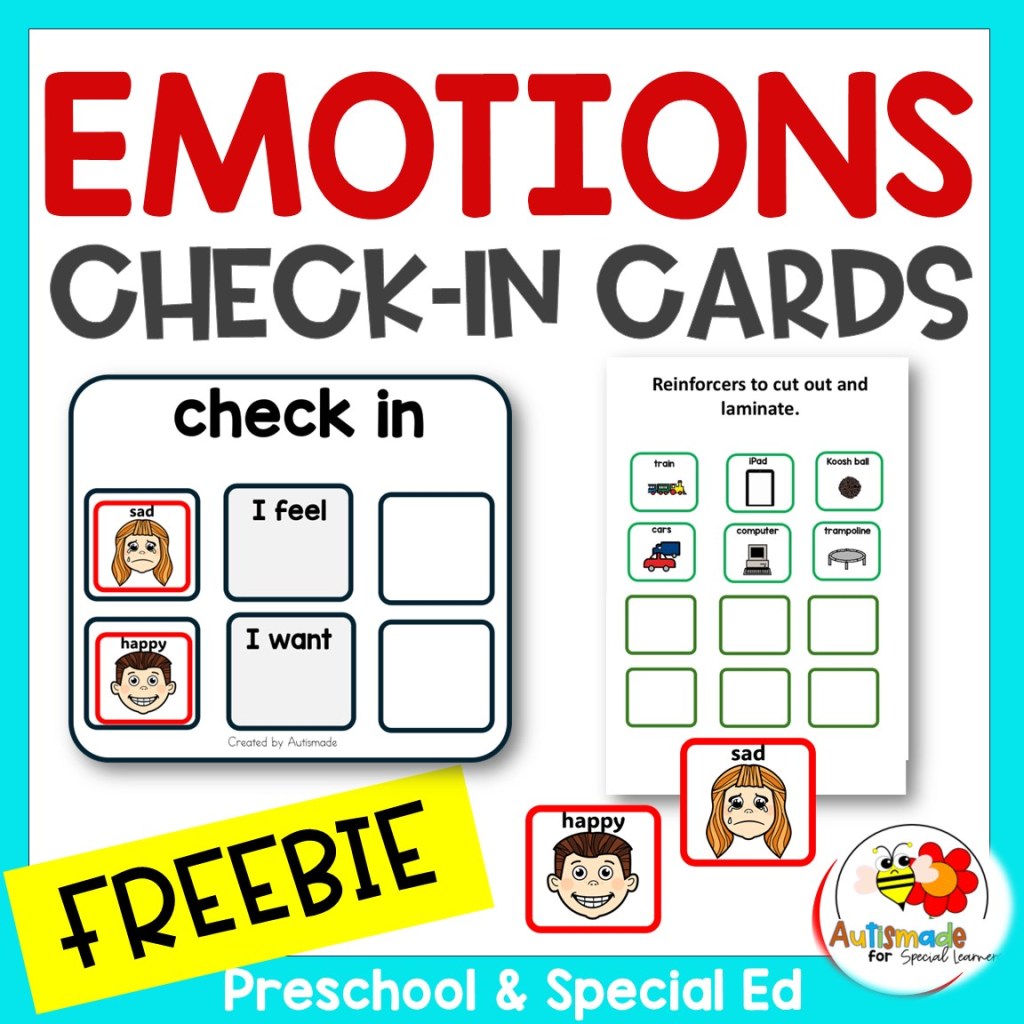
Use your email to subscribe and Download your FREEBIE today and try out this Emotions Check-in System!

More Calm Down Tools to try.

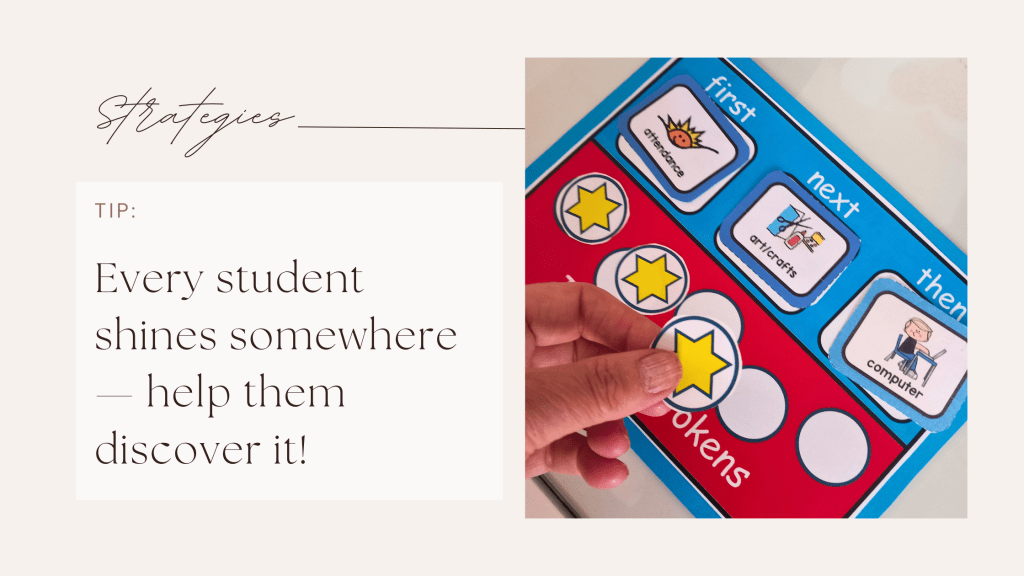
Calm Down Corner tools, Token Reward Boards & Choice Menu: Behavior

The Ultimate collection of Calming down tools

I Feel I Need Visual Autism | Emotional Regulation | Calm Down Corner Printables

Calm Down Corner Printable Strategies, Posters, Breathing visuals and more

Calm Down Corner Printables for PreK SPED | Behavior Self Regulation Toolkit

Effective Wait Time Strategies for Young Learners

Visual Supports for Waiting in Early Childhood

Waiting is one of the hardest skills for young learners to master, especially for nonverbal children in Special Education. When a child cannot understand the spoken word the idea of “wait” can feel confusing, frustrating or even impossible.

This is where the visual supports help turn spoken words into something students can see. For many learners, visuals are easier to process than language alone. They make expectations clearer, reduce anxiety, and help students feel more confident about what comes next.

What Is Wait Time?

One simple way to use visuals that makes a big difference is during wait time.

Wait time is the pause after you ask a question or give a direction. For some students, especially those with autism, processing language takes a little longer. When adults rush in with prompts or repeat directions too quickly, students may lose the chance to respond independently.

How Visual Cue Cards Help

Visual wait time cards give students a clear signal that it’s okay to pause and think. Instead of filling the silence with more words, the visual does the talking.

These cards help students understand:

  • What they should be doing
  • That a response is expected
  • That help will come, just not yet

Waiting becomes predictable instead of stressful.

Easy Visual Wait Time Tools Teachers Love

“Wait” cards use a simple word or symbol to remind students to pause.

Visual timers or countdown cards show how long the wait will last.

Thinking time cards let students know it’s okay to take a moment before answering.

Turn-taking visuals clearly show whose turn it is during games or group work.

Classroom Tips for Success

  • Teach the visual during calm moments
  • Pair it with a brief verbal cue, then stay quiet
  • Avoid repeating directions while the visual is shown
  • Praise the act of waiting, not just the final response

For more resources for behavior management click here!

Empowering Independence with Visual Direction Cue Cards in Special Education

Classroom management in a special education setting often requires creative, student-centered strategies that support diverse learning needs. One highly effective and versatile tool that special educators use is visual direction cards.

Visual direction cards are more than just classroom aides — they are tools that foster independence, reduce behavioral challenges, and create a more structured and inclusive learning environment.

What Are Visual Direction cue Cards?

Visual direction cards are simple, illustrated cues that provide clear, step-by-step instructions or expectations. They often use a combination of text and images or symbols to help students understand what is being asked of them, even if they struggle with verbal instructions or have limited language skills.

Examples include:

“Sit down”

“Raise your hand”

“Get your materials”

“Take a break”

“All done”

They can be printed on cardstock, laminated, attached to lanyards, placed on desks, or mounted on Velcro boards for easy access and use

Why Use Visual Direction Cards?

1. Promote Independence
Visuals allow students to process information at their own pace. Instead of relying on adult prompting, they can refer to cards to understand what to do next. This boosts confidence and helps them develop problem-solving skills.

2. Reduce Verbal Overload
Many students in special ed settings experience sensory processing or language delays. Visual directions minimize stress by providing clear, concise instructions without relying on verbal cues.

3. Support Positive Behavior
When expectations are clear, students are more likely to engage in appropriate behavior. Visual cards can be used proactively to guide transitions, routines, and self-regulation.

4. Increase Classroom Efficiency
With visual directions in place, teachers can spend less time repeating instructions and more time facilitating learning.

Grab a free Classroom visual Direction card

Strategies for Using Visual Direction Cards Effectively

1. Teach the Cards
Introduce cards one at a time during calm, structured parts of the day. Model the behavior and have students practice using them until they become familiar.

2. Make It Student-Centered
Personalize cards for individual needs. Some students may need large icons, others may benefit from first-person phrasing (“I need a break”), or even real photos instead of clipart.

3. Create a Visual Schedule
Use direction cards to build a daily schedule that students can follow independently. This supports executive functioning and helps reduce anxiety during transitions.

4. Pair with Reinforcement Systems
When students successfully follow visual directions, reinforce their efforts with praise, token boards, or other motivators. This strengthens the connection between visual cues and positive behavior.

5. Encourage Generalization
Use direction cards in different settings — during centers, specials, lunch, or community outings or for personal hygiene — so students learn to apply the skills beyond the classroom.

Visual direction cards may seem simple, but their impact is profound. They empower students with the tools they need to be more independent, confident, and successful in and out of the classroom.

As a special education teacher, your ability to adapt tools like visual cards can transform daily routines and build lifelong skills for your students.

5 Inclusive Learning Strategies for Special Ed

Every child has their own way of learning and as teachers, we play a powerful role in helping them feel safe, seen, and successful. Here are 5 strategies that I use to promote inclusive learning for my Special Ed Classroom.

1. In my Classroom we:

  • Offer choices in how students learn (visuals, hands-on, listening, movement).
  • Use visual schedules and clear routines to help reduce anxiety.
  • Allow extra time for transitions or assignments.
  • Create quiet spaces or “calm corners” for breaks.

2. We Celebrate Strengths by:

  • Focusing on what each student can do, not just where they struggle.
  • Share positive feedback often — even for small steps.
  • Highlight special interests to motivate learning (e.g., dinosaurs, trains, superheroes).
  • Encourage peer recognition of everyone’s strengths.

3. We Use Clear, Supportive Communication

  • Speak in simple language.
  • Give one instruction at a time, when needed.
  • Use visual aids (pictures, icons, charts) to support understanding.
  • Offer choices when possible (“Do you want to write with a pencil or a marker?”).

5. Friendship & Kindness

  • Build a classroom culture where differences are normal and celebrated.
  • Teach and model kindness, sharing and friendship . Use buddy systems to promote friendships and cooperative learning.
  • Read inclusive books and discuss different ways of thinking.

Visit my TPT Store

Welcome back-to-school season!

It’s such an exciting time, especially for our littlest learners who thrive with hands-on, visual, and sensory-rich activities. If you’re working with children in a preschool/Kindergarten, special education setting, these transition table-top activities can be a gentle and engaging way to ease into routines while learning to transition between tasks. Here’s a list of 5 simple tabletop activities perfect for those early days back, with a focus on fine motor skills, early literacy, and numeracy:

1. Playdough letter & Number Mats

Squish, roll, press! Create custom laminated mats with each child’s name and numbers 1–5. Let them form the letters and numerals using playdough snakes, encouraging finger strength and shape recognition. Add cookie cutters or rollers for extra sensory fun.

2. Pom-Pom Drop with Tongs

Set up cups labeled with numbers and a bin of colorful pom-poms. Children use tongs or adapted tweezers to transfer the pom-poms into the correct cup—fantastic for counting practice and fine motor coordination. Try textured pom-poms for added tactile input.

3. Alphabet Soup Sensory Tray

Fill a shallow bin with dry pasta or rice and scatter plastic or foam letters inside. Provide spoons, scoops, or small ladles for learners to “scoop” letters out and match to visual cue cards or alphabet mats. Engages multiple senses while working on letter ID.

4. Stickers, Dots, Letters and Numbers

Offer large printouts of letters and numbers and invite children to place small circle stickers (like garage sale dots) along the lines. It’s calming, fun, and fantastic for developing finger dexterity and spatial awareness.

5. Build-a-Tower Counting Game

Provide numbered cards (1–10) alongside a set of stacking blocks or Duplo bricks. Kids draw a card and build a tower with the matching number of blocks. Add visual supports for non-verbal communication—like number boards or thumbs-up visuals—for celebrating each success.

Visual supports are a superpower in the special ed classroom—especially for non-verbal learners! They make abstract concepts concrete, help with transitions and understanding, and boost independence.

These low-prep, hands-on activities are not only accessible for non-verbal kiddos, but they’re also filled with opportunities for choice-making, shared attention, and joyful participation.

For more back to school resources try my TPT Store