Exploring Calming Strategies

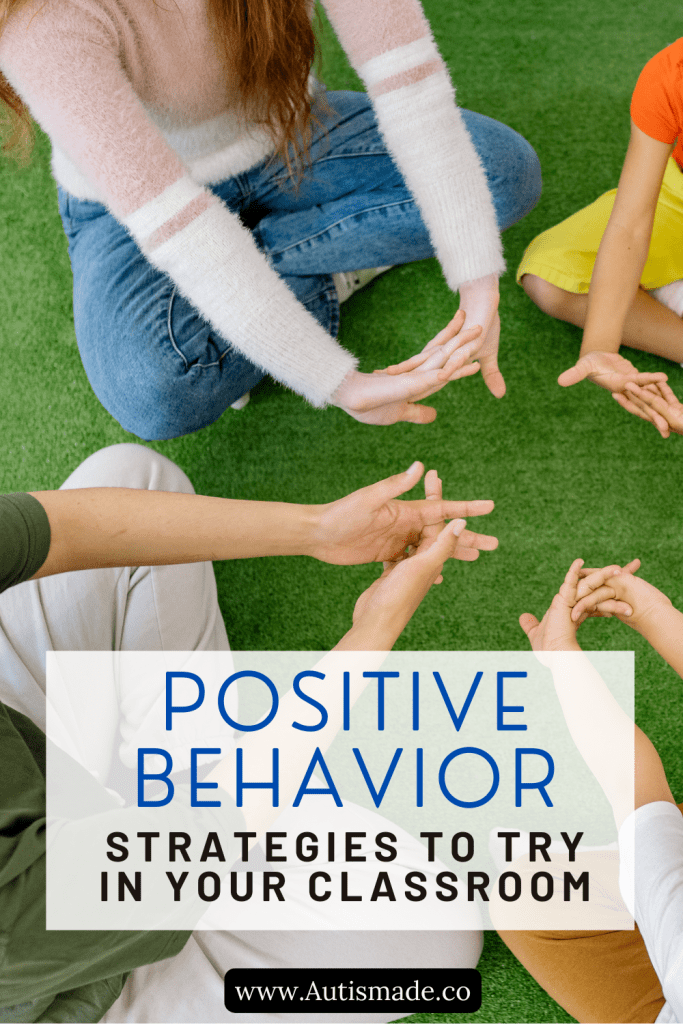
Tips for Setting up a Calm Down Corner

Creating a calm and supportive classroom environment is crucial for students with special needs, especially those with Autism. Sensory overload, anxiety and frustration can often trigger emotional reactions that make it more difficult for them to focus, learn and engage. This is where calming strategies are needed.

In this post we’ll explore easy to implement strategies that can help calm students and create a more tranquil classroom environment. These strategies can be used by Teachers, Teachers aides and parents to support children in Special Education and Autism Classrooms.

Setting Up a Calm-Down Area: The Basics

When setting up a calm-down area, start by choosing a space thatโ€™s away from busy areas and distractions. The space should be quiet, cozy, and inviting, a retreat where children can relax without added stress. Try to make it an inviting space that encourages students to want to spend time there when needed.

Key Elements to Include:

Here are some simple yet effective elements that can make the calm-down area more functional and calming:

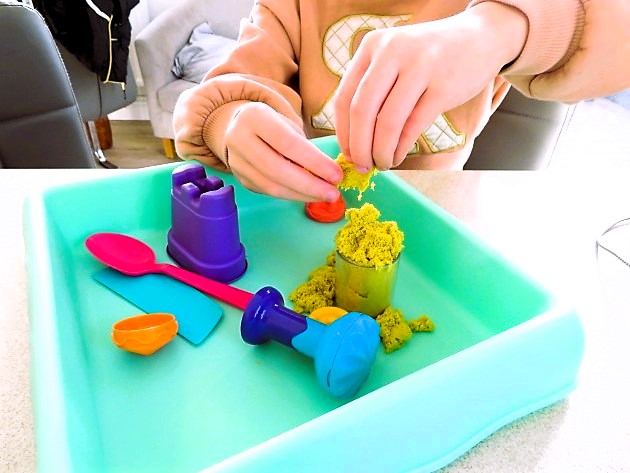
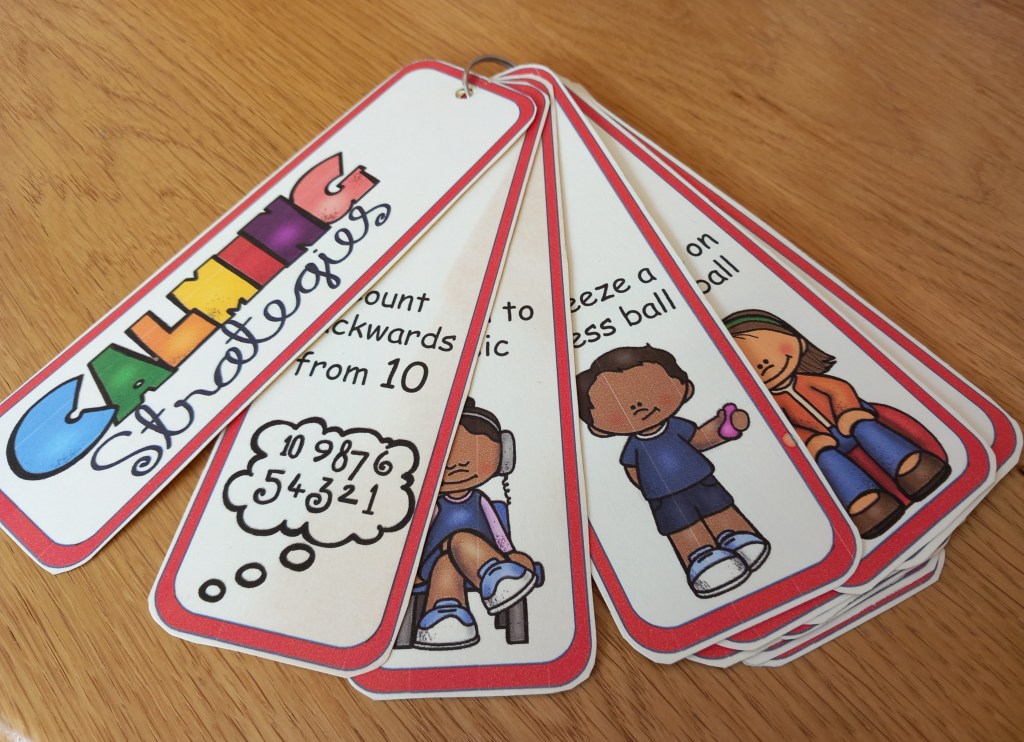
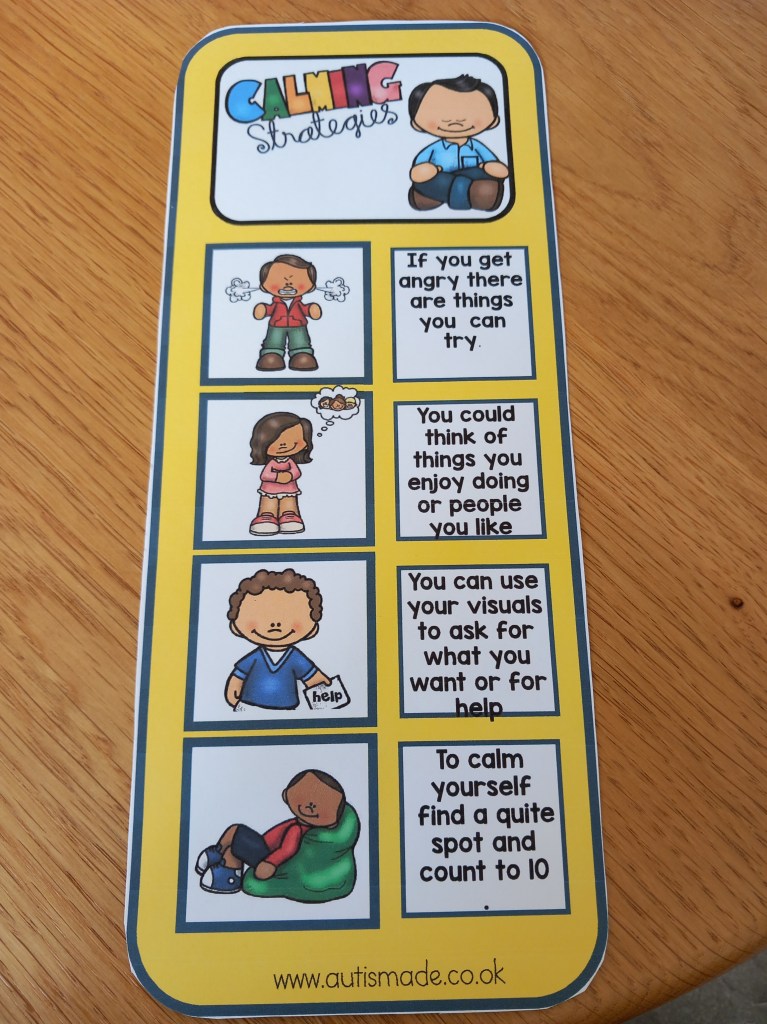
  • Sensory Tools: Sensory experiences can help children self-soothe and calm their nervous systems. Include items like weighted blankets, soft toys, squishy stress balls, or fidget spinners. A tactile or auditory experience can often help children feel grounded.
  • Soft Lighting: Bright overhead lights can be harsh, so consider adding a small lamp with soft, warm light or even a string of fairy lights. This creates a peaceful atmosphere and reduces visual overstimulation.
  • Comfort Items: Cushions, pillows, or a soft rug can make the area feel cozy. Some children may find comfort in having a favorite object like a stuffed animal or a familiar blanket.
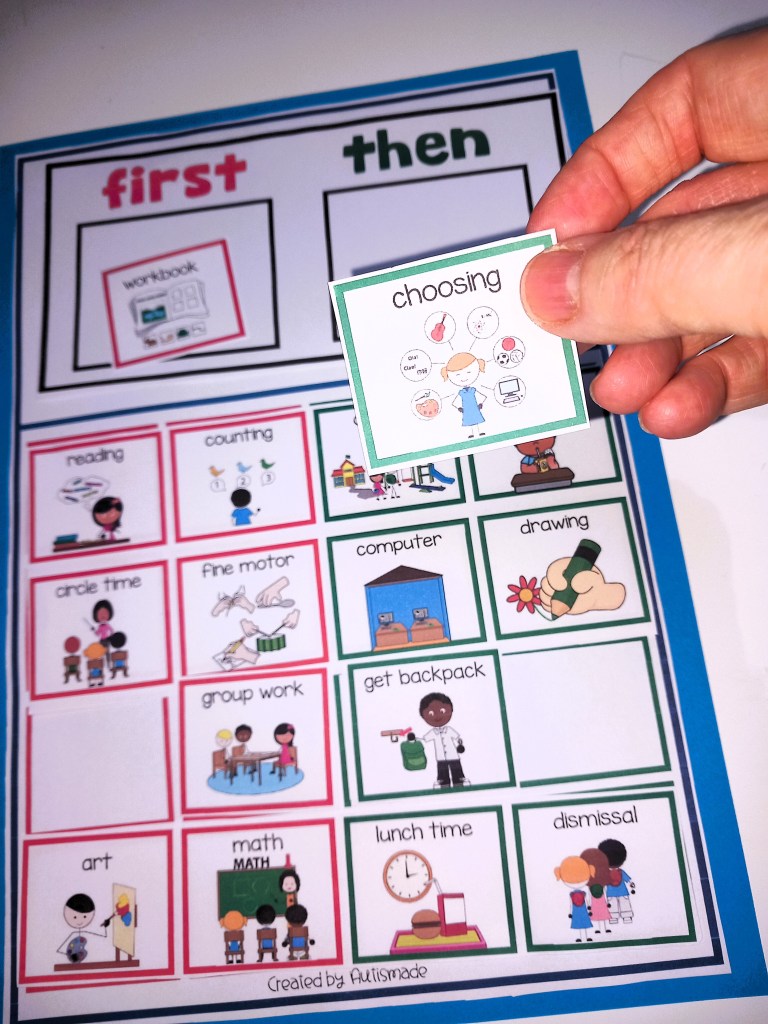
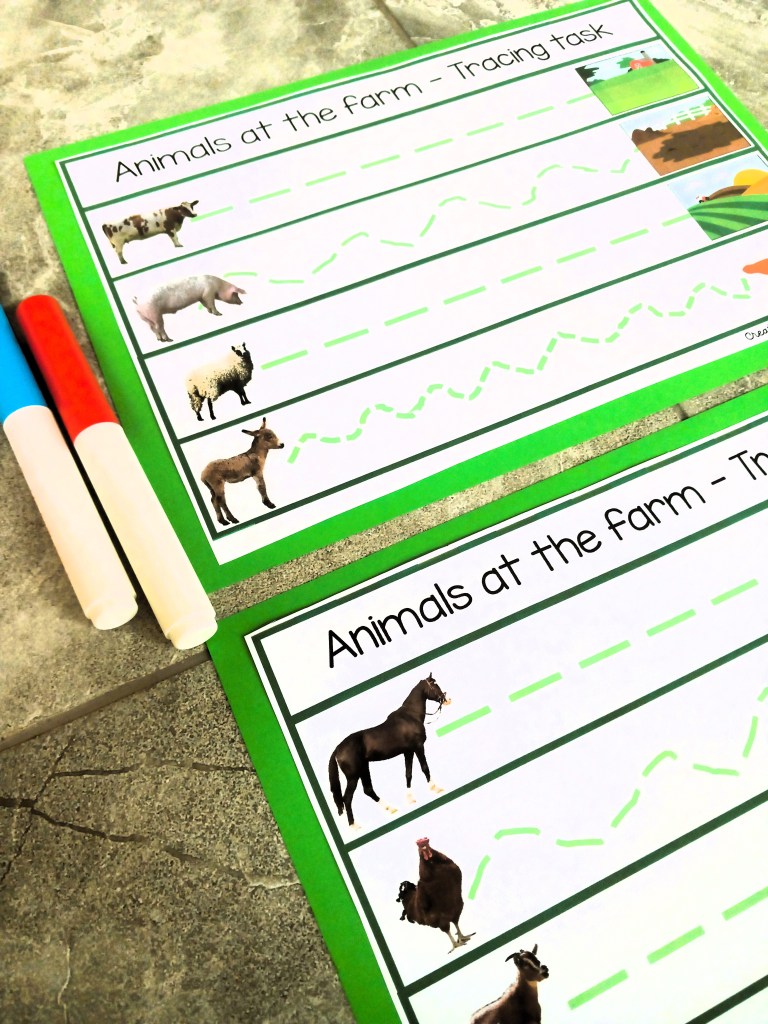
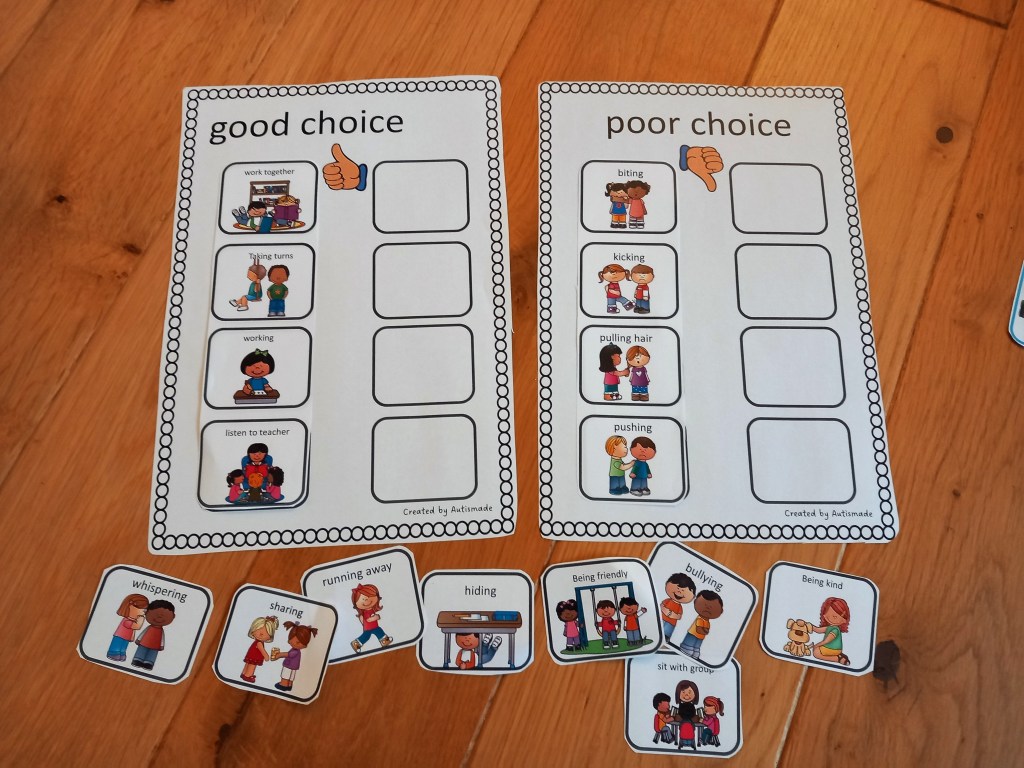
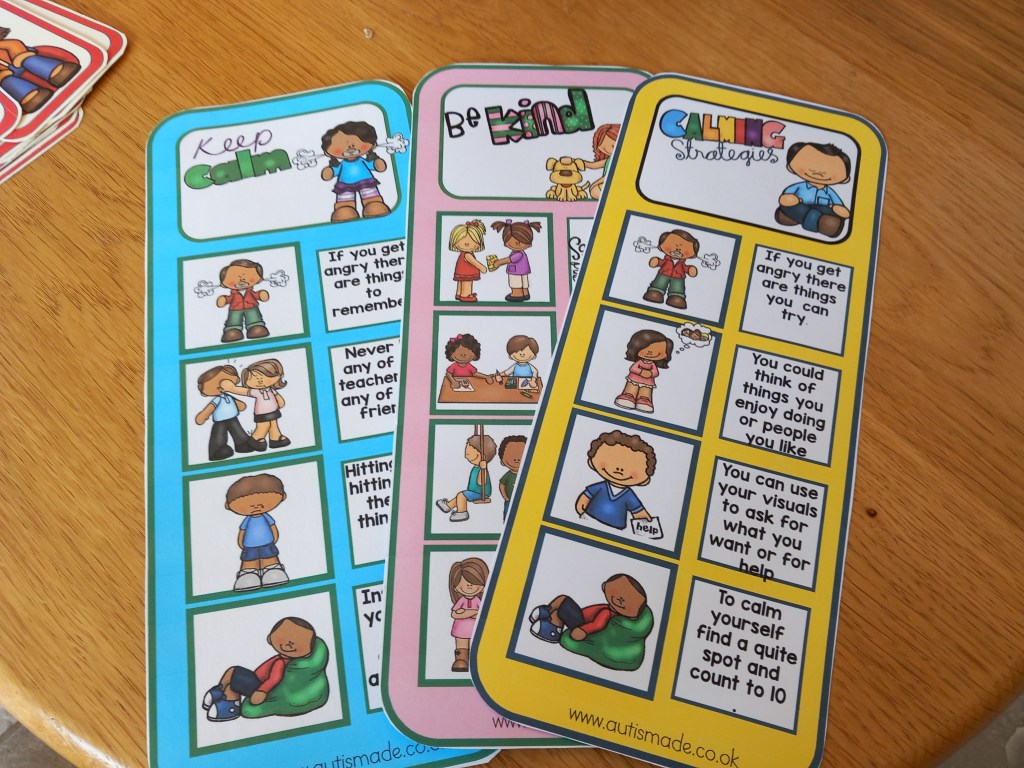
  • Visual Cues: Add calming visuals, posters, calming charts (e.g., breathing exercises or social stories), or a timer to help children track their time spent in the area. For some students, these cues help to create structure and ease transitions.

The calm-down area is most effective when itโ€™s introduced as a tool for emotional regulation rather than a time-out or punishment zone. Itโ€™s essential that children understand that itโ€™s a space to use when they feel overwhelmed or need a break, not when theyโ€™re being โ€œbad.โ€

When introducing the space, explain its purpose to the students. You might say something like, โ€œThis area is for when you need a break to calm your body. You can come here when youโ€™re feeling upset or need to reset.โ€

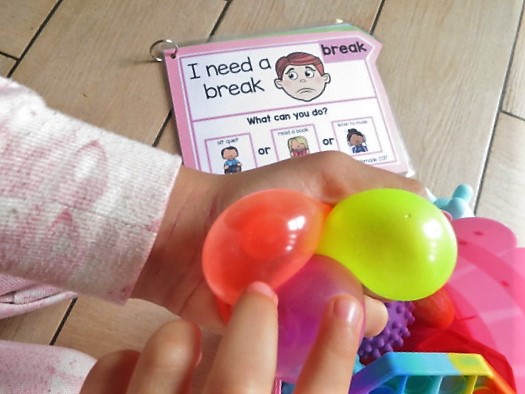
Consider using visual or verbal reminders throughout the day to reinforce its use, such as a โ€œcalm downโ€ card that students can hold up when they need a break. Having a routine for when and how to use the area helps students understand itโ€™s a proactive tool for self-care.

Remember, the calm-down area should be flexible and adapt to the needs of each student. As children grow and develop, their emotional needs may change, and itโ€™s important to be open to modifying the space as necessary. Whether itโ€™s adding new sensory tools or adjusting the space to make it more comfortable, keeping the area evolving can keep it an effective resource for emotional well-being.

Creating a calm-down area in your classroom or home can have a powerful impact on emotional regulation and overall well-being for children with special needs. By providing a dedicated, safe space for children to retreat when needed, youโ€™re helping them develop the skills to manage their emotions and build resilience. With a little creativity, flexibility, and collaboration, you can create a space that supports both learning and emotional health.

Handy Calm Down Resources linked for you to check out:-

Free Calm Down Poster

Free Social Skills Poster | Class rules | Classroom Behavior Management

Calm Down Tools & Token Reward Boards for Classroom Behavior Management

Calm Down Corner Tab book & Posters

Calm Down check in / Social-Emotional learning, Posters and coping tools

Social Emotional Posters for being friends, classroom expectations

Visual Behavior Support cards – Break, Help & Wait Strategies for Autism

Creating a Functional Communication lesson for kids with Autism

Creating a functional communication lesson for non-verbal kids with autism, limited play skills, and fine motor challenges requires a careful approach to make sure the lesson is engaging, motivating, and supportive of their unique needs. Hereโ€™s a little list to help you develop a lesson:

a. Objective:

The goal is to enhance functional communication skills in a way that connects with the childโ€™s daily experiences, interests, and abilities. Focus on initiating communication, requesting items or activities, and expressing basic needs.

b. Lesson Structure:

A structured, predictable routine is key for kids with autism. Keep the lesson simple and short (10-15 minutes). Use visuals, and embed movement and sensory activities to keep them engaged.


Tips for a lesson:

1. A welcome routine to start

  • Objective: Establish a calm, welcoming routine.
  • Activity: Start with a visual schedule (e.g., a picture of “circle time” or “activity time”) to show what will happen.
  • Use a familiar greeting song that the child recognizes (e.g., โ€œHello Songโ€ or any favorite tune) to engage them right from the start.
  • Sensory input: If needed, provide sensory support (fidget toys or weighted items) to help them focus.

2. Offer Choice with Visual Supports

  • Objective: Encourage the child to make a choice (requesting/indicating preference).
  • Activity: Present two choices using pictures or objects. For example:
    • Show a picture of a toy and a book and encourage the child to choose by pointing, using a switch, or hand-over-hand if needed. Your student can press a button to make a choice if using communication devices. Once they make a choice, model functional language. If verbal, say, โ€œI want the toyโ€ or โ€œI want the book.โ€ If using a communication device, support them in using the symbol for “toy” or “book.”
    You can also introduce a choice board with more items (preferably the childโ€™s favorite toys or snacks), and make it easy for them to reach the option they want.

3. Use Play with Sensory Feedback

  • Objective: Practice requesting during play while incorporating sensory feedback.
  • Activity: Select a simple activity that encourages engagement, such as:
    • A sensory bin with textured items (rice, beans, or sand). Encourage the child to make choices by pointing, using a communication device, or simple gestures (like reaching for the object).
    • Use toys that light up or make sounds when touched (engaging for children with limited play skills).
    • Bubble play: If the child enjoys sensory experiences, bubbles can be motivating. Encourage requesting or communicating interest by helping the child point to the bubble bottle or making a gesture to indicate they want to play.
  • During play, encourage them to request more, using words, signs, gestures, or a communication board.

4. Routine and Repetition with Transition

  • Objective: Create a sense of closure and predictability.
  • Activity: Introduce a transition activity such as a song, a closing visual, or a familiar phrase like โ€œAll doneโ€ to help the child understand the lesson is ending. You can use a visual transition schedule to show them what comes next.
  • Provide a small reward or motivation based on the childโ€™s choice (such as a favorite toy, snack, or sensory toy) to reinforce the communication they just practiced.

Prepare Materials

  1. Visual Schedule (showing the lesson steps with pictures).
  2. Motivational Items (preferably things the child loves, such as their favorite toys or snacks).
  3. Objects and Sensory Items (bubbles, textured items, toys that light up or make sounds).
  4. Communication Tools (such as communication boards, switches, or AAC devices).
  5. Choice Board or Communication Cards (pictures of toys, snacks, or activities they can request).

Tips to Engagement

  1. Use High-Interest Items: Incorporate toys, activities, or songs that are favorites of the child to ensure they stay motivated.
  2. Use Clear, Simple Language: Always model short, clear phrases like โ€œI want,โ€ โ€œmore,โ€ โ€œhelp,โ€ โ€œfinishedโ€ in both verbal and non-verbal forms (sign language, gestures, etc.).
  3. Ensure Success: If a child is struggling with motor skills, assist them (hand-over-hand) but always encourage independent attempts. Keep the pace slow and provide plenty of praise for any communication attempt.
  4. Incorporate Movement: Since some children may have trouble sitting still, include movement activities like โ€œjumpingโ€ or โ€œclappingโ€ as part of the lesson to maintain engagement.

Sample Lesson

Objective: The child will request a preferred toy using a choice board or gesture.

  1. Greeting Song: “Hello, [child’s name], it’s time to play! use a little song.
  2. Choice Activity: Place two favorite toys on the table (e.g., a soft ball and a musical toy). Show the child both options and say, โ€œWhich one do you want?โ€
  3. Interactive Play: Once they indicate their choice, help them engage with the toy. If they point or attempt a sound, praise them, โ€œGreat job asking for the toy!โ€
  4. Ending Routine: When the play ends, say, โ€œAll done, we are finished now,โ€ and play a calming closing song.

Remember: Consistency and patience are key. Small, repeated successes build communication skills, and itโ€™s important to keep the environment structured and fun.

Visit my TPT Store for More Ideas

Visual Behavior Support Folder – Token Rewards Tools, schedules, First & Then,

Visual Supports: Token Reward System/First & Then – Strategies for Special Ed

Classroom Behavior Management Strategies: First, Next and Then Tools

Token Reward folder: Visual support tools with “first & then” Behavior Strategy

First, Next and Then table Schedule Templates with Visual Supports

First Then boards and Help cards: Autism visual supports

Visual Supports:”First, next, then” with Token Rewards Systems

Tips for running a simple Classroom Rotation System

A classroom rotation system is an instructional strategy where students move between various learning stations, each designed to target different skills or concepts. In a kindergarten Special Education classroom, it means that each station might focus on different aspects of learning, such as motor skills, communication, literacy, or social-emotional development. Students rotate through these stations in small groups or independently, ensuring that they receive a diverse, multi-sensory learning experience.

Here I’ve listed how I set up and run a classroom rotation system for my Special Education classroom to ensure structure, engagement, and efficient learning experiences,

Steps to Create a Rotation:

  • Identify your areas: Include areas like literacy, math, fine motor skills, social skills, sensory activities, fine motor etc.
  • Rotation Frequency: Depending on how many activities you have, you might want to rotate every 10-20 minutes to keep the activities short and engaging.
  • Use Visual Schedules: A visual schedule can help students understand the rotation process. For example, a picture board or visual timer showing which area to go to next. For non-readers, pictures or color codes work well.
  • Small Groups: Divide students into small groups, and assign each group to a different station. After each rotation, students move to a new activity. This way, they get a mix of independent work, group activities, and teacher-guided lessons.
  • Include Sensory Breaks: Special education students often benefit from sensory breaks between activities to help manage overstimulation. Designate short times for sensory activities, such as using stress balls, or simply having a calm, quiet corner.

My Rotation Schedule:

  • Station 1: Literacy (guided reading, letter recognition, etc.)
  • Station 2: Math (counting, number recognition, etc.)
  • Station 3: Fine motor skills (coloring, cutting, playdough)
  • Station 4: Sensory break (quiet area with fidget toys, soft music)

Cue Cards for activities and stations

2. Resource System

This resources system helped me organize the materials for each rotation and ensure everything runs smoothly.

Steps to Organize Resources:

  • Label Materials Clearly: For each rotation station, make sure materials are clearly labeled. You can use color-coded bins or folders that match your visual schedule to make it easy for students to find what they need.
  • Use Simple Materials: Choose materials that are easy to handle and safe for young children. Think sensory bins, large manipulatives for counting, and picture books.
  • Student Resources: Set up โ€œindependent useโ€ bins or areas that students can access on their own, like worksheets, tactile toys, or quiet reading materials.
  • Prepare Materials: Set up each station with materials ahead of time. Keep a checklist to ensure you donโ€™t forget anything.
  • Support for Communication: Many special education students benefit from communication supports such as communication boards, picture cards, or apps. Make sure these are part of your resource system for students who may need them.
  • Class aids responsibilities: If you have any classroom aides or assistants, make sure they have access to the necessary resources and designate specific roles or responsibilities for them during each rotation.

Example Resources:

  • literacy station resources: Alphabet flashcards, letter tracing sheets, magnetic letters, adapted books
  • math station resources: Counting bears, number puzzles, shape folders, dice, number flashcards etc!
  • fine motor station Resources: Crayons, scissors, glue sticks, playdough

sensory break resources: Fidget toys, weighted blankets, calm-down jars

By planning with flexibility in mind and making sure your resources are organized, your rotation system will run more smoothly, and students will have the best chance to succeed and stay engaged.

For more Resource Ideas use the link below:-

MY TPT STORE

Making Classroom Rules into exciting learning experiences

With the right tools and strategies, you can turn classroom expectations into engaging and fun activity that promotes social-emotional skills and builds a strong community.

One way to achieve this is through a sorting card game, designed to help students differentiate between good and poor behaviors.

In this blog, you can see how I’ve created this activity to use for classroom behavior management, so explore the benefits of using this game as a tool for creating a positive learning environment.

This simple activity will help your students sort out the good and poor behaviors for the classroom expectations you want to see everyday

This hands-on activity is how teaching classroom rules can be a joyful and an engaging experience at your independent stations and work centers, that’s once laminated can be practised over and over again.

Dive and promote positive classroom management and behavior, all while building a strong class community. Get ready to make this learning exciting for both you and your students!”

Fun and Inclusive Winter Learning Tasks

Get ready for snow filled fun with these winter themed task boxes! These hands on task cards will keep your students busy and learning while exploring their favourite time of the year!

Your kids will love practicing their fine motor skills and have a blast hunting the for the same pictures.

Bring winter indoors and keep the kids entertained with these engaging and inclusive tasks for workstations, centers and fine motor stations.

Each task is thoughtfully designed to enhance motor, cognitive, and communication skills while adding to the festive cheer. Join us in making this holiday season a memorable one!