Are you tired of spending your day as a teacher constantly battling disruptive student behaviors! Well, you’re not alone. In this article, we’ll provide you with some handy ideas for behavior management in your Special Ed Classroom!

As educators we understand the importance of creating an inclusive and positive learning environment for our students, particularly those with Special Needs. So with this logical flow of ideas, lets dive in and explore some creative and effective strategies for Behavior Management you can use.
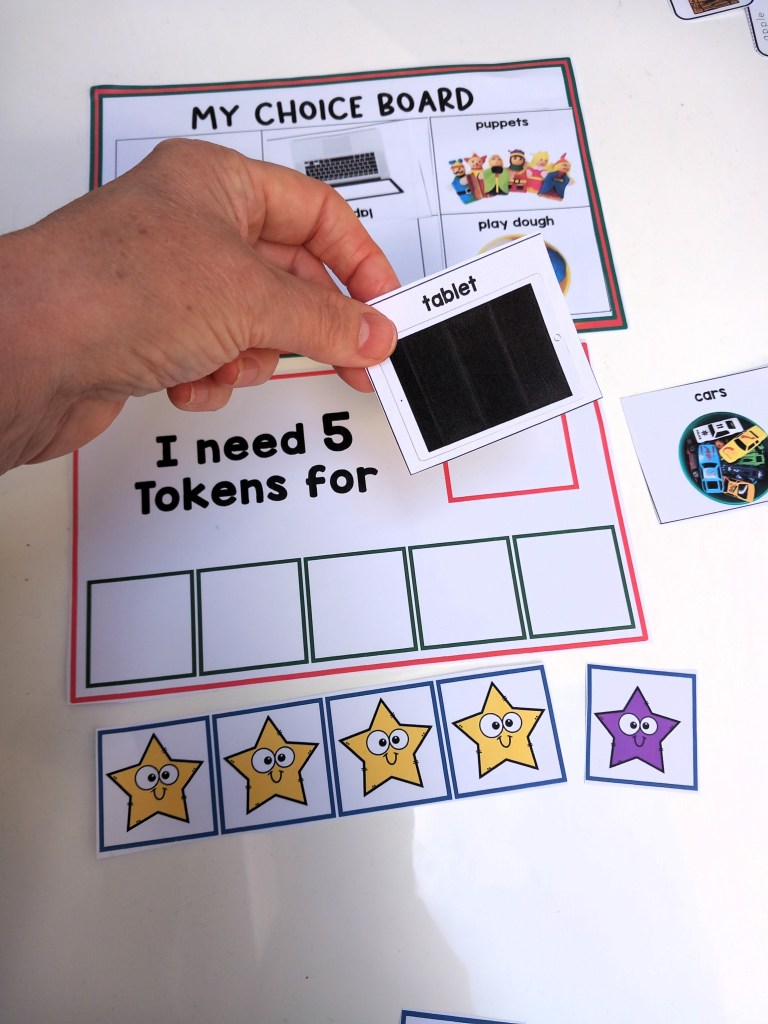
1. Token Rewards
Token Rewards – A powerful method of strengthening new skills, the tokens are a way of reinforcing positive behavior and rewarding students for completing tasks, they then trade the tokens for desired activities or items they choose beforehand.
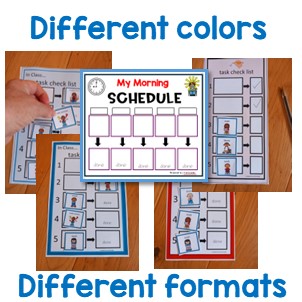
QUICK TIP – I use this board when I start teaching the Token Reward strategy, its a classroom resource that I can adapt with motivator choices that’s adapted for individual needs.

2. Critical Communication Cards
Critical Communication Cards – To teach new skills such as requesting “break please”, “help” and “wait” self -management strategies.
QUICK TIP – I place them on the edge of tables to remind students on their choices.

3. Self Regulation Tools
Self regulation tools – I’ve made tools individually accessible for my students to use in a handy little booklet.
QUICK TIP – I bind then as a book and keep them on hand for self management, each one tailored to individual needs that help them to self-regulate.

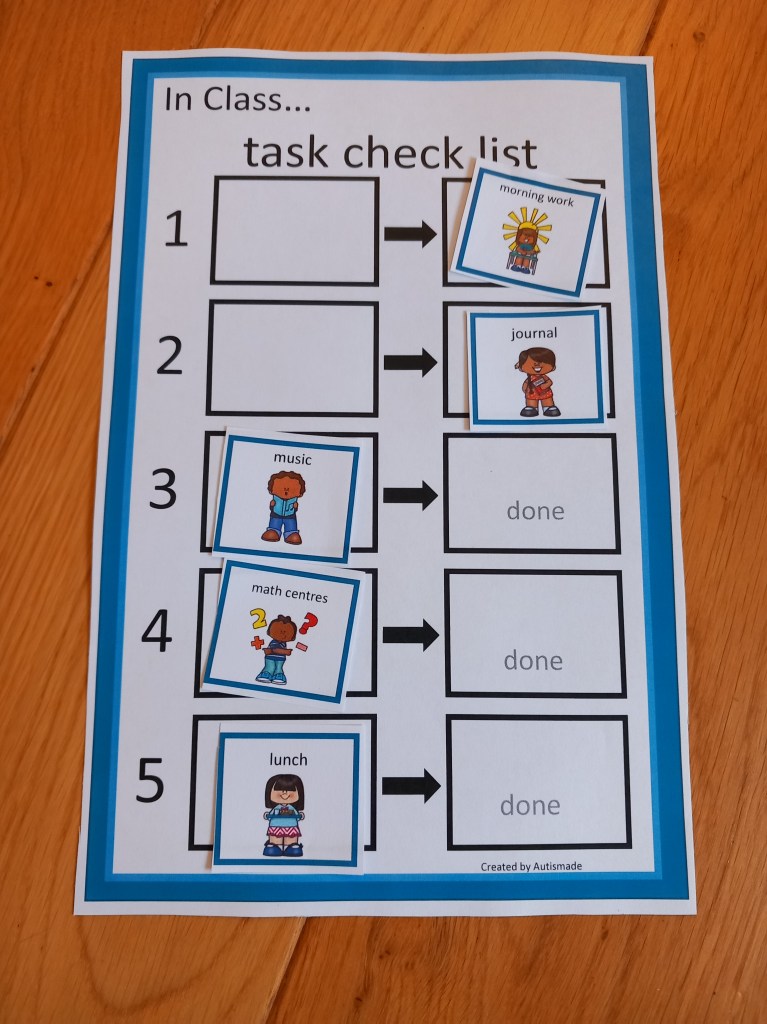
4. First and Then Strategies
First and Then – By using this strategy my students know what they must complete before having what they want, it also provides structure in their behaviour support plans.
QUICK TIP – If my students are finding it difficult to stay on track, I use the first and then strategy to remind them of what they are working for before they can get the item or activity they want.
5. Calm Down Corner
Calm Down Area – Sort out a corner of the room with a beanbag on the floor and a little book shelf for privacy, I kept it very plain and simple with just the calm down tools on hand… WOW it looks great, and my kids love it! Next I wanted to gave my kids a chance to take a break before things got to tricky, so I made these colourful break cards and purchased a sand timer.
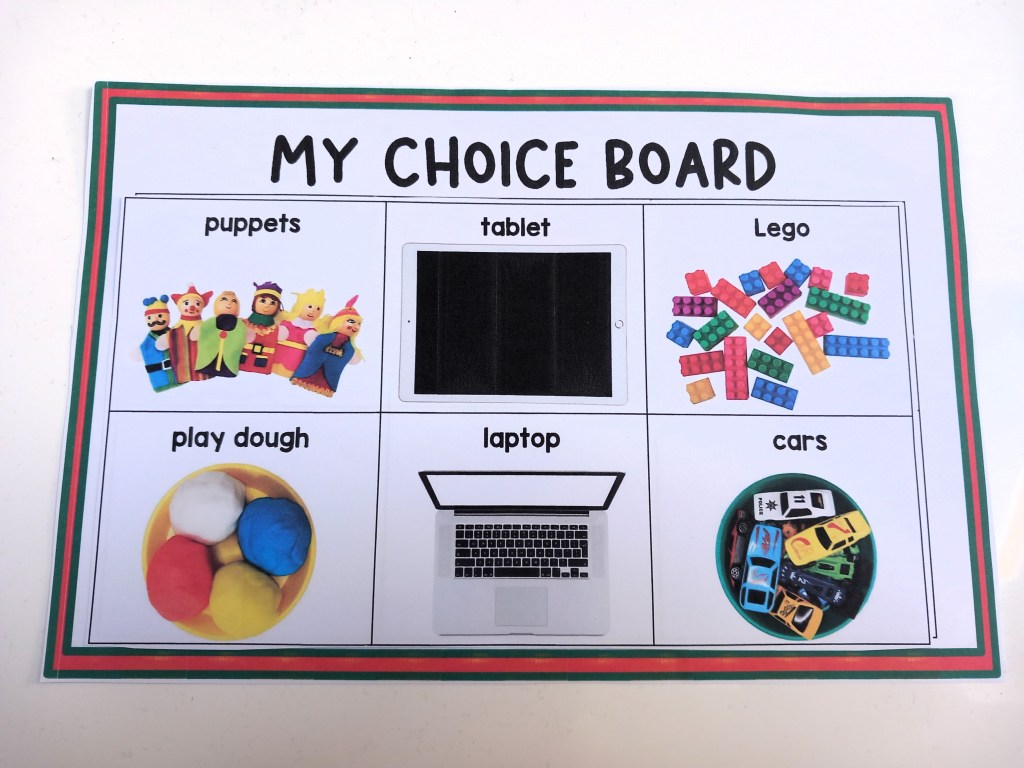
QUICK TIP – Have a visual choice board ready with pictures of nice, peaceful activities that would help to distract from upset and some visual calm down tools to practice.

6. Classroom Posters
Posters – Visual Support reminders to Teach essential emotional regulation techniques and set them up in calm areas, display class rules and social skills posters in easy to see areas.
QUICK TIP – Print and display posters around the classroom or in a calm down area, use them to remind students of your classroom behavior expectations.
Find more Resources see below
Visual Behavior Support Folder – Token Rewards Tools, schedules, First & Then,
Visual Supports: Token Reward System/First & Then – Strategies for Special Ed
Classroom Behavior Management Strategies: First, Next and Then Tools
Token Reward folder: Visual support tools with “first & then” Behavior Strategy
First, Next and Then table Schedule Templates with Visual Supports
First Then boards and Help cards: Autism visual supports
Visual Supports:”First, next, then” with Token Rewards Systems