Organize Your Special Education Classroom: Simple Tips for Getting Students Organised.

Welcome to my blog where Id like to share some of my classroom organization strategies. I’m passionate about my teaching role and that involves creating a positive learning environment, assessing how its working and having quality resources on hand. Along the way I have discovered some valuable tips and strategies that have transformed the way I run my classroom, so here I’d like to share some of my experiences and offer you some insights that could help you achieve success in your own classroom.

In my opinion, the benefits of having a well-organized classroom can help promote independence, reduce distractions, and maximize instructional time. Below, I’ll show you some of my simple but effective strategies that might help you organizing your own Classroom that bit more.

CLEAR AND DEFINED SPACES

Create, clear and defined spaces within your classroom to support different activities and learning styles. Designate areas for whole-group instruction, small-group work, individual workstations, and quiet corners for relaxation or sensory breaks. Use visual cues, such as signs or color-coded labels, to help students understand the purpose of each space.
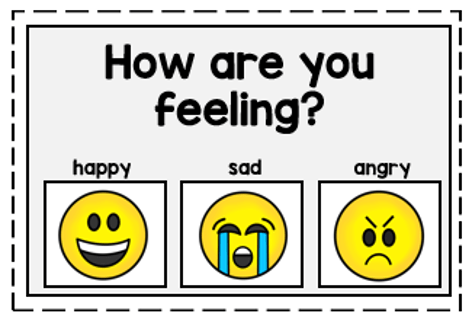
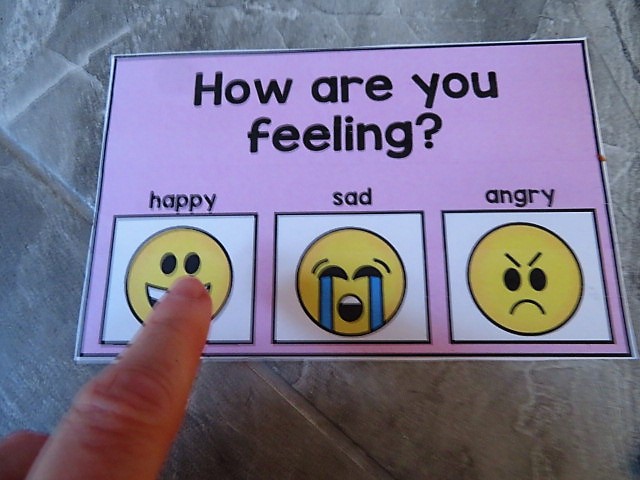
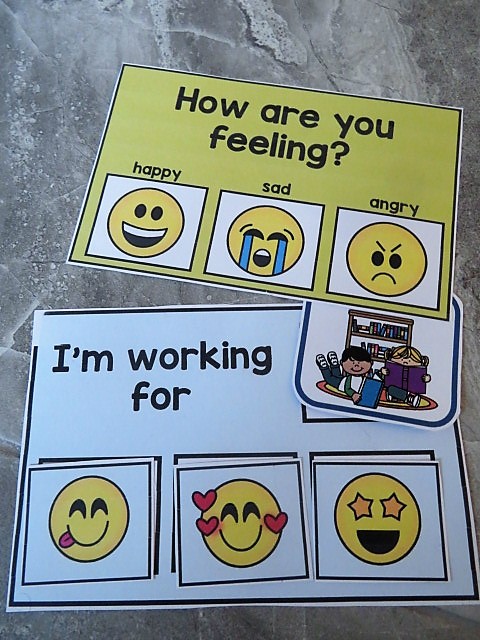
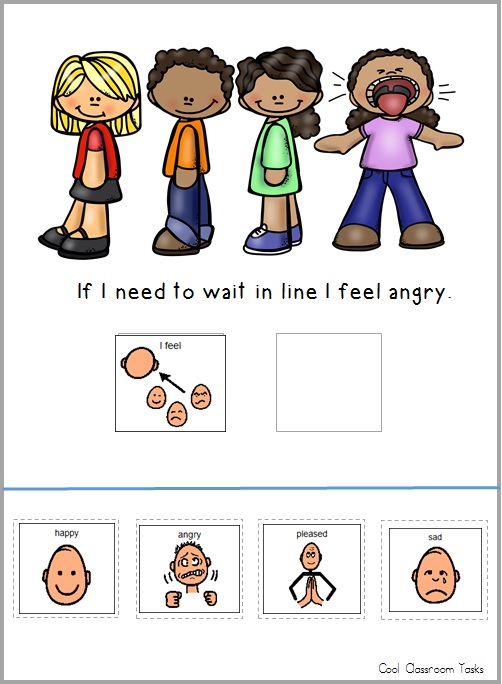
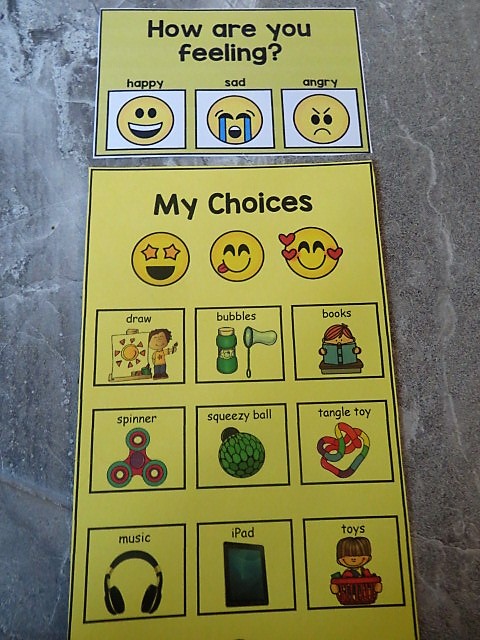
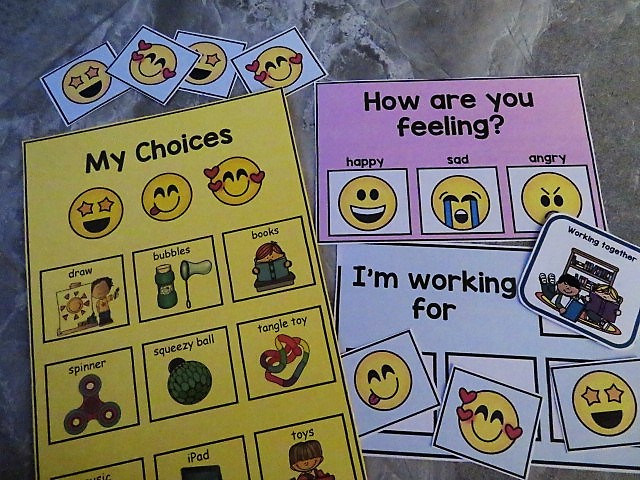
VISUAL SUPPORTS

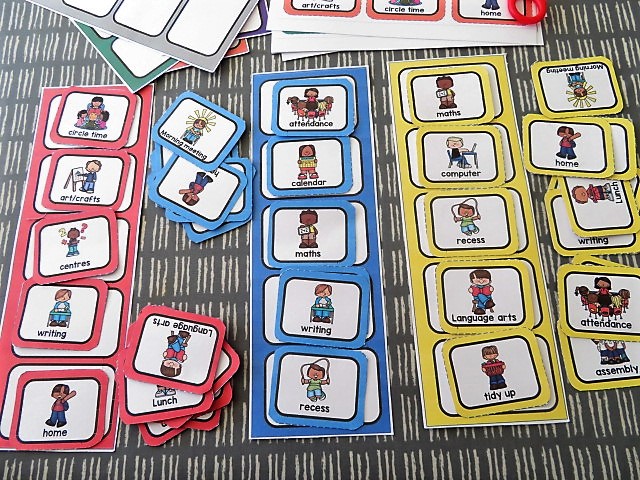
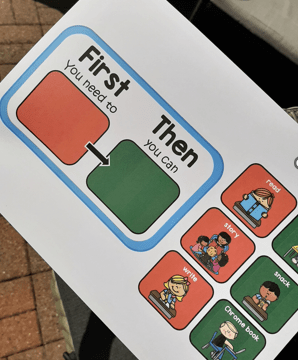
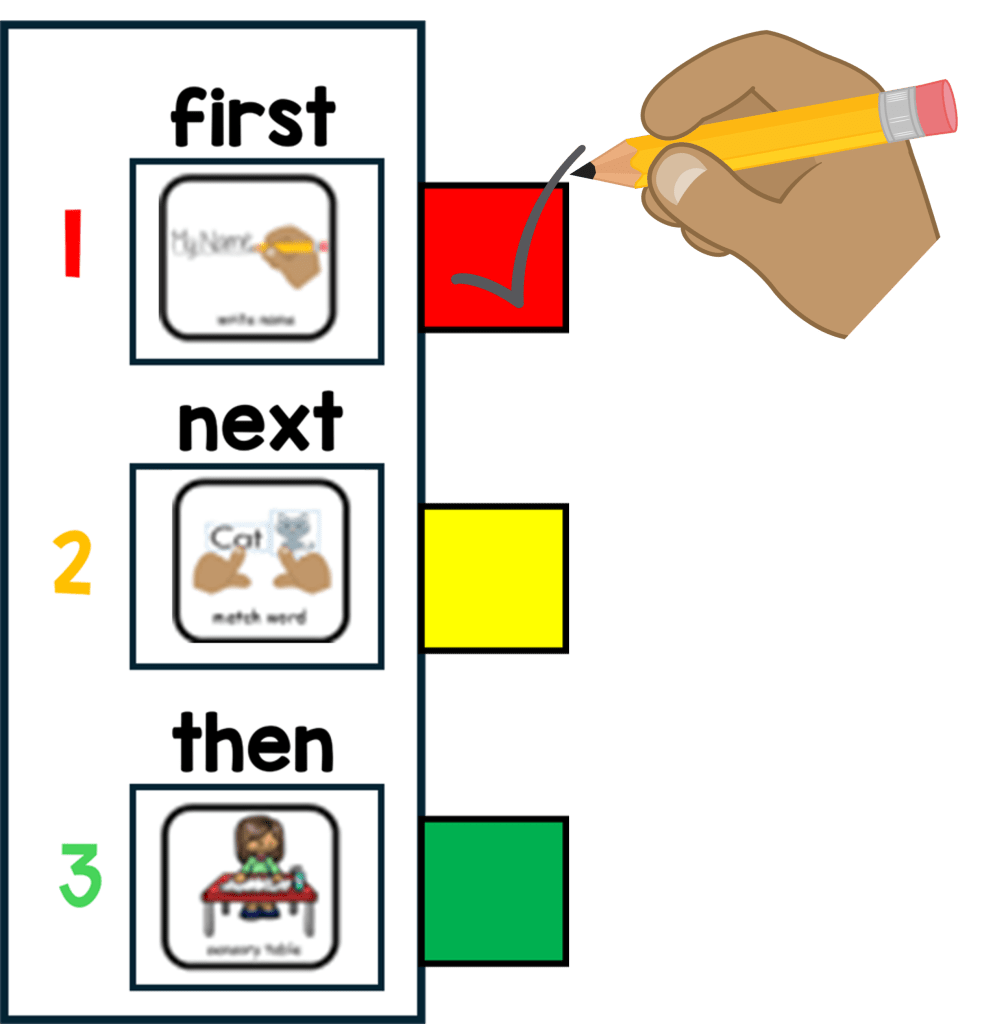
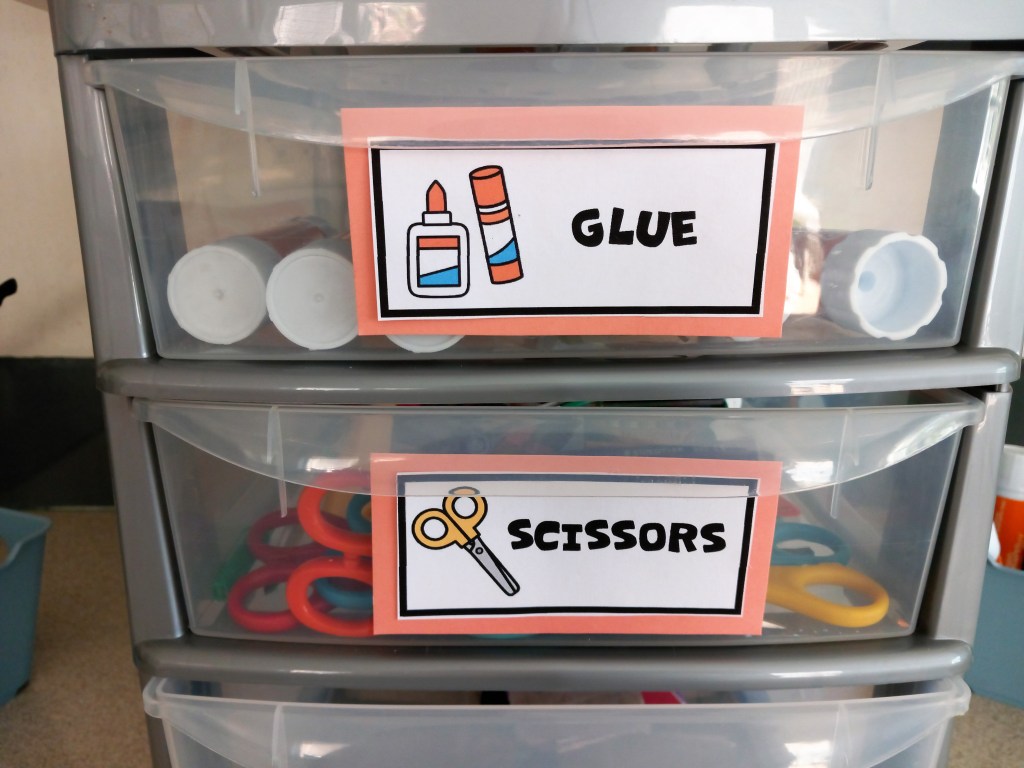
Use visual schedules, charts, and visual aids to provide clear expectations and support communication. Visual supports can also include labels for storage bins, cubbies, and classroom materials, making it easier for students to locate and return items independently.

STRUCTURED ROUTINES

Establish structured routines and consistent schedules in your special education classroom. Most of your students will benefit from predictability and familiarity. Clearly communicate daily schedules using visual schedules or written charts, and maintain consistency in transitions and activities. This helps students feel more secure and reduces anxiety.

ORGANIZED SYSTEMS

Implement effective organization systems to keep materials, supplies, and resources easily accessible. Use labeled storage containers, shelves, or drawers for classroom supplies, teaching materials, and student work. This makes it easier for both teachers and students to return items after use. Consider color-coding or picture labels to assist students who may have difficulty reading.

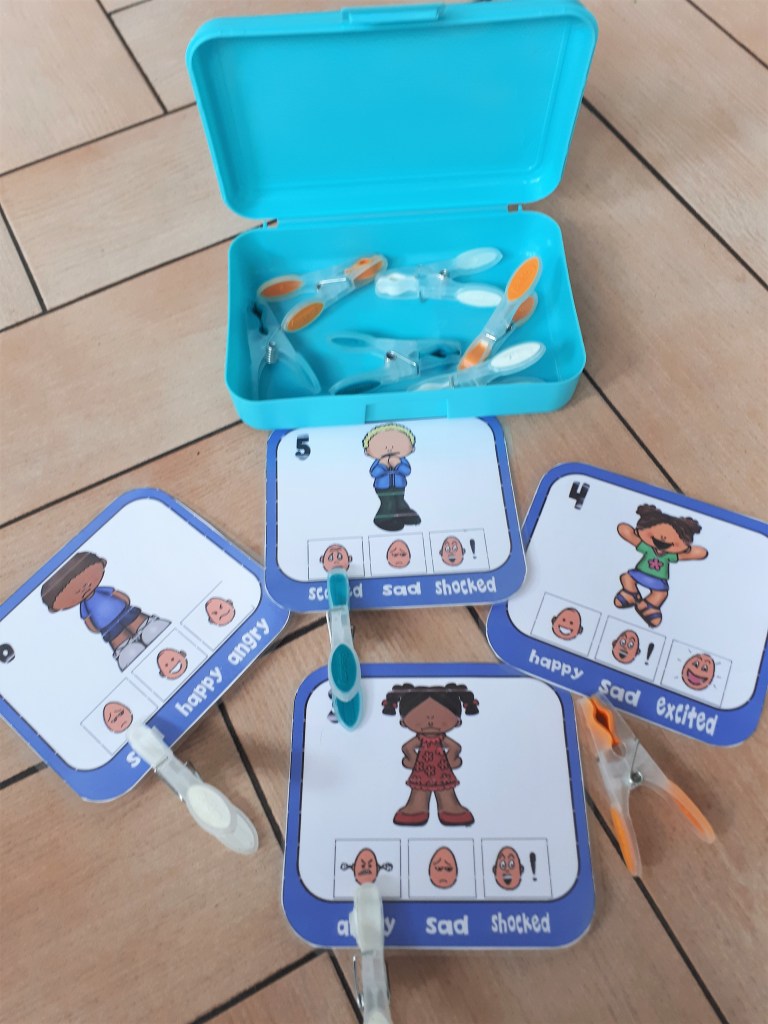
INDIVIDUALIZED SUPPORTS

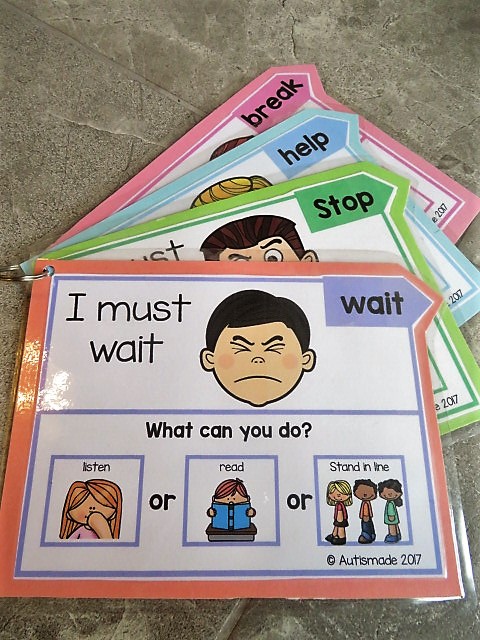
Recognize that each student in your classroom may have unique needs and preferences. Tailor your organization strategies to accommodate individual differences. For example, if a student benefits from a sensory diet, ensure that sensory materials and tools are readily available in their designated area. Adapt visual organization systems to support specific needs and modify for each student.

MINIMISED DISTRACTIONS

Create a visually and audibly calm environment to minimize distractions for your students. Arrange furniture to reduce clutter and provide them with clear pathways for movement. Use visual barriers, such as bookshelves or dividers, to separate workspaces and decrease visual distractions. Consider using noise-cancelling headphones or white noise machines to reduce auditory distractions.

Organizing your classroom requires careful thought and consideration. By implementing these simple strategies, you can start to create an organized and supportive environment that promotes learning, independence, and success for your students. Remember to regularly assess and adjust your organization systems to meet the evolving needs of each student.

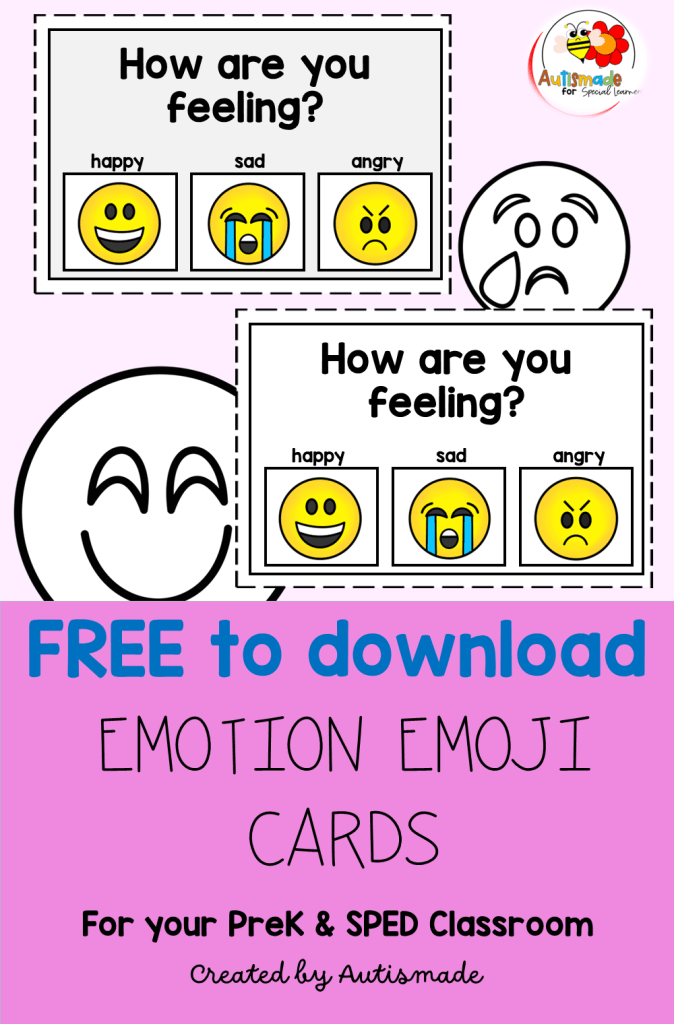
If your looking for Resources for Classroom Management visit my Autismade TPT Store

Working with Emotion Visuals & Reinforcement Tools

Grab a free download of a “How are you feeling” card to try with your classroom!

I was finding it difficult to teach my learners in Special Ed how to recognise their feelings and emotions. Teaching my amazing kinder how to label their emotions was a difficult skill, and being unprepared when these emotions presented was sometimes a tricky process to catch and implement. 

I had to be prepared! and start to teach them how to recognise their feelings by encouraging them to label how they feel with visuals when I saw them displaying negative or happy emotions myself.

I also created opportunities for my students to recognise emotions and facial expressions of others and practice them in lesson. I always try to incorporate a number of social skill activities where my students can have an opportunity to recognise someone happy, sad, angry and practice labelling facial expressions with visual cues.

Some of my students got it straight away but some would need practice, practice, practice. Once I’m happy that my students can recognise how they are feeling and can tell or show me, I will use a quick visual tool “How are you feeling” card to establish if they feel ready to work or what they need to feel better.

I show them a selection of motivators that they can choose from that could help them feel better and ready to try some work.

Being able to choose a motivator to use with a Token economy system becomes a powerful reinforcement tool.

So once the motivator is established, I encourage them to place it next to the “I’m working for” box before starting their task.

Depending on their mood and ability to concentrate will determine how fast they gain their tokens and get rewarded with the motivator they’ve chosen.

I always keep a selection of these handy tools at work stations and calm down areas!

If you want to try out this strategy and begin encouraging your students to label their emotions I’m giving away free trial cards and emoji colouring faces for you to download below.

Click here to download a free “How your feeling chart”

Tips for setting up Visual Schedules in Special ED

Having a selection of Communication Strategies ready to use is always a good idea in Special Ed! Having a visual schedule is one strategy I find very effective in class. Below I’ve listed my schedule tips and other strategies that have really helped my young leaners settle into a structured learning environment.

Visual Schedules – Set out visuals to reflect the order of the class day. They should be designed to support your student through a smooth transition eg. from activity to activity, room to room or within tasks.  

Here are some quick tips for setting up and getting started!

1. START SIMPLE – Make visuals for just meaningful times of the day eg, morning work, break, lunch etc,  this will help your young students learn to recognise and correspond each picture with each of the activities.

2. BUY A LAMINATOR – Your laminator will become important! If you want all your hard work to last, laminate all mounts and visuals because they are going to go through a tough time!

3. WALL MOUNT  – Mount on a wall, the schedule must be low enough for your student to access and take away finished symbols in the daily routine. 

4. USE A FINISHED BOX – Attach a finished box at the end or side of the schedule to drop the finished visuals in before starting a new activity. 

5. TRY A FILE FOLDER – A portable schedule can be used in a file folder in the same way as a wall mounted one. I find these easier with older children to check into the activities and more efficient in busy classrooms. Pop their name on it and keep all their individual support visuals in one place. 

6. MODLE AND PRACTICE – Always model, practice and remind your busy student at the beginning of each activity to, “check in”.  Make a plan to pull back on all prompting until they begin to use this system independently!

Timers – For giving a break and reminding students how long they need to work and how long left on free time!

Routines – Keep Break, Lunch and free choice the same time each day!

Consistency – All staff should use the same strategies and follow this classroom management structure!

Positive Reinforcers – Use token reward boards, First and Then, Behavior regulation tools and Reward systems tailored to individual interests and likes!

Communication – Critical skills for Functional Communication, a means in which your non verbal student is able to request a “break” “help”  or asked to “wait”

Colour Coordinate – For some of my young learners I’ve introduced portable schedules, that I’ve colour coordinated! 
I’m pleased it offers all the strategies I wanted to incorporated throughout the day.
I keep them in a handy place for my students to access first thing in the morning and follow the schedule by checking into the work areas they need to complete.
There’s a set place in the booklet for the schedule symbols, a token reward system, plus a place for reinforcer visuals and Critical Communication cards so students can ask for a Break or Help, all while reminding and keeping a consistent approach that staff can help students to follow!

Visit my TPT Store here

How to use First and Then Visuals

Children with SPED can sometimes find a classroom a bit confusing and can quickly become distressed with all the changes that are taking place around the room. My job is to help keep them calm and cope with what is happening. Sometimes I use visual supports to prepare and explain what is happening next.

I have found the “First and Then” Strategy a visual way of understanding what is expected throughout the day and a simple start to scheduling. As part of my structured teaching environment I use this simple timetable with individual work and in class activities.

Before starting a task and after a motivator assessment my young learners are offered a selection of visual reinforcers to choose from, this icon is placed in the “Then” side of the board.

And I place the icon of the task to be completed on the “First” side of the board. While teaching this strategy for the first few times I use quick errorless tasks and partially prompt my student if they become distressed.

Once established, my student will learn to follow the first activity independently and transfer to the next activity shown.

For More information click here

Teaching Functional Communication in Behavior Management

Functional Communication is an important skill to master in any successful Behavior Management Plan. Here’s a brief description on how I teach theses skills with my young learners.

How I Teach students to use a “Break or Help” card

1. Firstly you need to help your student realise when they need to use the break/help card, preferably before they get too frustrated or loose concentration. At the start of any activity, show the student the break card and place the card where they can easily reach it.

2. Point to the break/help card and tell them, “This is your break/help card. You can use it to ask for a break.” When your student starts to get frustrated or loose interest, You say “If you are getting upset, use your break card to tell me you need a break/help.”

3. Once he requests the card allow the student to take a break/help from his tasks, or direct the student to move away to the “break area.” I found that self regulating visuals on the bottom of the card is a fantastic way of calming your student while on a break.

4. Requesting is an important part of teaching the student to trust and use the visual support, once they are consistently asking for breaks, you may begin to extend the time between the request and the actual break.

5. Visuals to the bottom of the support cards help redirect the student to what he can do instead, or while using the card. I hang them up on a keyring for easy access in my calm down corner!

Visit my TPT Store for more details