For Special Education Teachers
Classroom management in a special education setting isn’t just about keeping order—it’s about creating a space where every student feels safe, supported, and empowered to learn. Whether you’re a new teacher or just looking for a refresher, this ultimate classroom management plan will help you build a strong foundation for success.
1. Set Clear Expectations from Day One
Students thrive when they know what’s expected of them. Establish clear, simple rules and routines early on. Use visual aids, pictures, or even role-playing to reinforce rules. Keep the language consistent and positive—for example:
- Use kind words
- Raise your hand to speak
- Keep hands and feet to yourself
Repetition and reinforcement are key.

2. Build Strong Relationships
Connection comes before correction. Get to know your students—what they like, what triggers them, what helps them calm down. A strong teacher-student relationship is the cornerstone of good behavior. Take time to:
- Greet students warmly each day
- Show interest in their hobbies
- Celebrate small wins
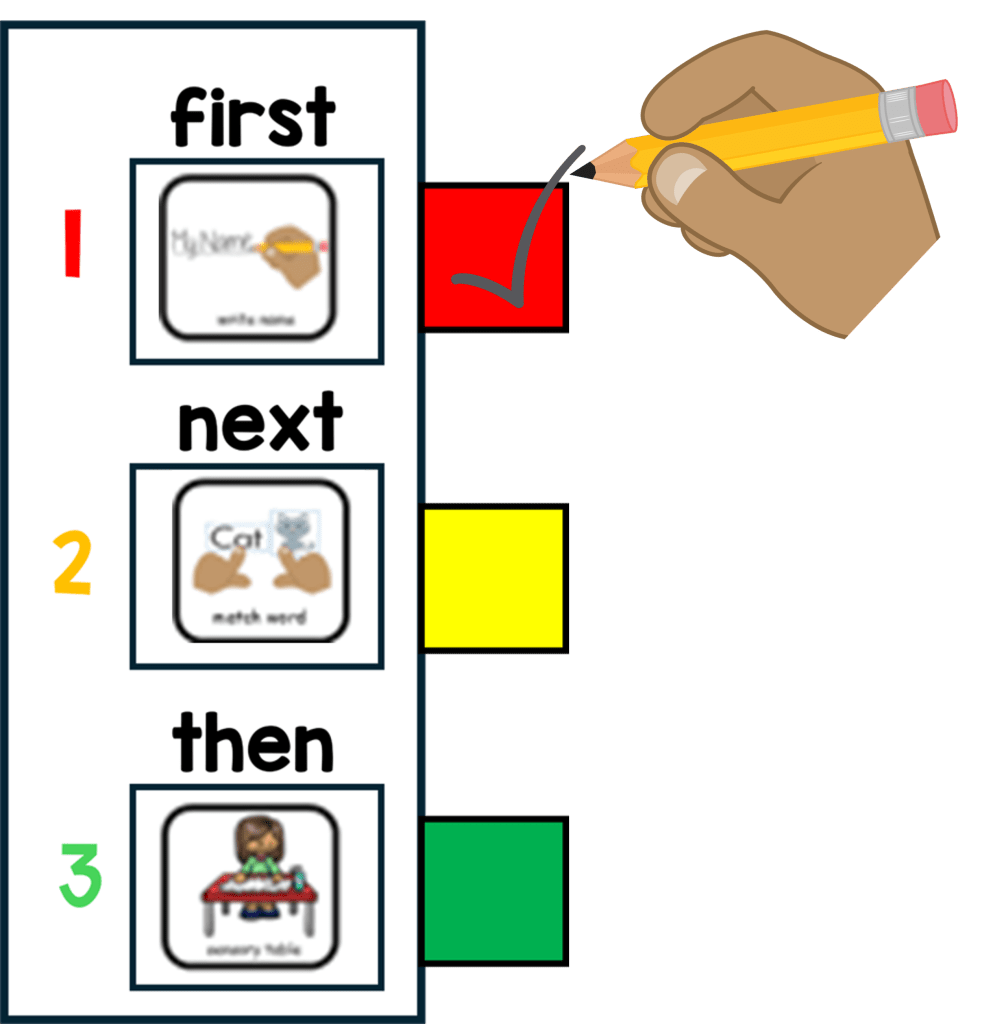
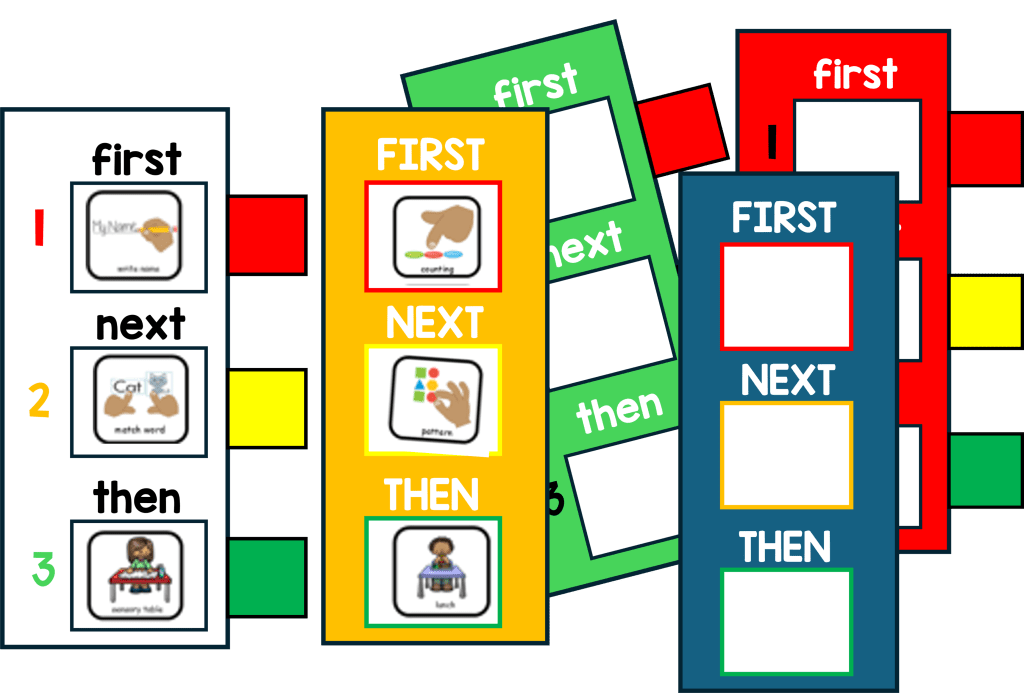
3. Structure the Environment for Success
A well-organized classroom can reduce distractions and promote independence. Try this:
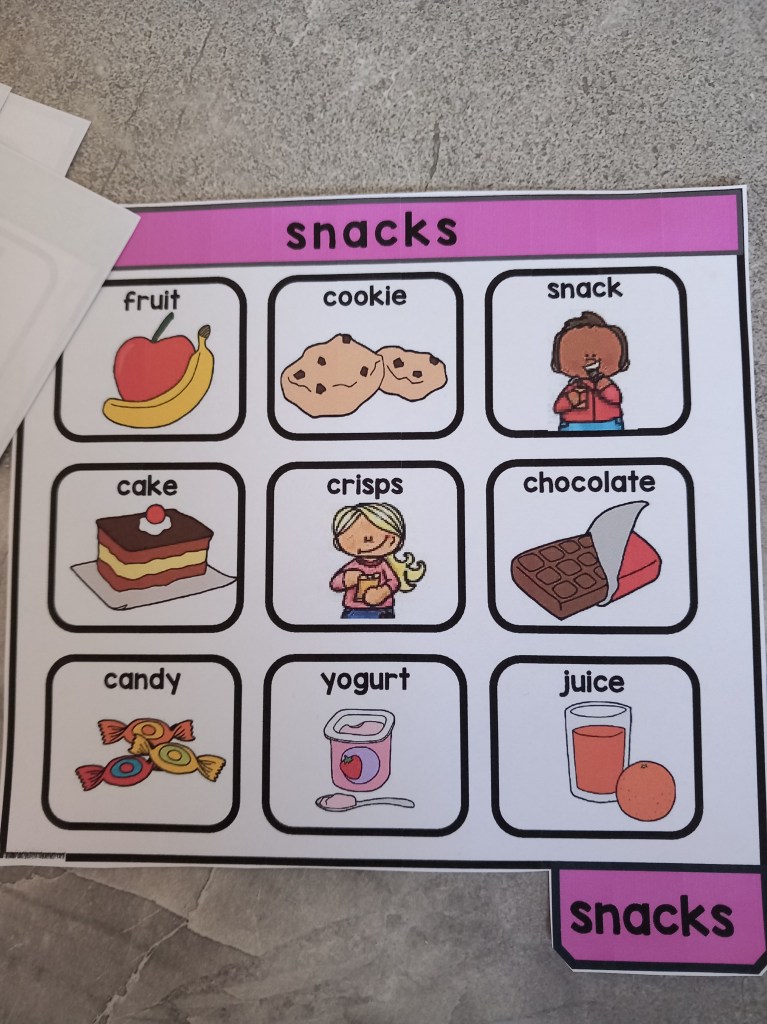
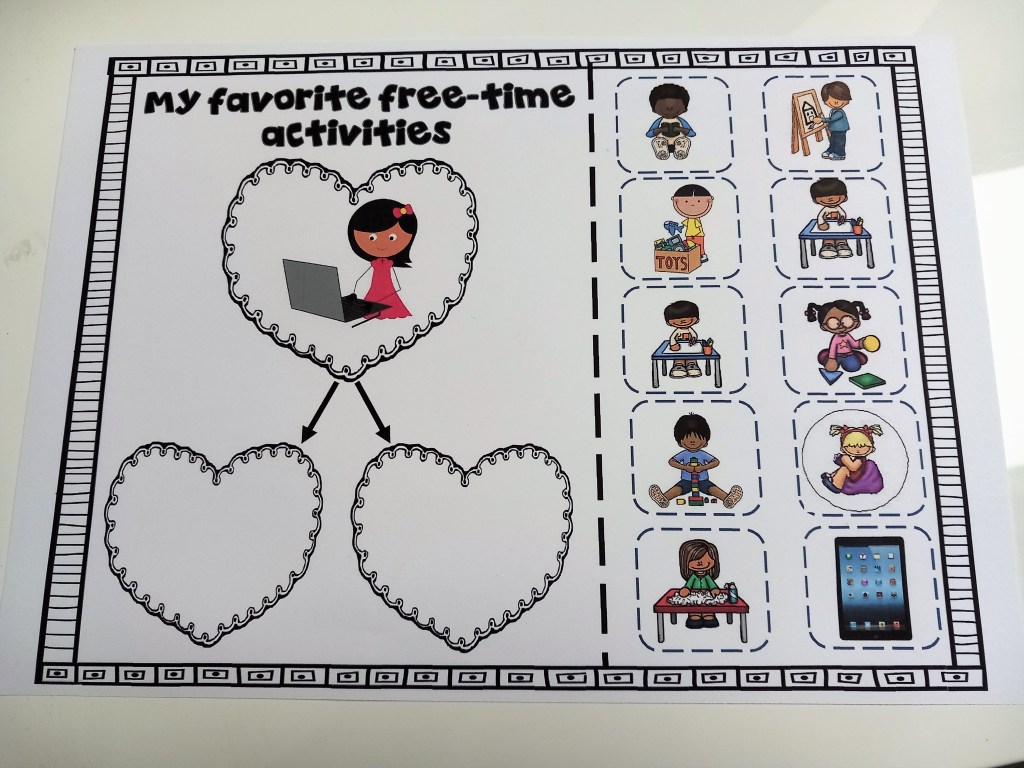
- Use labeled bins and clear visuals for materials
- Create defined spaces (e.g., a calm-down corner, group work area)
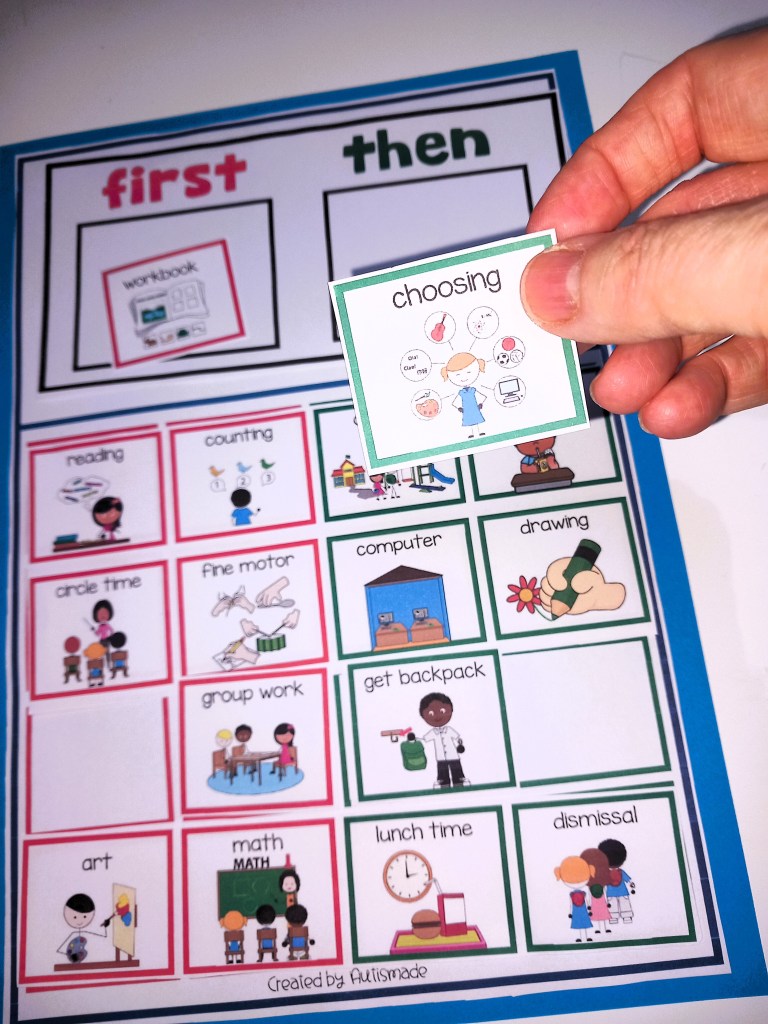
- Keep transitions smooth with visual schedules or timers

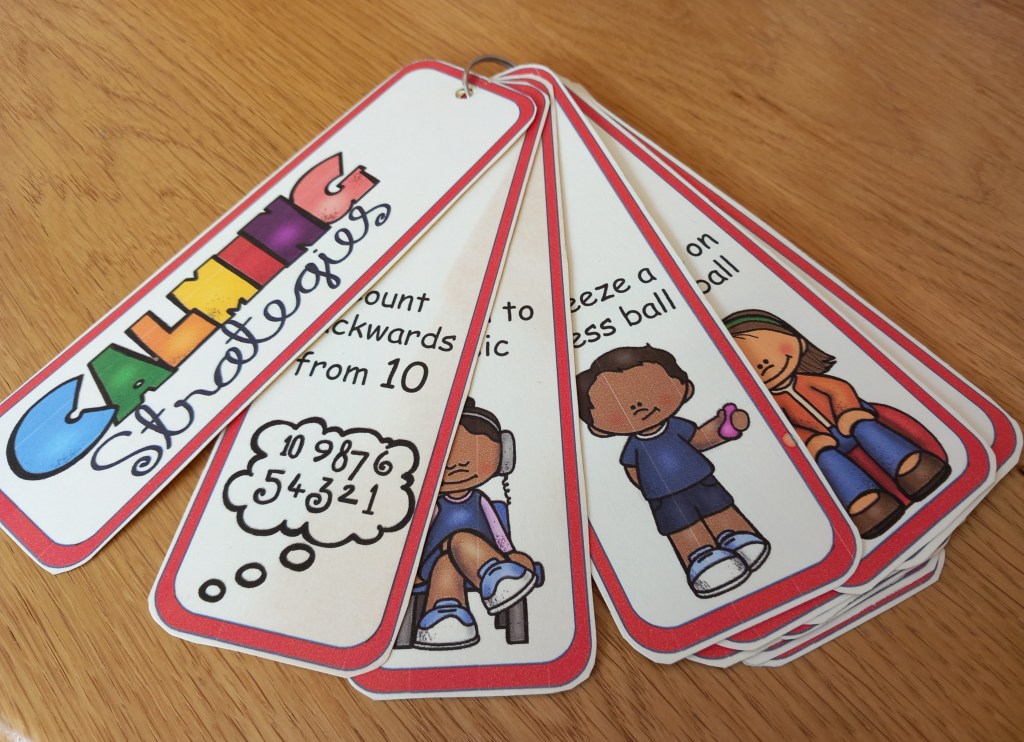
4. Be Proactive, Not Reactive
Anticipate challenges before they happen. For example:
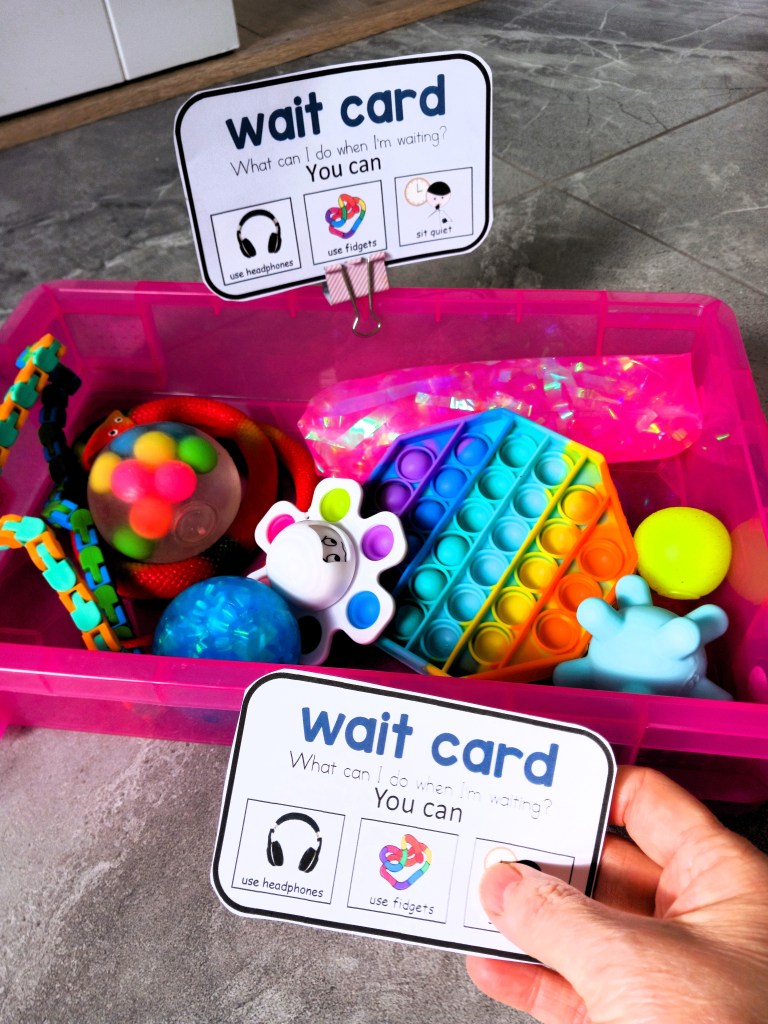
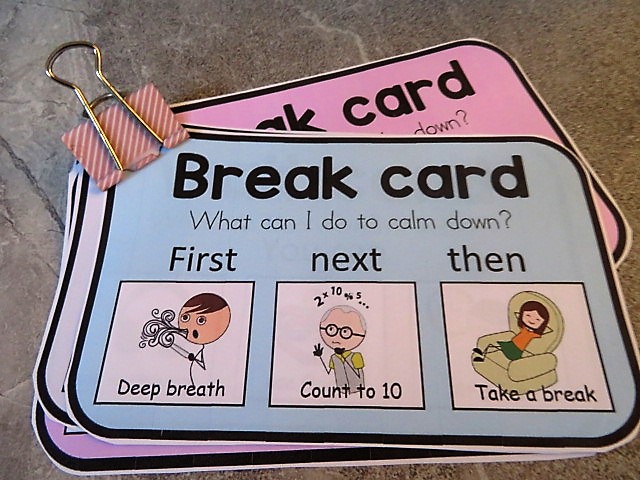
- Use sensory breaks for students who get overstimulated
- Provide fidgets or alternative seating for students with focus issues
- Modify tasks to meet individual needs
Being proactive also means recognizing and praising positive behaviors more often than correcting negative ones.
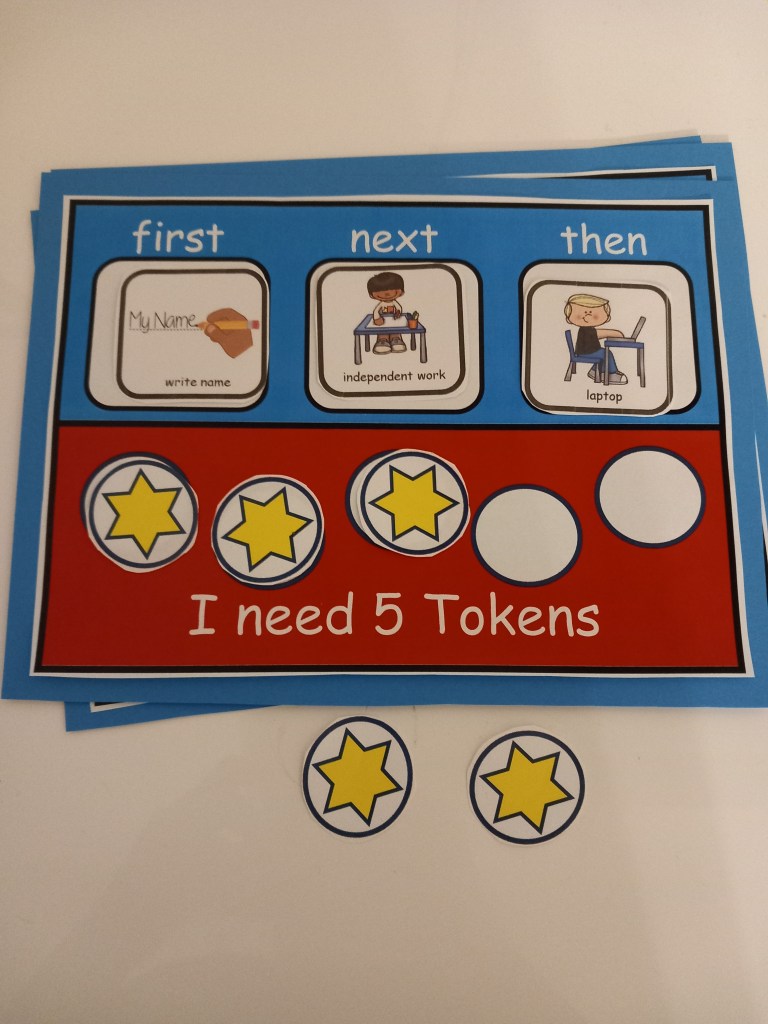
5. Use a Consistent Behavior Plan
Consistency is key. Choose a behavior management system that works for your group, such as:
- Token economies (students earn points or stickers for positive behavior)
- Color charts or behavior contracts
- Positive reinforcement systems customized to the student (like earning extra iPad time)
Make sure to communicate the plan with paraprofessionals, parents, and anyone else working with your students.

6. Collaborate with Your Team
You’re not in this alone. Collaborate with:
- Paraprofessionals
- Therapists (OT, speech, etc.)
- Parents and caregivers
Share strategies, stay consistent, and support one another.

7. Reflect and Adjust
No plan is perfect—and that’s okay. What works for one group might not work for the next. Reflect regularly:
- What’s working well?
- What needs tweaking?
- How are the students responding?
Stay flexible and be willing to change what’s not working.
Final Thoughts
Effective classroom management in special education is all about structure, relationships, and consistency. When students feel safe and understood, real learning can happen. With a solid plan in place, you can build a classroom where every child has the opportunity to shine.
Resources For Special Education Teachers
Free Social Skills Poster | Class rules | Classroom Behavior Management
Calm Down Tools & Token Reward Boards for Classroom Behavior Management
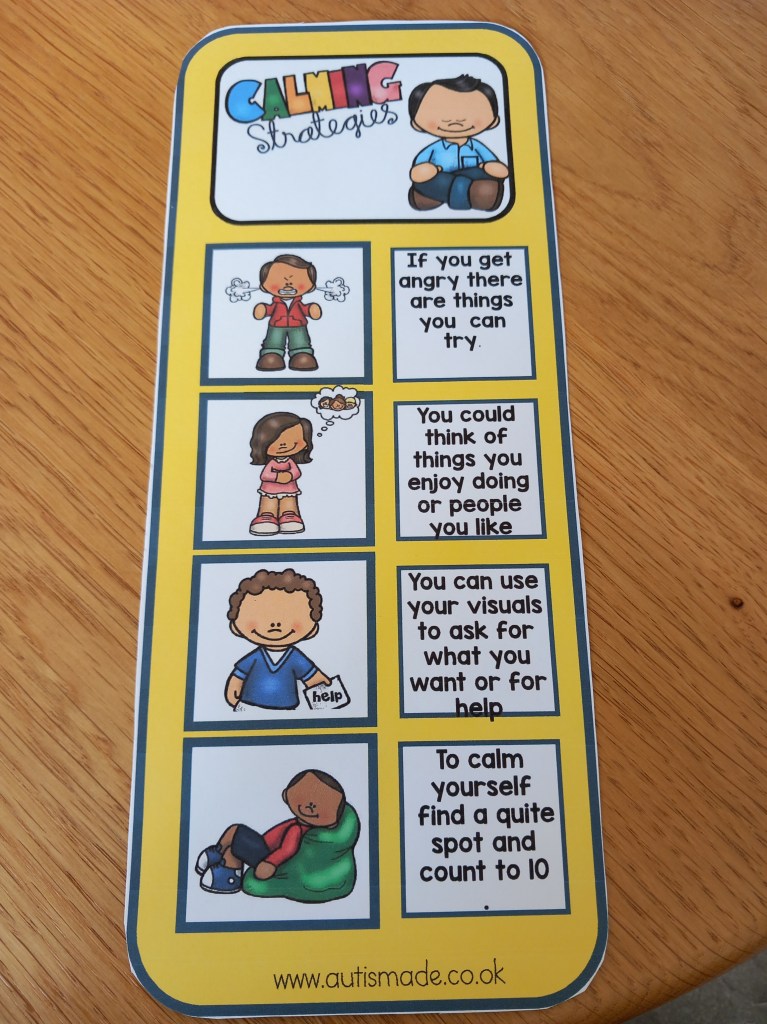
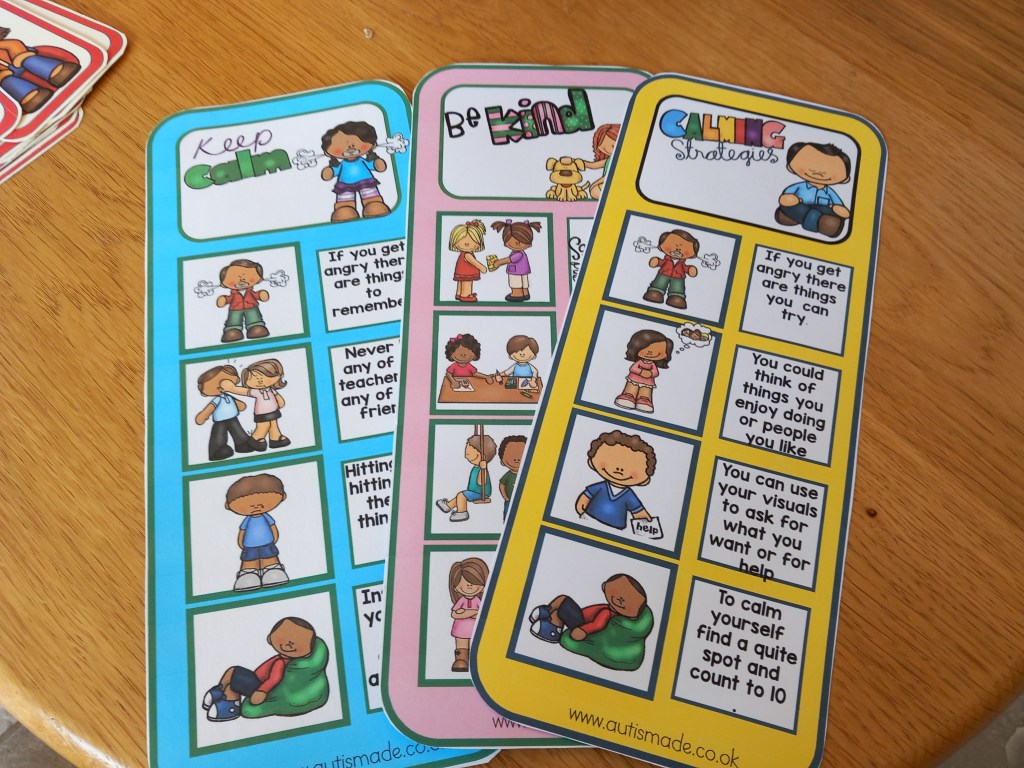
Calm Down Corner Tab book & Posters
Calm Down check in / Social-Emotional learning, Posters and coping tools
Social Emotional Posters for being friends, classroom expectations
Visual Behavior Support cards – Break, Help & Wait Strategies for Autism