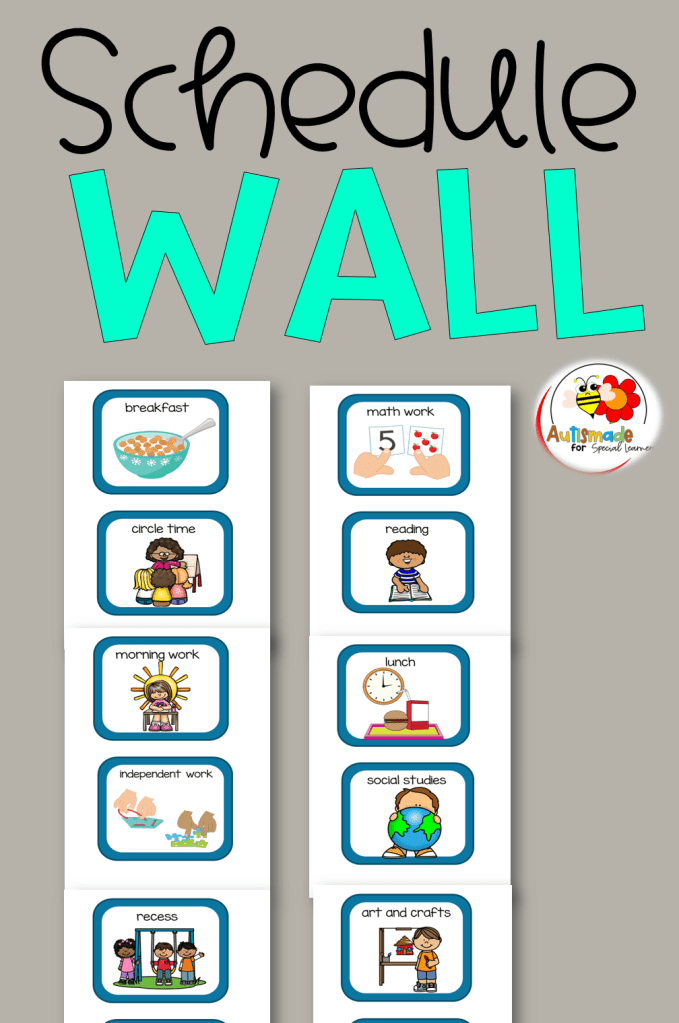
Visual Supports for Waiting in Early Childhood
Waiting is one of the hardest skills for young learners to master, especially for nonverbal children in Special Education. When a child cannot understand the spoken word the idea of “wait” can feel confusing, frustrating or even impossible.
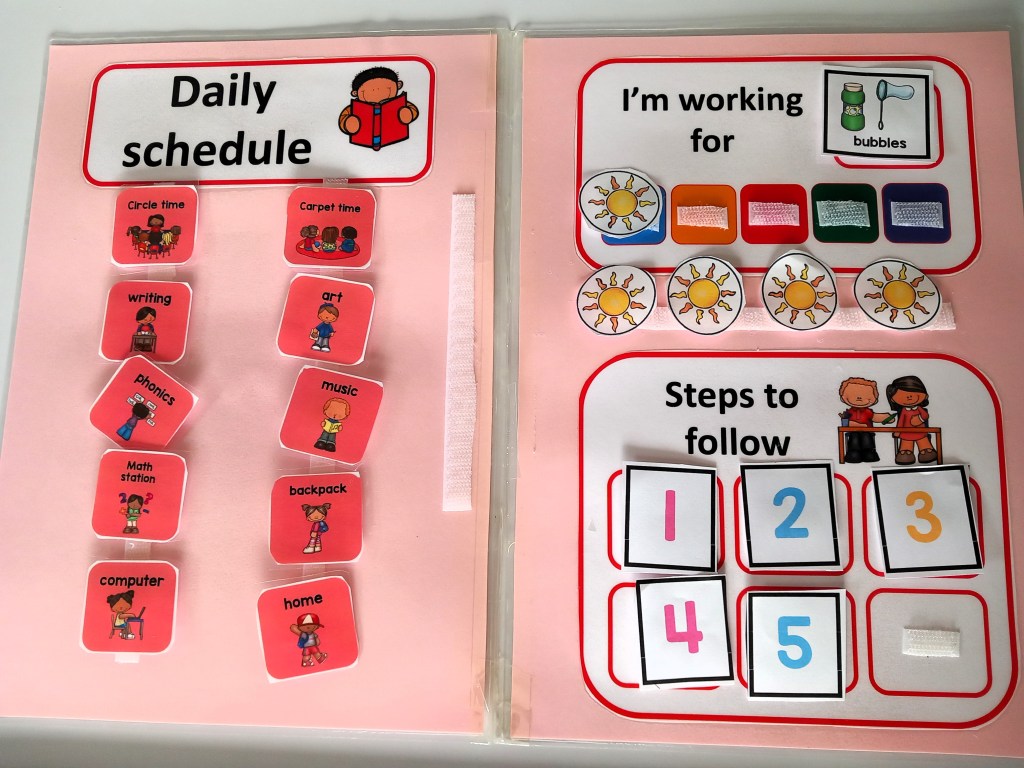
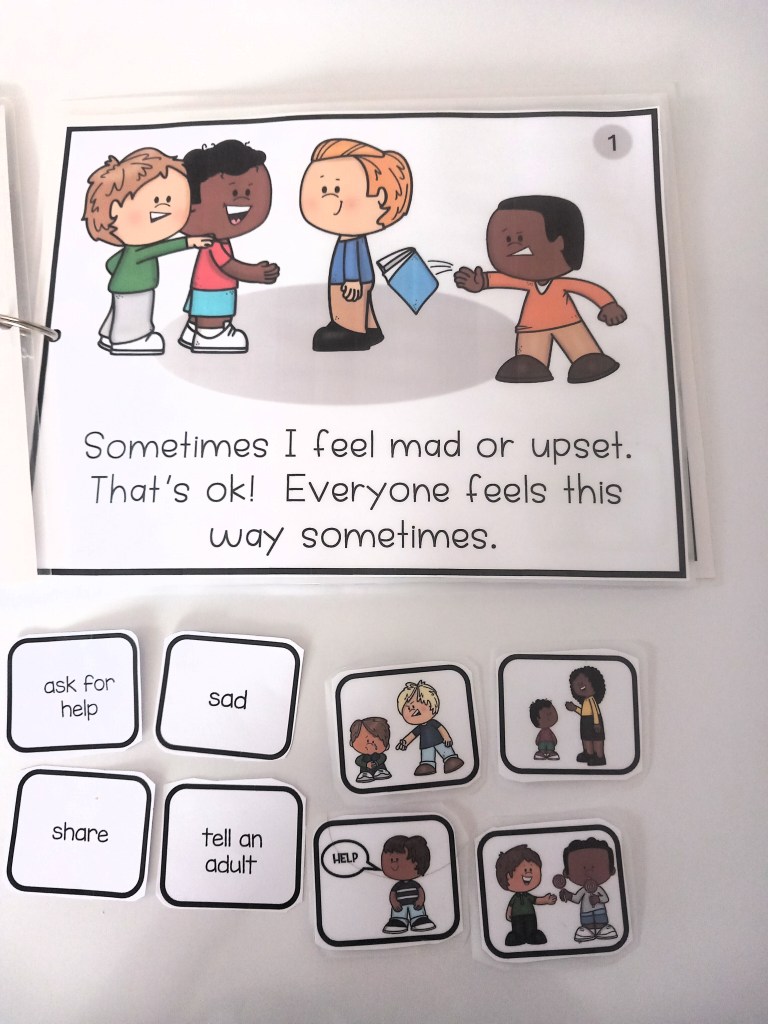
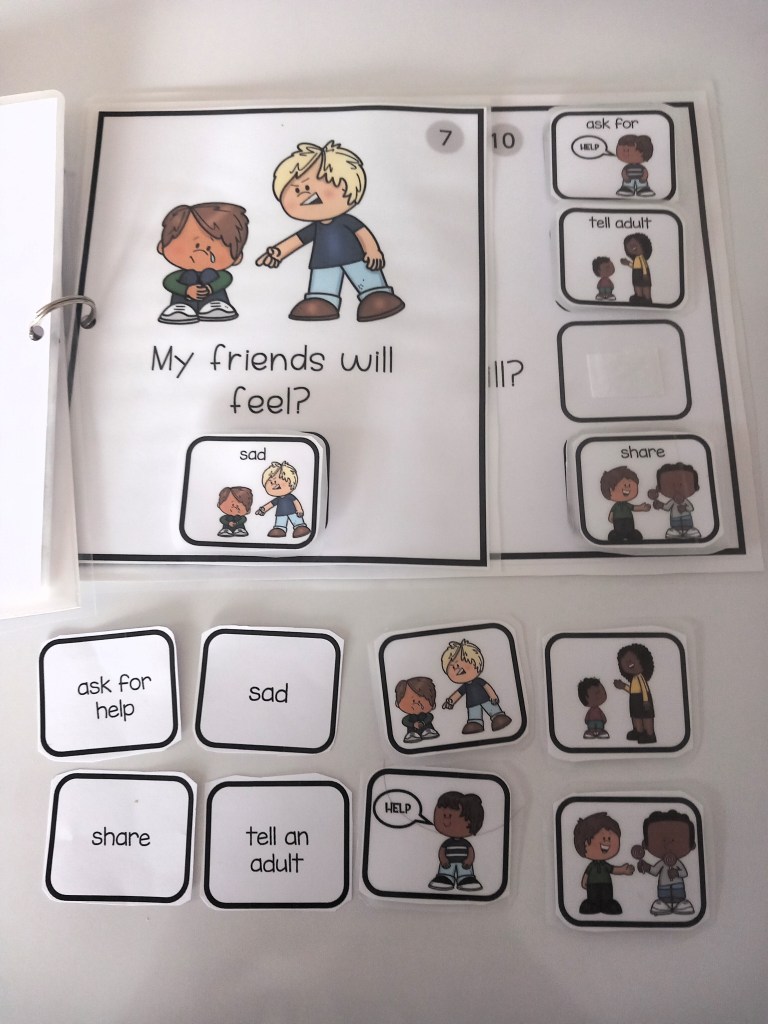
This is where the visual supports help turn spoken words into something students can see. For many learners, visuals are easier to process than language alone. They make expectations clearer, reduce anxiety, and help students feel more confident about what comes next.
What Is Wait Time?
One simple way to use visuals that makes a big difference is during wait time.
Wait time is the pause after you ask a question or give a direction. For some students, especially those with autism, processing language takes a little longer. When adults rush in with prompts or repeat directions too quickly, students may lose the chance to respond independently.
How Visual Cue Cards Help
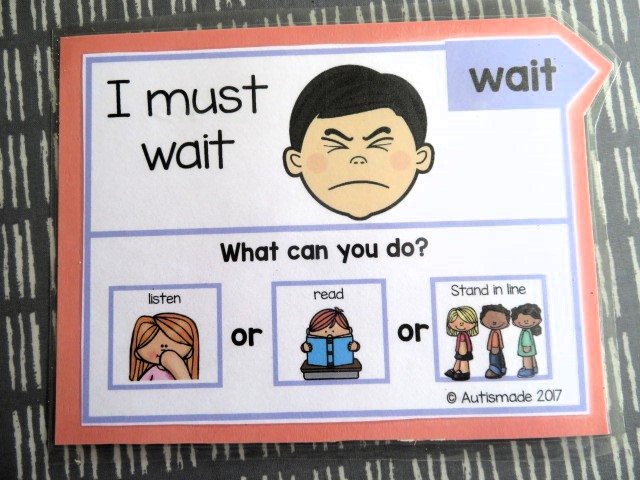
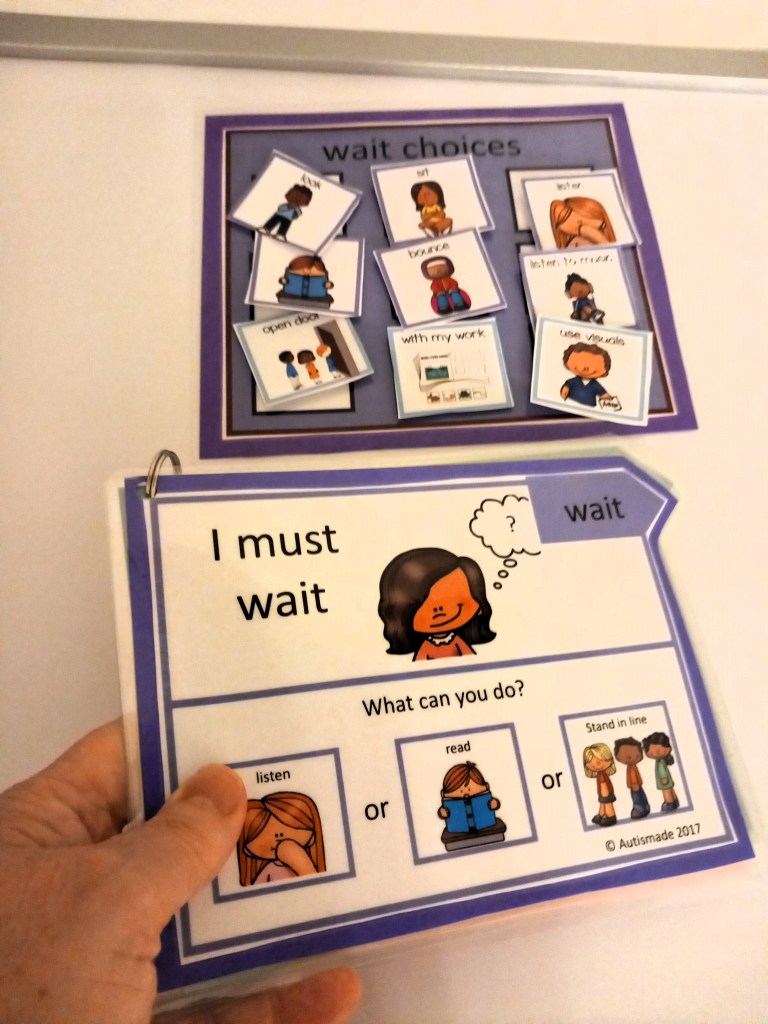
Visual wait time cards give students a clear signal that it’s okay to pause and think. Instead of filling the silence with more words, the visual does the talking.
These cards help students understand:
- What they should be doing
- That a response is expected
- That help will come, just not yet
Waiting becomes predictable instead of stressful.
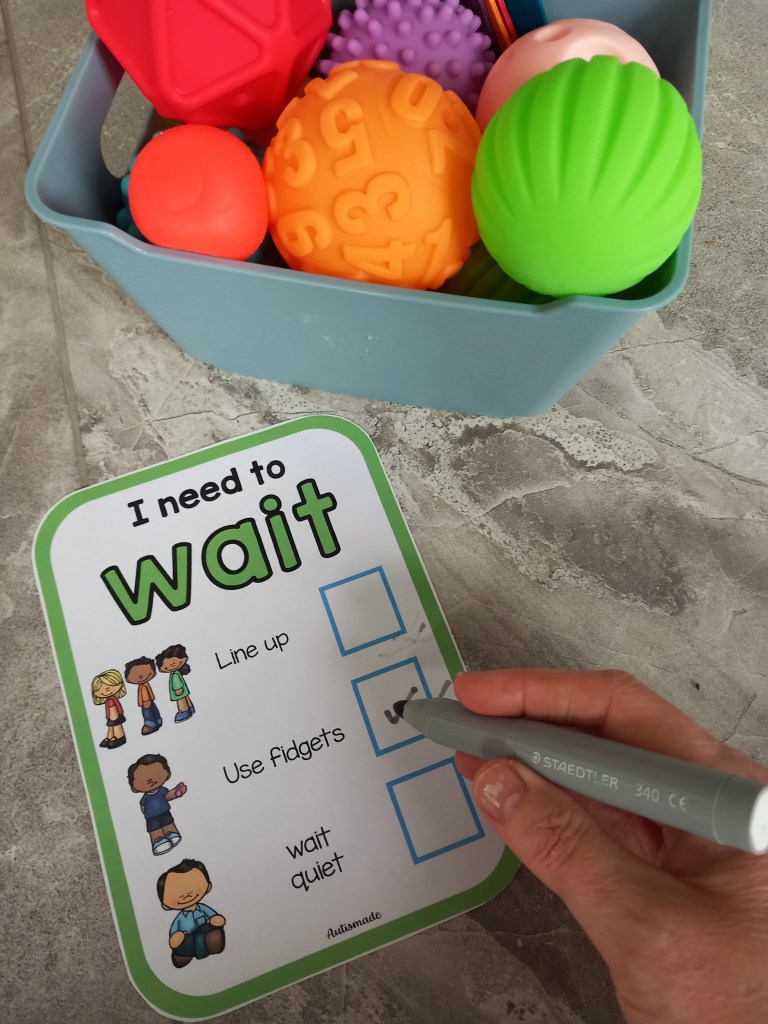
Easy Visual Wait Time Tools Teachers Love
“Wait” cards use a simple word or symbol to remind students to pause.
Visual timers or countdown cards show how long the wait will last.
Thinking time cards let students know it’s okay to take a moment before answering.
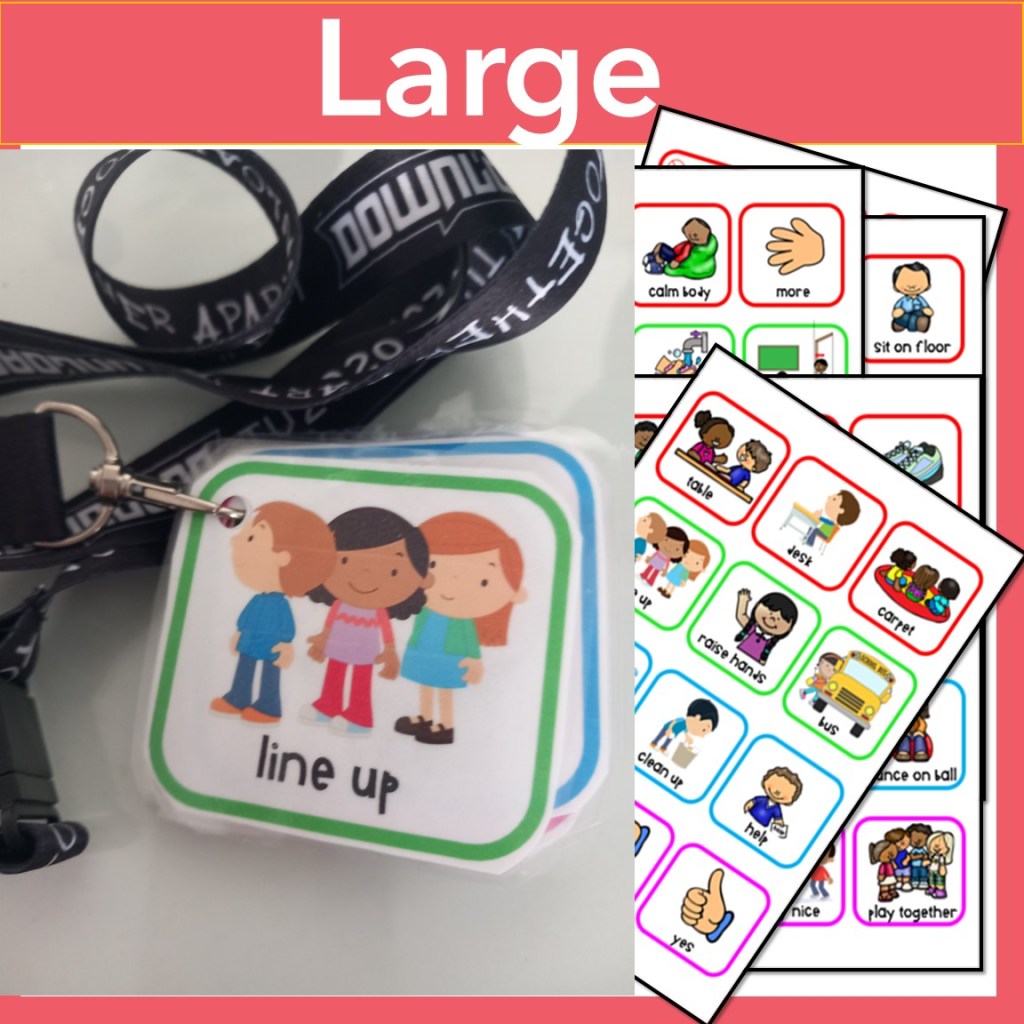
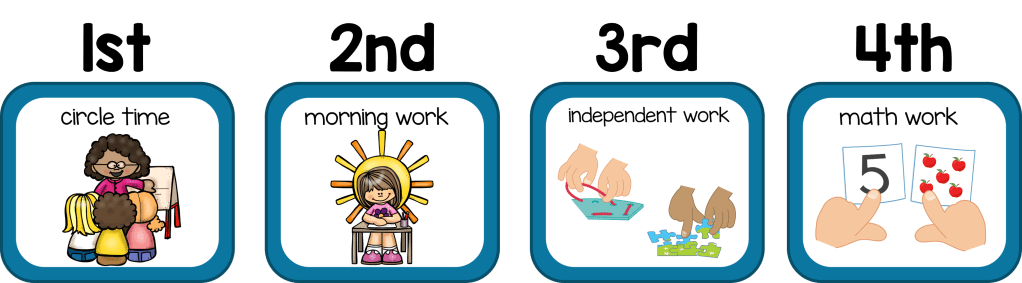
Turn-taking visuals clearly show whose turn it is during games or group work.
Classroom Tips for Success
- Teach the visual during calm moments
- Pair it with a brief verbal cue, then stay quiet
- Avoid repeating directions while the visual is shown
- Praise the act of waiting, not just the final response