The First-Then strategy is incredibly versatile. It can be adapted for a wide range of situations, from simple tasks (like “First, put on your shoes. Then, you can go outside”) to more complex, academic instructions.
It can be used across different environments (home, school, therapy settings), making it a universally applicable tool. Below I’ve listed more reasons to implement this strategy!
To Enhances Self-Regulation and Motivation:
Children better manage their behavior by knowing they must finish one activity (First) before starting another (Then). This builds intrinsic motivation and a sense of accomplishment.
To Facilitates Communication and Language Development:
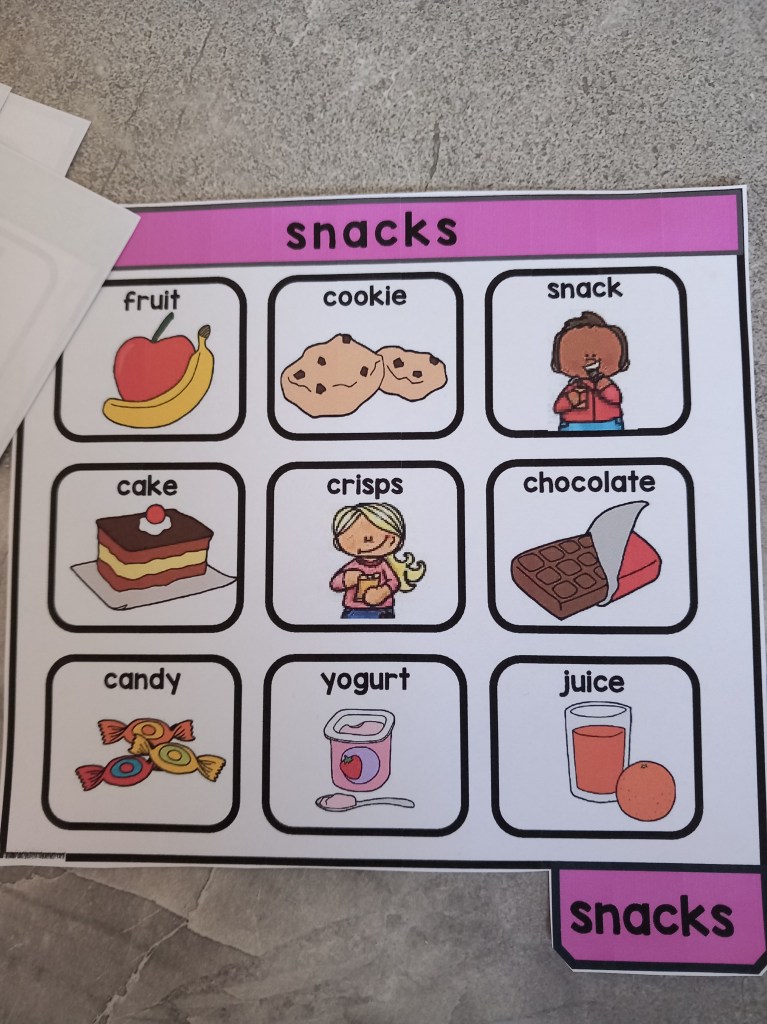
The First-Then strategy supports communication skills. Using visuals or choice boards helps non-verbal children understand sequencing and choice-making, encouraging language use for communication.
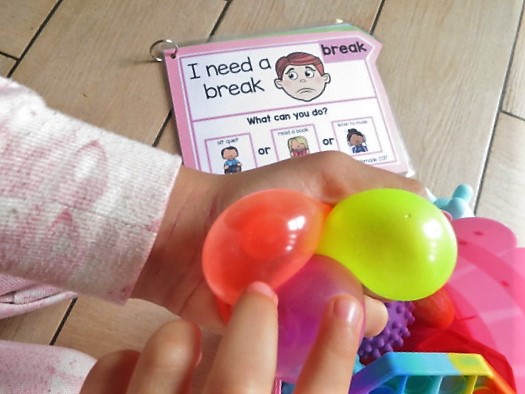
To Reduces Anxiety and Overwhelm:
For many children with special needs, the world can be overwhelming. Not knowing what to expect next can lead to anxiety or avoidance. The First-Then strategy provides predictability, helping children to feel more in control and less anxious about transitions.
To Builds a Positive Reinforcement Cycle:
By using the First-Then strategy with rewards that are meaningful to the child, educators or caregivers can create a positive feedback loop. The child is more likely to follow instructions and engage in activities if they know there’s an enjoyable outcome after completing the task.
Positive reinforcement also helps build trust between the child and teacher or caregiver.
To Increases Independence:
As children become more familiar with the structure of the First-Then strategy, they may begin to independently initiate tasks. Over time, they learn that completing tasks leads to desired outcomes, which can encourage them to take ownership of their actions.

To Strengthens Social Skills:
In group settings, using First-Then can help children learn how to take turns, follow rules, and understand social expectations. For example, “First, you listen to the teacher. Then, you can play with your friends” helps kids practice social behaviors while learning the concept of waiting.

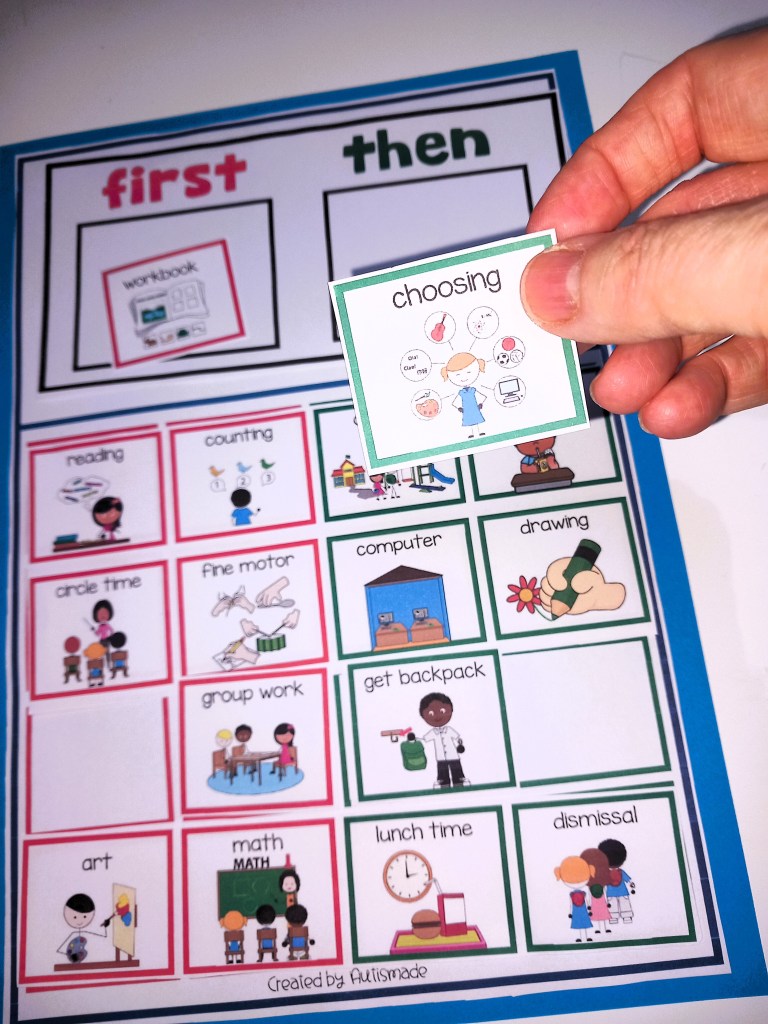
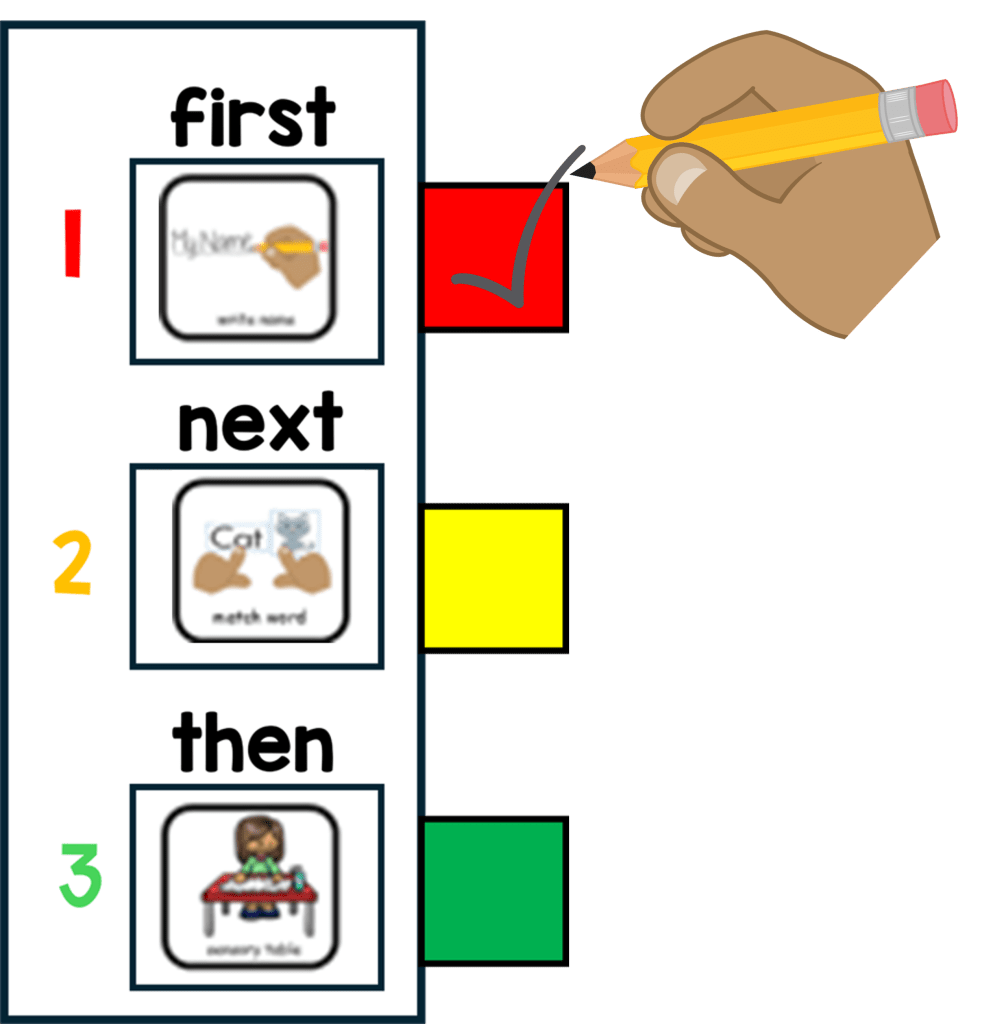
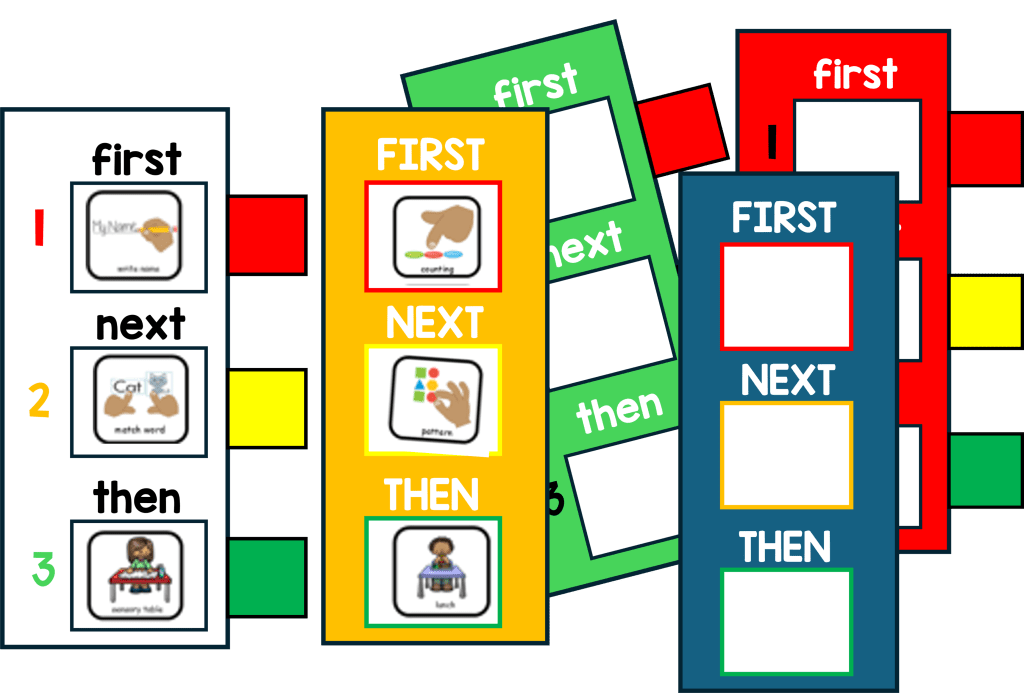
Visual Example:
First: Work on your math.
Then: You can play with your favorite toy.
This helps the child to know what is expected and what they will get in return after completing the task.
Find more TPT Resources linked below

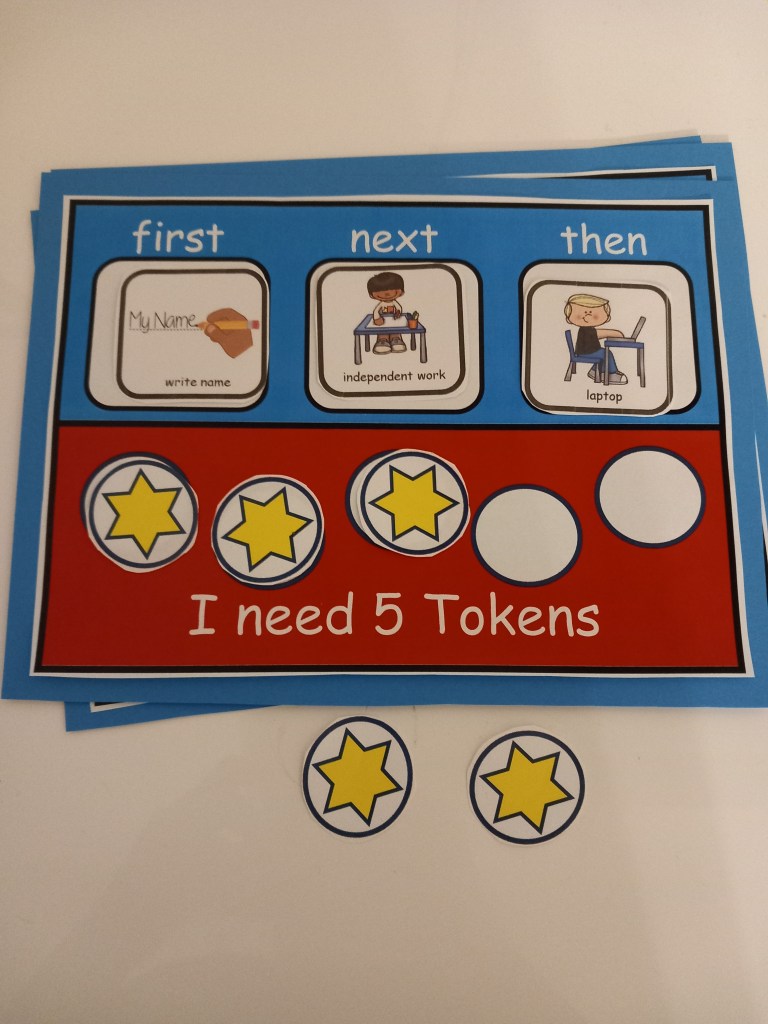
Visual Behavior Support Folder – Token Rewards Tools, schedules, First & Then,
Visual Supports: Token Reward System/First & Then – Strategies for Special Ed
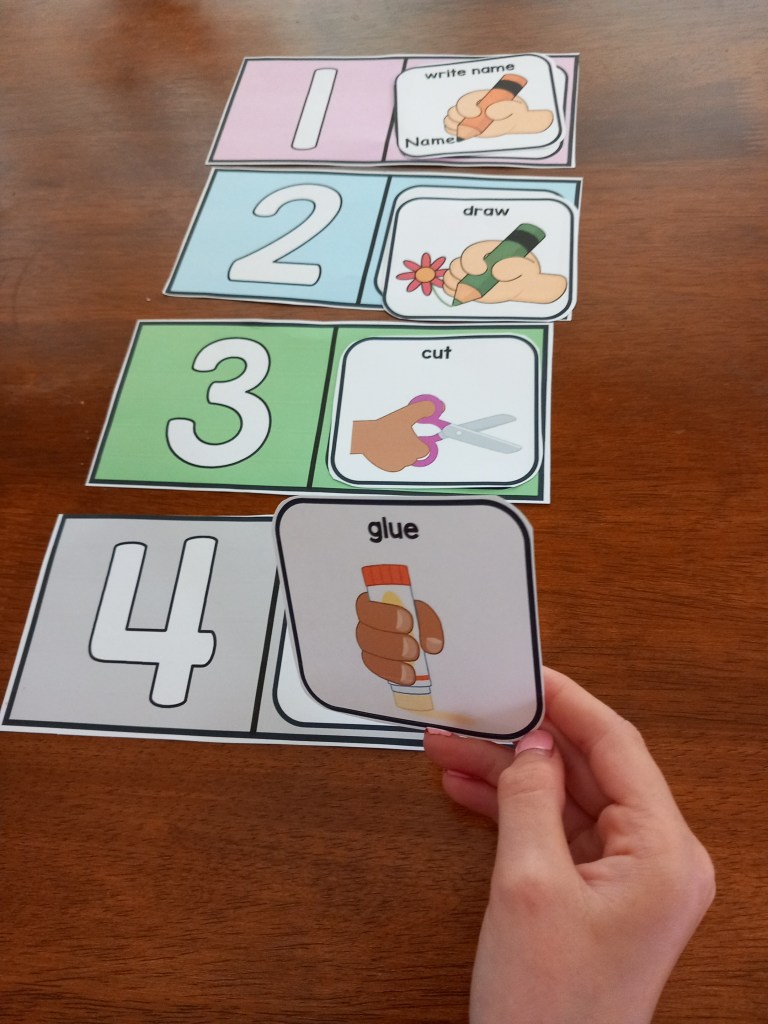
Classroom Behavior Management Strategies: First, Next and Then Tools
Token Reward folder: Visual support tools with “first & then” Behavior Strategy
First, Next and Then table Schedule Templates with Visual Supports
First Then boards and Help cards: Autism visual supports
Visual Supports:”First, next, then” with Token Rewards Systems